Canyon 2WD L4-2.9L (2008)

Variable Valve Timing Actuator: Service and Repair
Camshaft Position Exhaust Actuator Replacement
Special Tools
*
J-44217-45 Chain Holding Tool
*
J 44217 Timing Chain Retention Tool
*
J 44221 Camshaft Holding Tool
*
J 45059 Angle Meter
Removal Procedure
1. Remove the camshaft cover. Refer to Camshaft Cover Replacement (See: Cylinder Head Assembly/Valve Cover/Service and Repair).
2. Ensure the exhaust camshaft position (CMP) actuator is functioning properly. Refer to Camshaft Position Actuator Diagnosis (See: Testing and
Inspection/Component Tests and General Diagnostics).
3. Remove the CMP sensor. Refer to Camshaft Position Sensor Replacement (See: Powertrain Management/Computers and Control
Systems/Camshaft Position Sensor/Service and Repair).
4. Rotate the crankshaft in the engine rotational direction clockwise, until the #1 piston is at top dead center (TDC) on the compression stroke.
5. Using the timing mark on the exhaust camshaft position actuator sprocket as a reference, make a mark on the timing chain link adjacent to it.
Caution: Refer to Camshaft Holding Tool Caution (See: Service Precautions/Vehicle Damage Warnings/Camshaft Holding Tool Caution).
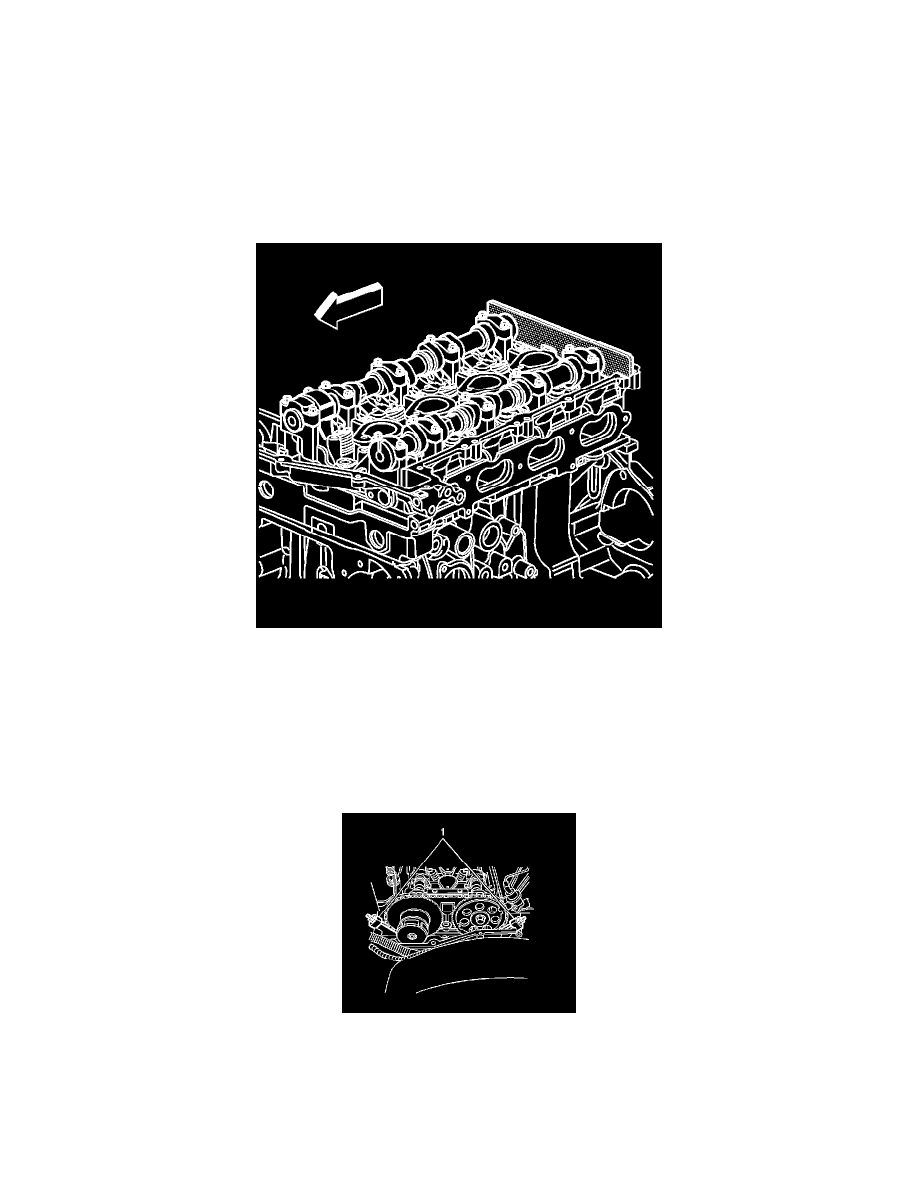
6. Install the J 44221 to the rear of the camshafts.
7. Complete the following in order to install the J 44217 (1) and J-44217-45 (1).
1. Install the hook portion of the timing chain retention tools into one of the timing chain links near the timing chain shoe on both sides of the
engine.
2. Tighten the wingnuts.
3. Ensure the hooks are still in one of the links and the gage blocks of the tool are firmly in place on the edge of the head.
