
Canyon 2WD L4-2.9L (2008)
10. When deploying a roof rail module, perform the following instructions:
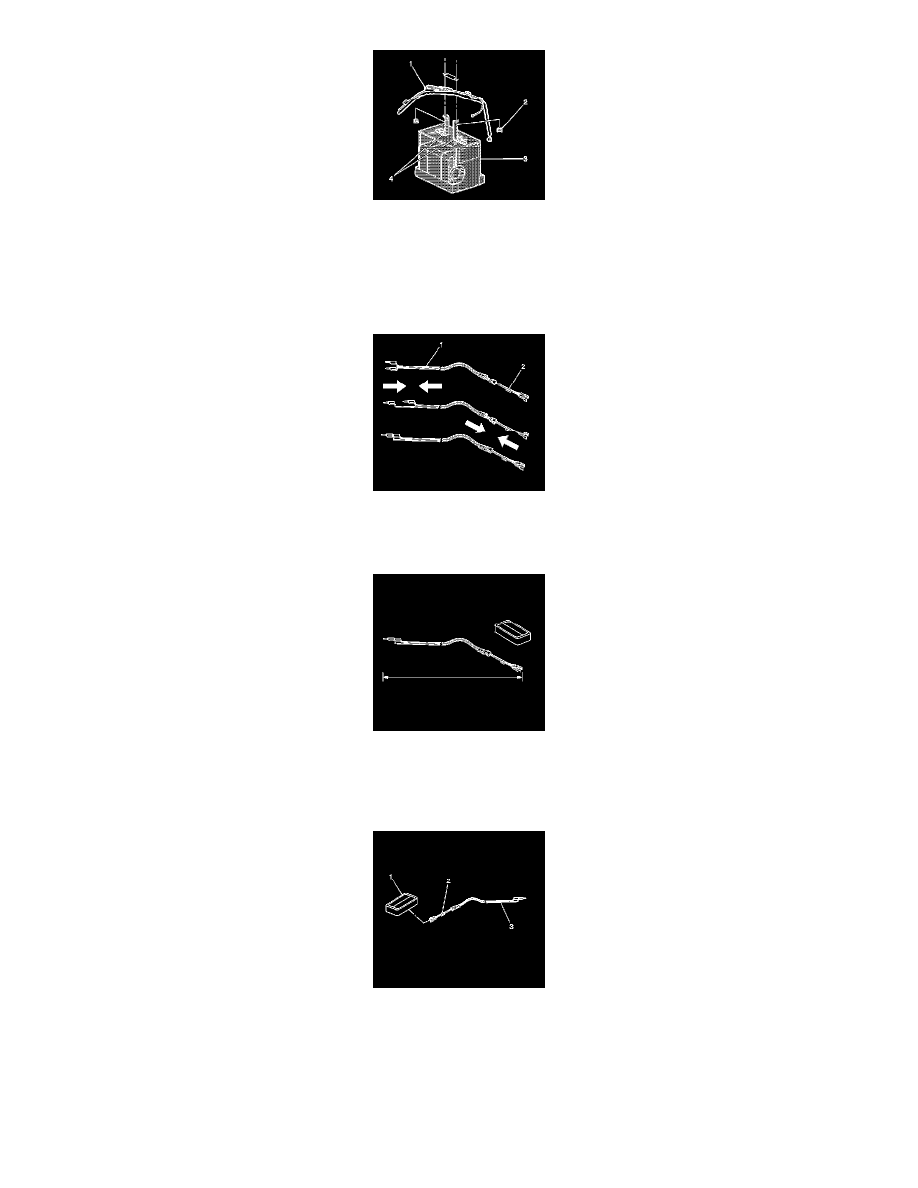
1. Place the J 39401-B (3) in the center of the cleared area.
2. Fill the deployment fixture with water or sand to provide sufficient stabilization of fixture during deployment.
3. Adjust and secure the fixture arms (4) to the deployment fixture (3), using the proper nuts and bolts.
4. Attach the roof rail module in the deployment fixture and securely tighten all fasteners.
11. Inspect the SIR deployment harness and the appropriate pigtail adapter (2) for damage. Replace as needed.
12. Short the 2 SIR deployment harness leads (1) together using one banana plug seated into the other.
13. Connect the appropriate pigtail adapter (2) to the SIR deployment harness (1).
14. Extend the SIR deployment harness and adapter to the full length from the deployment fixture or area.
Important: On a dual stage inflator module, both connectors must be attached to the deployment harness adapter. This will ensure that
both stage 1 and stage 2 of the deployment loops are energized, regardless of the deployment state.
15. Connect the inflator module (1) to the adapter (2) on the SIR deployment harness (3).
Important:
*
The rapid expansion of gas involved with deploying an inflator module is very loud. Notify all the people in the immediate area that
you intend to deploy the inflator module.
*
When the inflator module deploys, the deployment fixture may jump about 30 cm (1 ft) vertically. This is a normal reaction of the
inflator module due to the force of the rapid expansion of gas inside the inflator module.