
Canyon 2WD L5-3.5L VIN 6 (2004)
3. Tighten the HVAC module retaining nuts.
Tighten
Tighten the nut to 4.5 N.m (40 lb in).
4. If replacing the HVAC module assembly (8), transfer the components from the old HVAC module assembly as necessary.
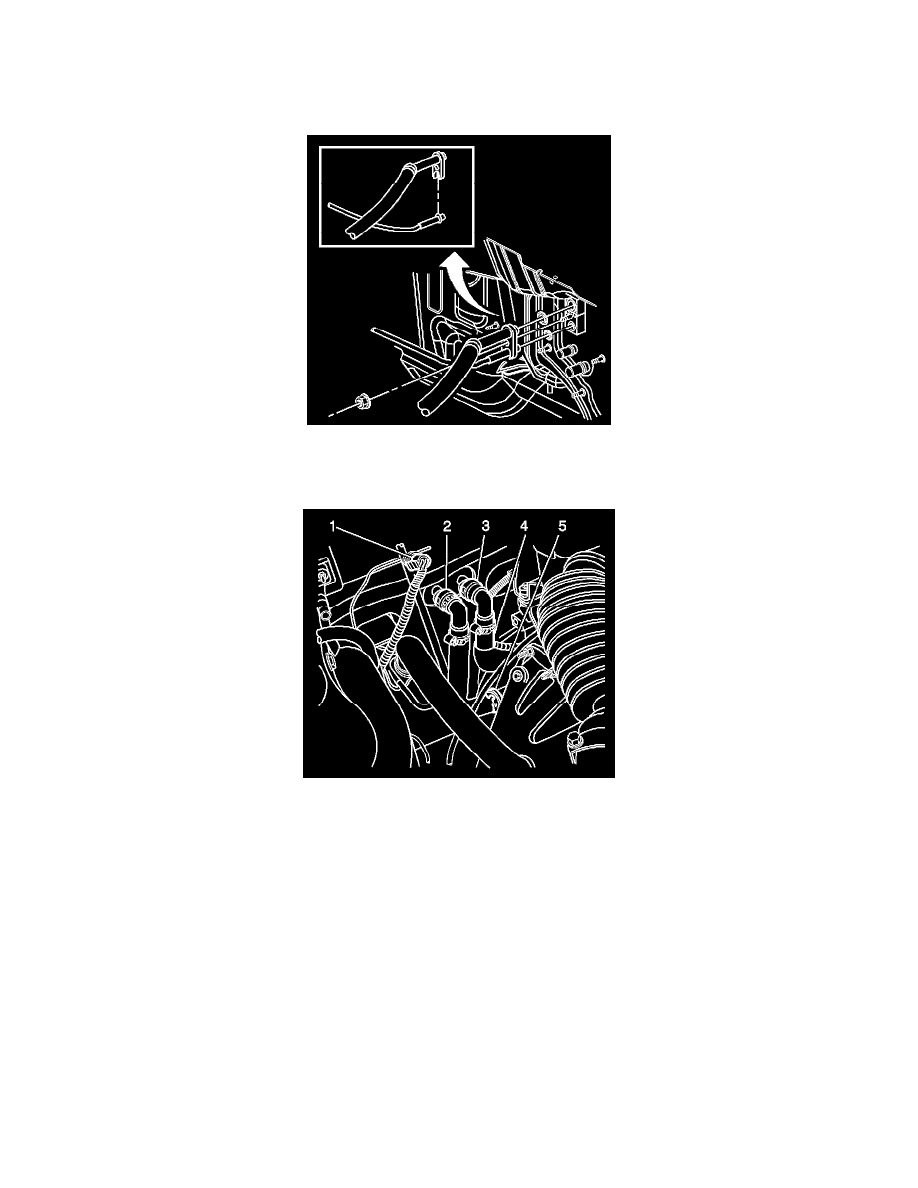
5. Install the HVAC module assembly (8).
6. Connect all of the electrical connectors to the HVAC module assembly.
7. Connect the heater hose quick connects (2) and (3) to the heater core.
8. Install the evaporator tube and suction hose to the TXV.
9. Install the retaining nut to the TXV stud.
NOTE: Refer to Fastener Notice in Service Precautions.
10. Tighten the retaining nut.
Tighten
Tighten the nut to 4.5 N.m (40 lb in).
11. Install the I/P carrier.
12. Evacuate and recharge the A/C system. Refer to Refrigerant Recovery and Recharging.
13. Leak test the fittings of the components using the J 39400-A.
14. Refill the engine coolant. Refer to Draining and Filling Cooling System in Cooling System.