
Canyon 4WD L5-3.5L VIN 6 (2004)
6. Install the camshaft cap bolts. Tighten the bolts evenly in order to compress the valve springs before final torque.
^
Tighten the camshaft cap bolts to 12 Nm (106 inch lbs.).
Important:
^
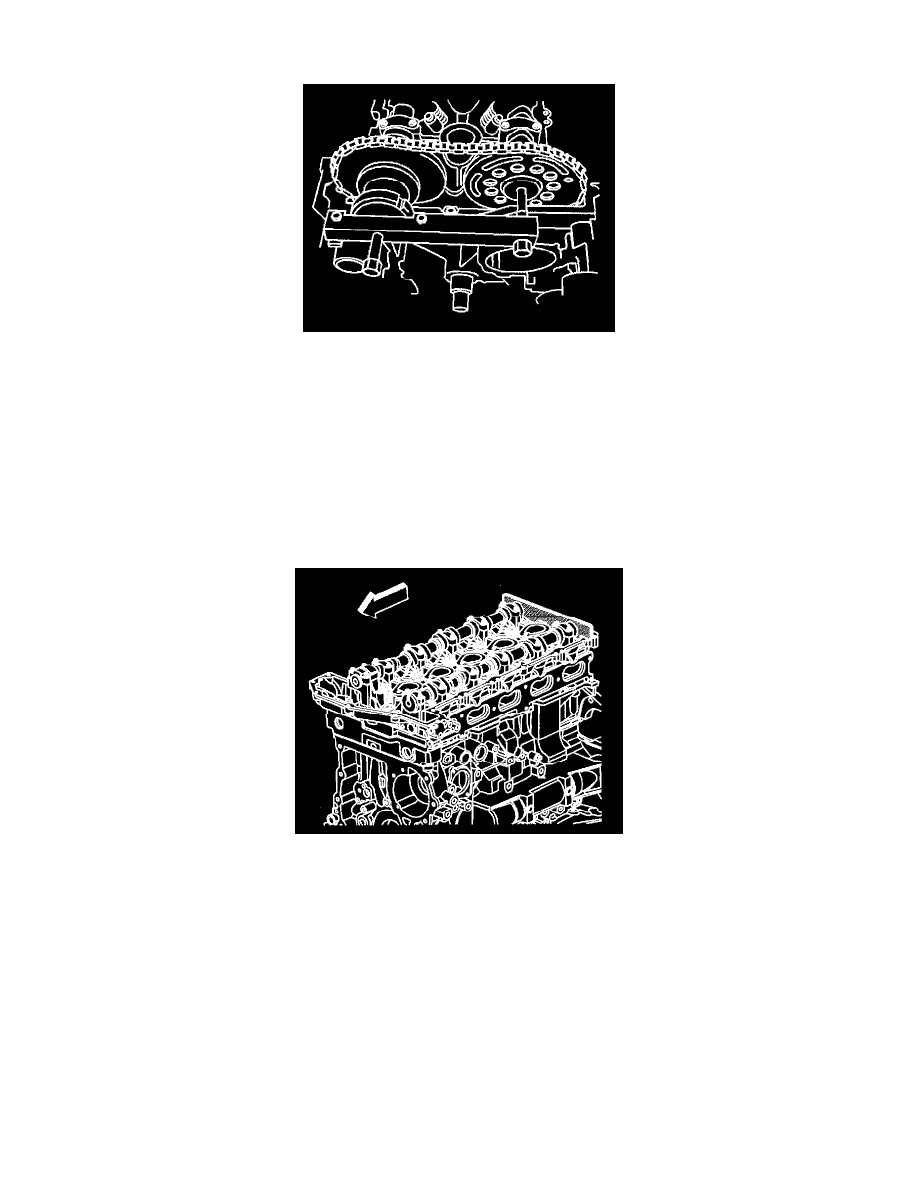
To aid in aligning the sprockets to the camshafts, use a 25 mm (1 inch) wrench on the hex of the camshafts to rotate
^
Ensure the alignment pins are properly engaged with the camshafts
7. Carefully slide the sprockets with the timing chain from the J 44222 to the camshafts.
8. Remove the J 44222 from the cylinder head.
9. Install the new intake camshaft sprocket bolt.
10. Install the new exhaust camshaft actuator bolt.
10.1.
Tighten the intake camshaft sprocket bolt to 20 Nm (15 ft. lbs.).
10.2.
Use the J 45059 to rotate the intake camshaft sprocket bolt an additional 100 degrees.
10.3.
Tighten the exhaust camshaft actuator bolt to 25 Nm (18 ft. lbs.).
10.4.
Use the J 45059 to rotate the exhaust camshaft actuator bolt an additional 135 degrees.
11. Remove the J 44221 from the camshafts.
12. Install the Intake Camshaft Position (CMP) sensor.
13. Install the exhaust Camshaft Position (CMP) sensor.
14. Install the camshaft cover.