
Canyon 4WD L5-3.5L VIN 6 (2004)
exhaust camshaft position actuator sprocket.
Notice: The camshaft actuator must be fully advanced during installation. Engine damage may occur if the camshaft actuator is not fully advanced.
Important:
^
To aid in aligning the actuator to the camshaft, use a 25 mm (1 inch) wrench on the hex of the camshaft to rotate
^
Ensure the alignment pin is properly engaged with the camshaft
3. Install the exhaust camshaft actuator onto the exhaust camshaft.
Notice: Refer to Fastener Notice in Service Precautions.
4. Install the new exhaust camshaft actuator bolt.
4.1.
Tighten the exhaust camshaft actuator bolt to 25 Nm (18 ft. lbs.).
4.2.
Use the J 45059 to rotate the exhaust camshaft actuator bolt an additional 135 degrees.
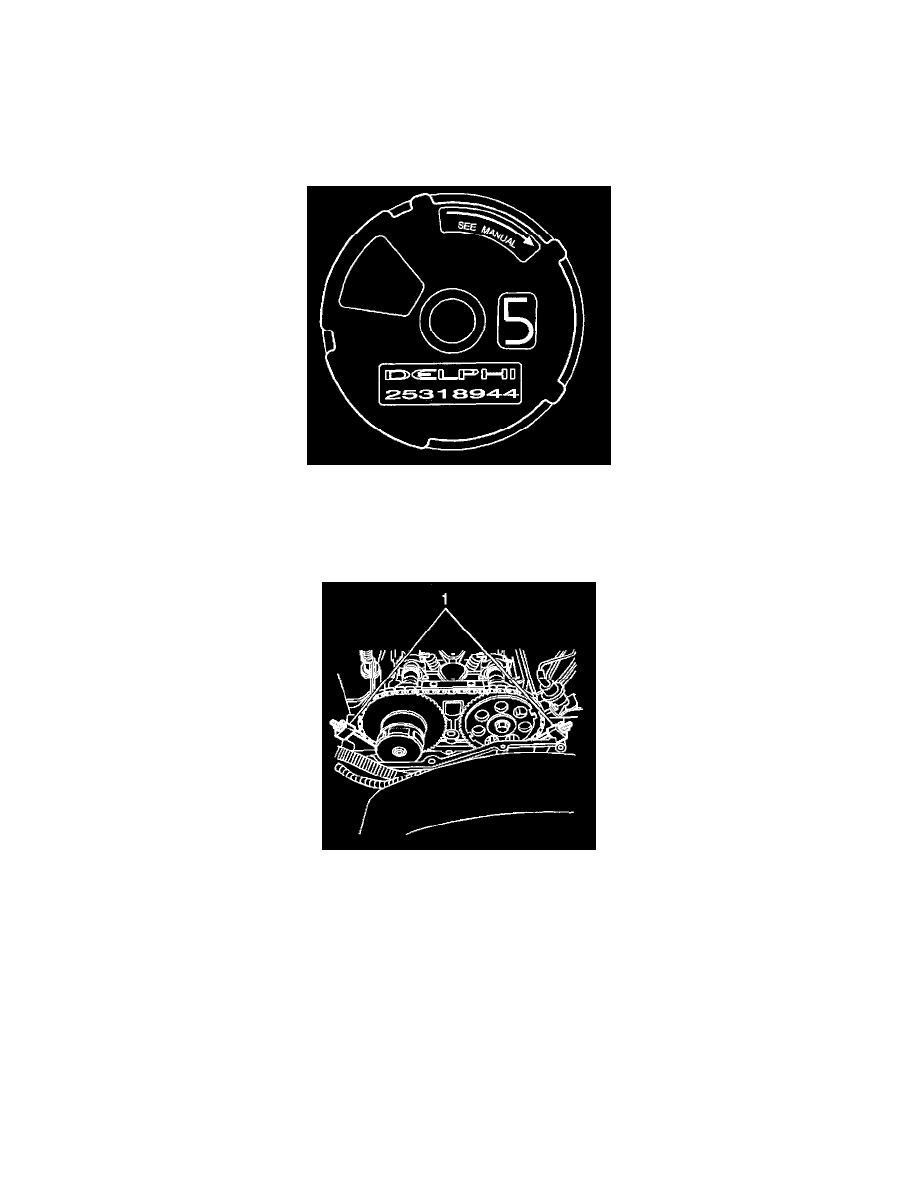
5. Remove the J 44217 (1) and EN-44217-45 (1).
6. Remove the J 44221 from the camshafts.
7. Install the intake Camshaft Position (CMP) sensor.