
Canyon 4WD L5-3.5L VIN 6 (2004)
Control Module: Service and Repair
Transfer Case Shift Control Module Replacement
Removal Procedure
Important: The Transfer Case Shift Control Module (TCCM) is located under the drivers seat carpet. For removal purposes, access the TCCM from
underneath the carpet.
1. Remove the drivers bucket seat or split bench seat.
2. Remove the left front sill plate.
3. Remove the left hinge pillar.
4. Remove the left center pillar.
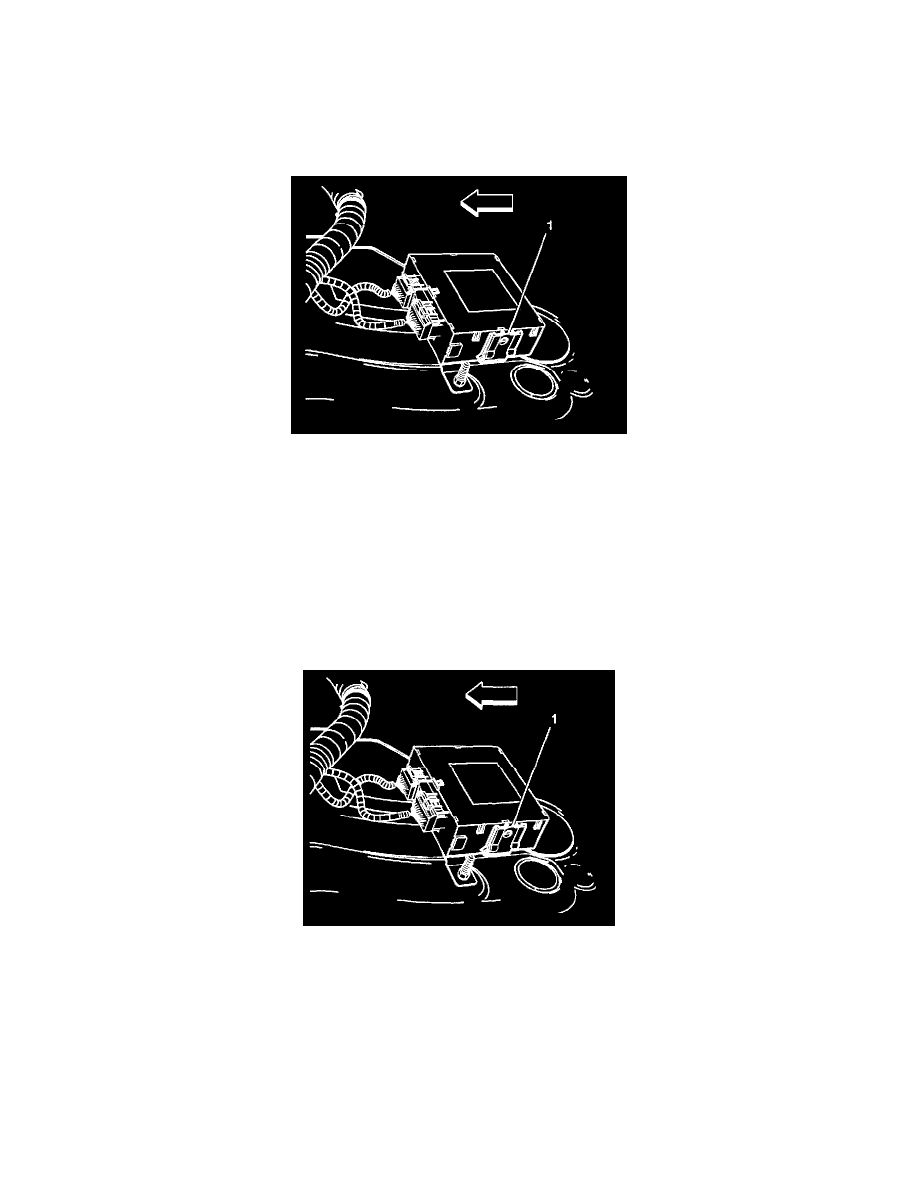
5. Use a flat-bladed tool to release the 2 tabs (1) retaining the TCCM to the bracket.
6. Partially remove the TCCM from the bracket.
7. Disconnect the electrical connectors.
8. Remove the TCCM from the vehicle.
9. If removing the bracket, remove the 2 fasteners retaining the bracket to the floor panel.
10. Remove the bracket from the vehicle.
Installation Procedure
1. If replacing the bracket, install the bracket to the floor panel.
Notice: Refer to Fastener Notice in Service Precautions.
2. Install the 2 fasteners retaining the bracket to the floor panel.
^
Tighten the fasteners to 9 Nm (80 inch lbs.).
3. Position the TCCM to the bracket.
4. Connect the electrical connectors.
5. Install the TCCM to the bracket, ensuring the retaining tabs (1) are fully engaged.
6. Install the left center pillar.
7. Install the left hinge pillar.
8. Install the left front sill plate.