Canyon 4WD V8-5.3L (2009)

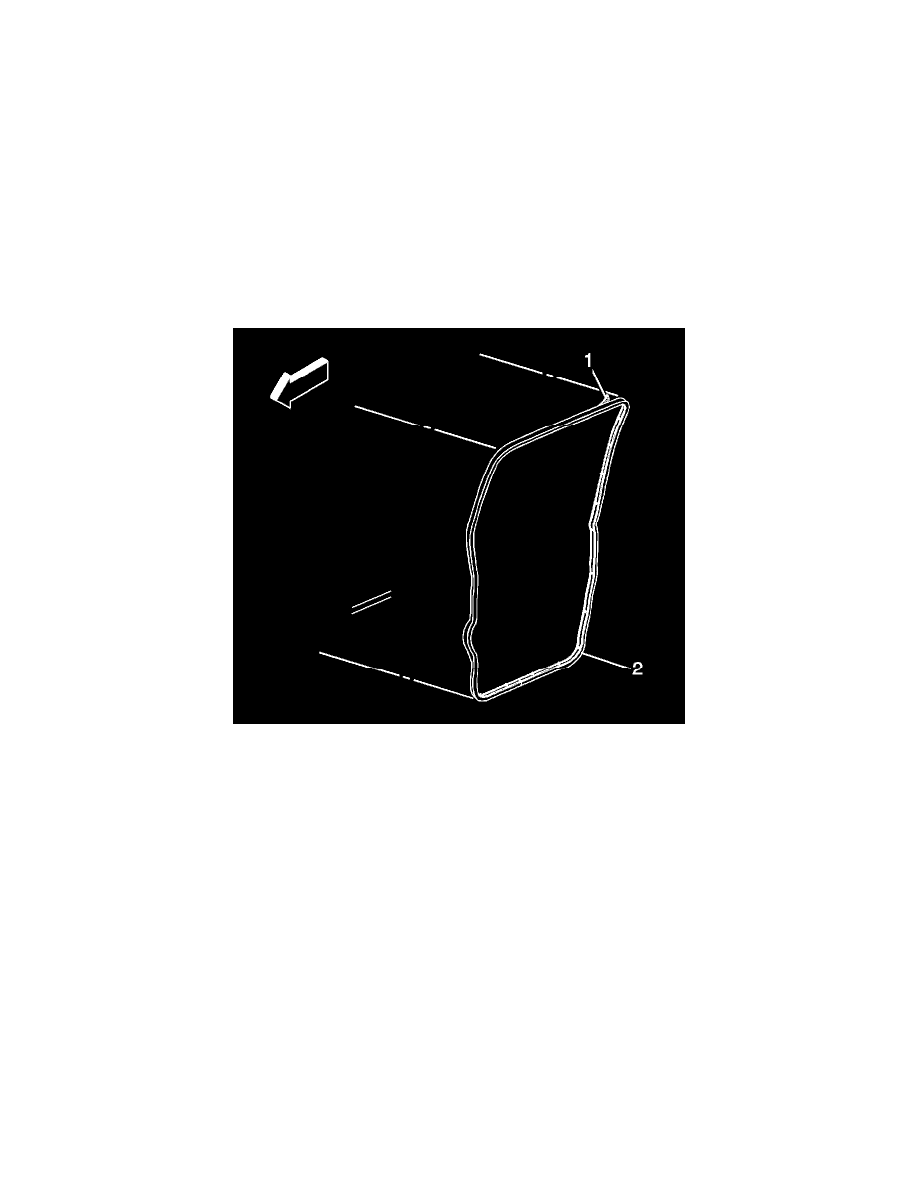
1. Position the rear door opening weatherstrip to the pinchweld flange.
2. Starting at the upper rear corner, press the rear door opening weatherstrip (2) onto the pinchweld flange (1) until it is fully seated.
3. Install the lower center pillar trim panel. Refer to Center Pillar Lower Trim Panel Replacement (See: Interior Moulding / Trim/Trim
Panel/Service and Repair).
4. Pull the cord (3) on the rear door opening weatherstrip ensuring the weatherstrip lip overlaps the interior trim panels and headliner.
5. Close the rear door.
Rear Door Weatherstrip Replacement
Rear Door Weatherstrip Replacement
Tools Required
J 38778 Door Trim Pad Clip Remover or Equivalent
Removal Procedure
1. Open the rear door.
2. Remove the weatherstrip from around the door by inserting J 38778 , or equivalent, under the weatherstrip and releasing the integral retainers (2)
from the door frame.
3. Remove the weatherstrip from the rear door.
Installation Procedure
