
Canyon 4WD V8-5.3L (2009)
4. If replacing the HVAC module assembly (8), transfer the components from the old HVAC module assembly as necessary.
5. Install the HVAC module assembly (8).
6. Install rear floor duct. Refer to Rear Floor Air Outlet Replacement (See: Air Register/Service and Repair/Rear Floor Air Outlet Replacement).
7. Reposition the carpet.
8. Install the radio antenna to the HVAC module.
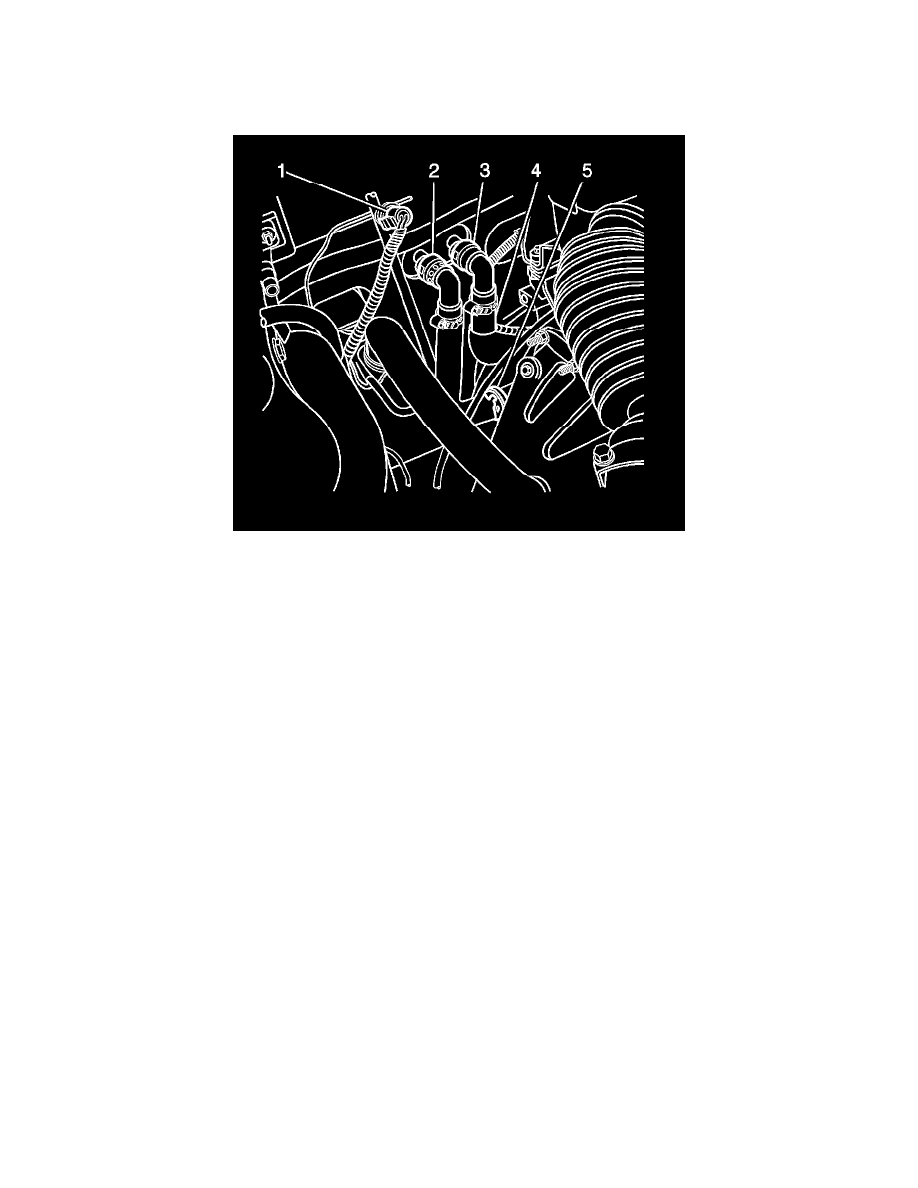
9. Connect the heater hose quick connects (2) and (3) to the heater core.
10. Install the evaporator tube and suction hose to the TXV.
11. Install the retaining nut to the TXV stud.
12. Tighten the retaining nut. Tighten the nut to 4.5 Nm (40 lb in).
13. Install the I/P carrier. Refer to Instrument Panel Carrier Replacement (See: Body and Frame/Interior Moulding / Trim/Dashboard / Instrument
Panel/Service and Repair).
14. Evacuate and recharge the A/C system. Refer to Refrigerant Recovery and Recharging (See: Service and Repair/Refrigerant Recovery and
Recharging).
15. Leak test the fittings of the components using the J 39400-A .
16. Refill the engine coolant. Refer to Cooling System Draining and Filling (Static Fill) (See: Engine, Cooling and Exhaust/Cooling System/Service
and Repair)Cooling System Draining and Filling (Vac N Fill) (See: Engine, Cooling and Exhaust/Cooling System/Service and Repair).