
Envoy 2WD L6-4.2L (2008)
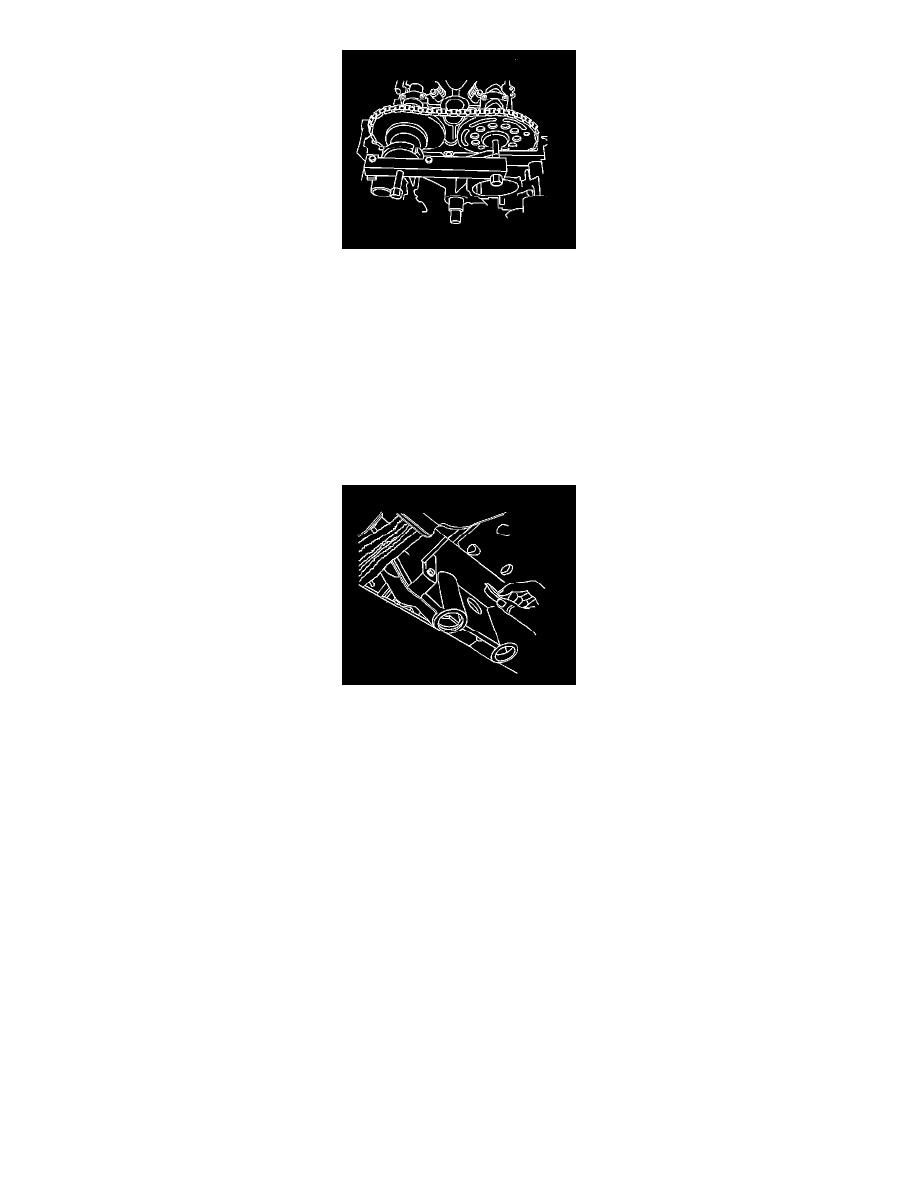
10. Carefully move the camshaft sprockets back onto the camshafts and remove the J 44222 .
11. Install a NEW intake camshaft sprocket washer and bolt, and a NEW exhaust camshaft actuator bolt.
*
Tighten the intake camshaft sprocket bolt the first pass to 20 N.m (15 lb ft).
*
Use the J 36660-A to tighten the intake camshaft sprocket bolt the final pass and additional 100 degrees.
*
Tighten the exhaust camshaft actuator bolt the first pass to 25 N.m (18 lb ft).
*
Use the J 36660-A to tighten the exhaust camshaft actuator bolt a final pass an additional 135 degrees.
12. Install the spark plugs. Refer to Spark Plug Replacement .
13. Install the camshaft cover. Refer to Camshaft Cover Replacement (See: Cylinder Head Assembly/Valve Cover/Service and Repair) .
14. Raise and support the vehicle. Refer to Lifting and Jacking the Vehicle .
15. Remove the J 44226-3A from the torque converter bolt.
16. Install the torque converter access plug.
17. Lower the vehicle.