
Envoy 2WD L6-4.2L (2008)
Canister Purge Solenoid: Service and Repair
Evaporative Emission Canister Purge Solenoid Valve Replacement
Removal Procedure
1. Raise the vehicle. Refer to Vehicle Lifting.
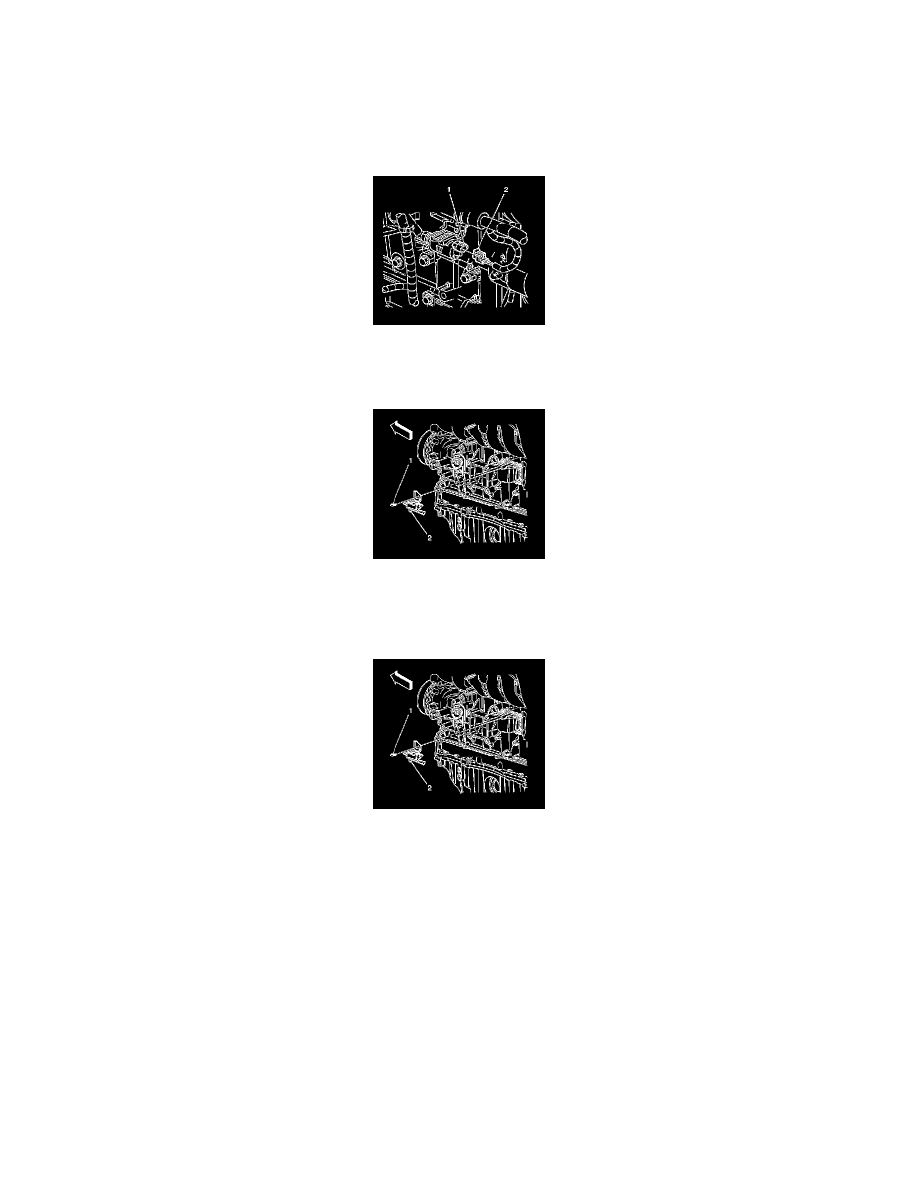
2. Disconnect the harness electrical connector (2) from the evaporative emission (EVAP) canister purge valve (1).
3. Disconnect the EVAP purge pipe from the EVAP canister purge valve.
4. Disconnect the engine vacuum pipe from the EVAP canister purge valve.
5. Remove the purge valve (2) from the purge valve mounting bracket.
6. If replacing the purge valve bracket, remove the attaching bolt (1) and purge valve bracket.
Installation Procedure
Notice: Refer to Fastener Notice.
1. If replacing the purge bracket, install the purge valve bracket and the attaching bolt (1).
Tighten the purge valve mounting bracket attaching bolt to 10 N.m (89 lb in).
2. Install purge valve (2) on to the purge valve mounting bracket.
3. Connect the EVAP purge pipe to the EVAP canister purge valve.
4. Connect the engine vacuum pipe to the EVAP canister purge valve.