
Envoy 2WD V6-4.3L VIN W (1998)
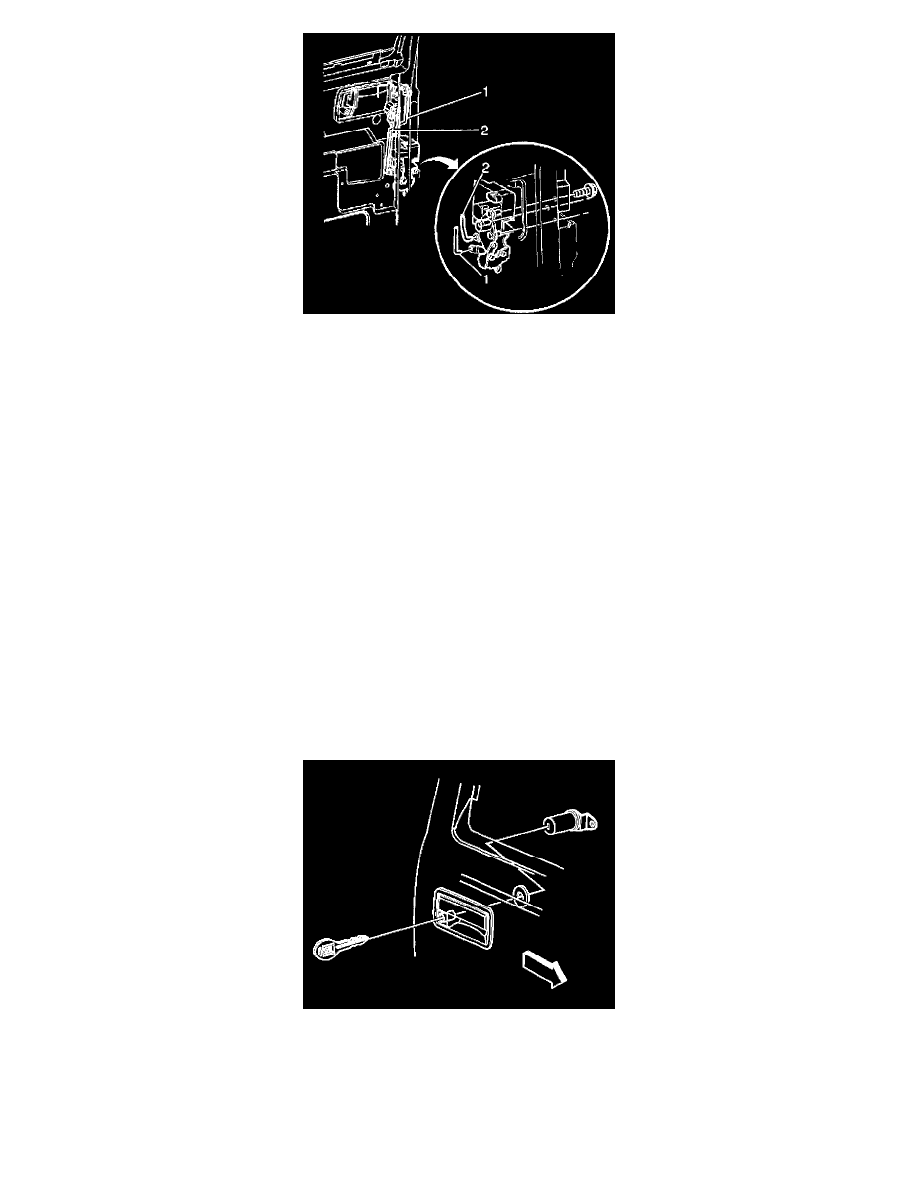
7. Remove the outside door lock rod (1) from the lock assembly.
8. Remove the outside door handle rod (2) from the lock assembly.
9. Disconnect the power actuator wiring connector, if equipped.
10. Remove the fasteners that retain the lock assembly to the door.
11. Remove the lock assembly from the door.
Installation Procedure
1. Install the lock assembly to the door.
2. Install the fasteners that retain the lock assembly to the door.
Tighten
Tighten the fasteners to 9 N.m (80 lb in).
3. Connect the power actuator wiring connector, if equipped.
4. Install the outside door handle rod (2) to the lock assembly.
5. Install the outside lock rod (1) to the lock assembly.
6. Install the inside door handle rod (2) to the lock assembly.
7. Install the inside door lock rod (1) to the lock assembly.
8. Install the water deflector.
9. Install the door trim panel.
10. Connect the battery negative cable.
Lock Cylinder
Removal Procedure
New lock cylinders are available as replacement components. When you replace a lock cylinder, apply a coating of appropriate lubricant inside the lock
case and the cylinder keyway prior to installing the cylinder. In order to repair a binding lock cylinder, refer to Binding Lock Cylinders.
1. Remove the outside door handle.
2. Remove the door lock cylinder from the outside door handle.