
Envoy 2WD V6-4.3L VIN W (1998)
Note: Use the correct fastener in the correct location. Replacement fasteners must be the correct part number for that application. Fasteners
requiring replacement or fasteners requiring the use of thread locking compound or sealant are identified in the service procedure. Do not use
paints, lubricants, or corrosion inhibitors on fasteners or fastener joint surfaces unless specified. These coatings affect fastener torque and joint
clamping force and may damage the fastener. Use the correct tightening sequence and specifications when installing fasteners in order to avoid
damage to parts and systems.
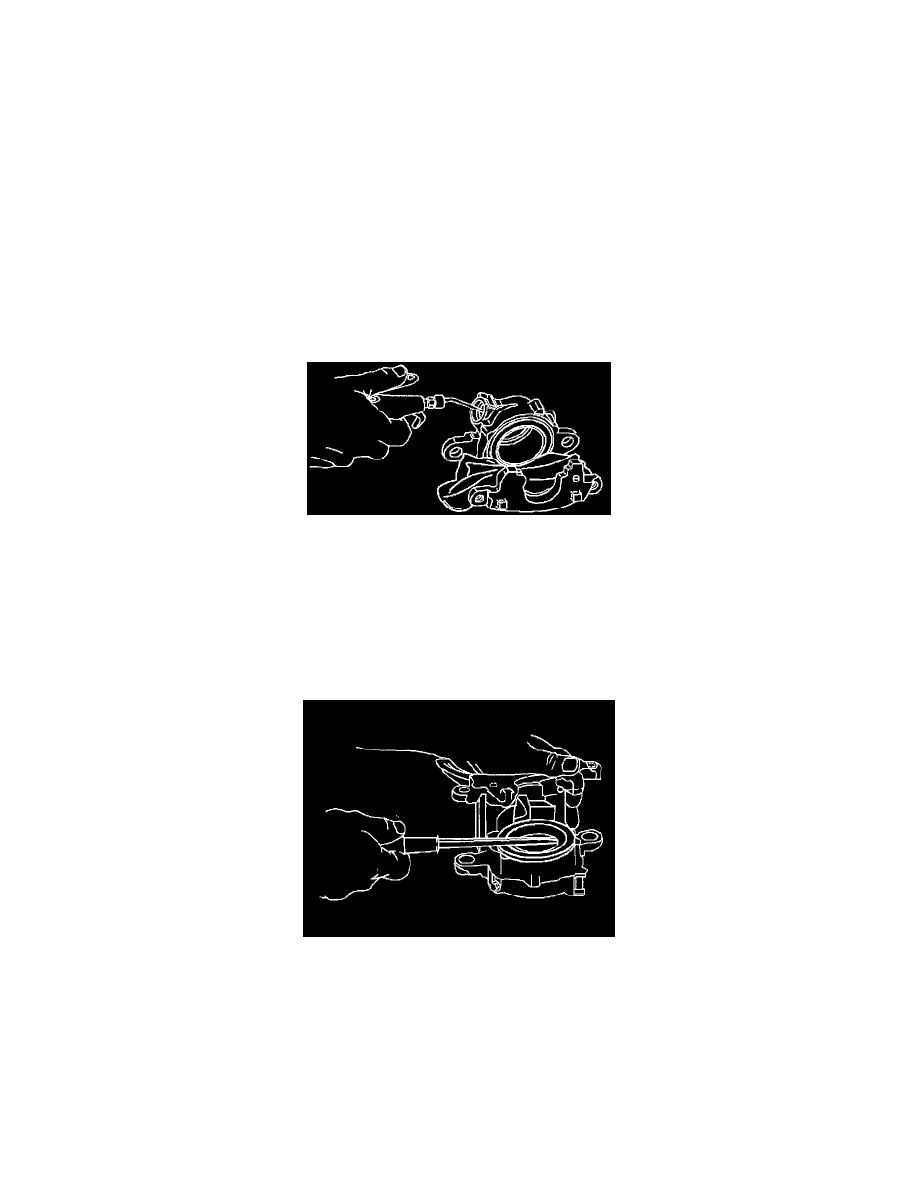
6. Install the bleeder valve (5) in the caliper housing (6).
Tighten
Tighten the bleeder valve to 7 Nm (62 lb in).
7. Install the bleeder valve cap (4).
Brake Caliper Overhaul (Rear Wheel)
DISASSEMBLY PROCEDURE
1. Drain all the brake fluid from the caliper.
CAUTION: Do not place your fingers in front of the piston in order to catch or protect the piston while applying compressed air. This
could result in serious injury.
NOTICE: Use just enough air pressure to ease the piston out of the bore. You can damage a blown-out piston even with the padding.
2. Pad the interior of the caliper with clean shop towels.
3. Remove the piston from the caliper bore.
4. Remove the boot from the caliper bore. Do not scratch the housing bore.