
Envoy 2WD V6-4.3L VIN W (1998)
Crankshaft Balancer: Service and Repair
1. Disconnect the battery negative cable.
2. Remove the fan shroud assembly.
3. Remove the drive belt.
4. Raise the vehicle.
5. Remove the steering linkage shield, if equipped.
6. Remove the front differential carrier shield, if equipped.
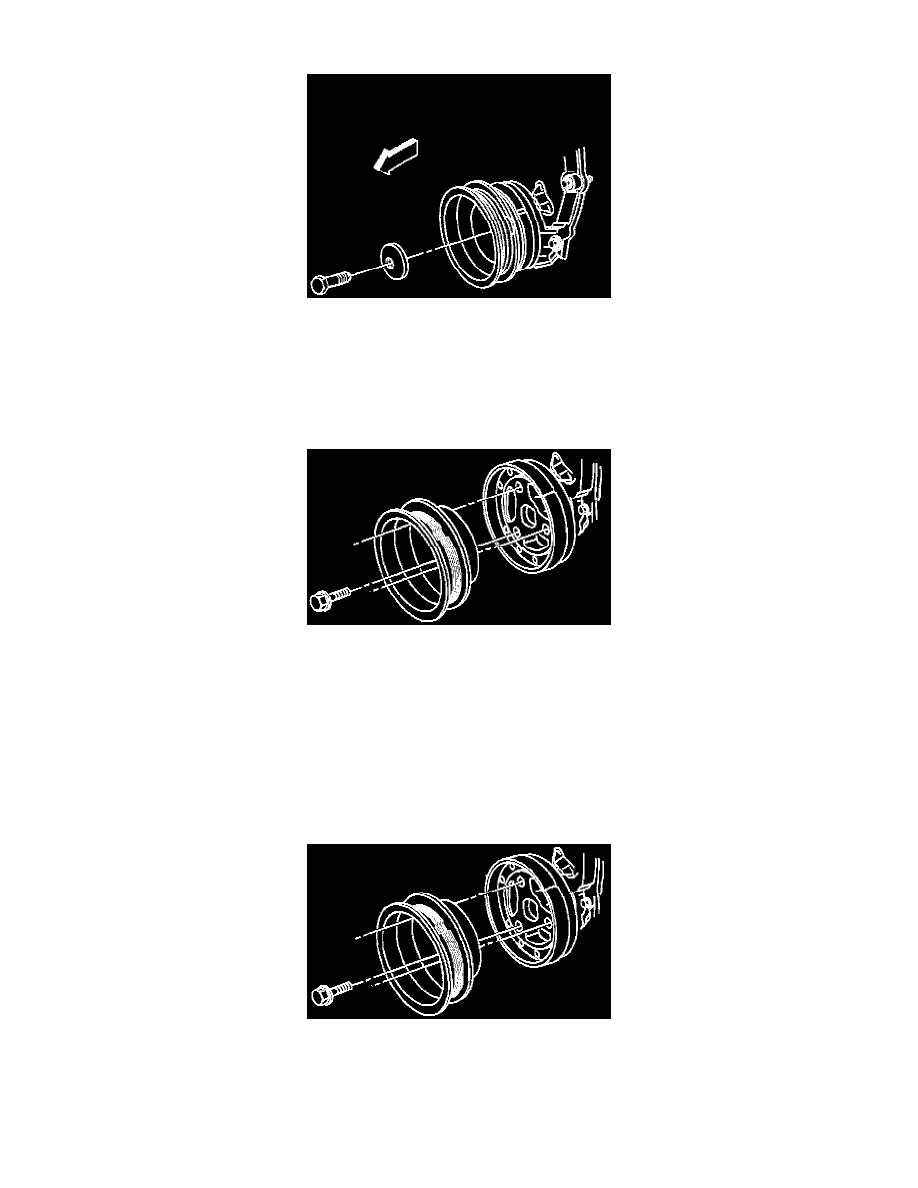
7. Remove the crankshaft balancer bolt.
8. Remove the crankshaft pulley bolts.
9. Remove the crankshaft pulley.
NOTICE: To prevent damage to the end of the crankshaft when using a crankshaft balancer removal tool install a bolt in the crankshaft. Use a
shorter bolt with the same threads as the crankshaft balancer bolt. This bolt will allow a place for the tool to push against. The shorter bolt is to
keep from going past the threads in the crankshaft and damaging the crankshaft threads.
10. Remove the crankshaft balancer.
11. Clean and inspect all parts.
INSTALLATION PROCEDURE
1. Install the crankshaft balancer.
3. Loosely install the crankshaft pulley bolts.
NOTICE: Refer to Fastener Notice in Service Precautions.