
Envoy 2WD V6-4.3L VIN W (1998)
Blower Motor Resistor: Service and Repair
A/C System - Automatic
Removal Procedure
Notice: Do not allow the metal coils of the blower resistor to become grounded to any metal surface. This may result in internal circuitry damage.
1. Disconnect the negative battery cable.
2. Remove the A/C control relay bracket with the relay.
3. Remove the blower resistor harness.
4. Remove the stud from the dash panel if necessary.
5. Remove the blower motor resistor mounting screw.
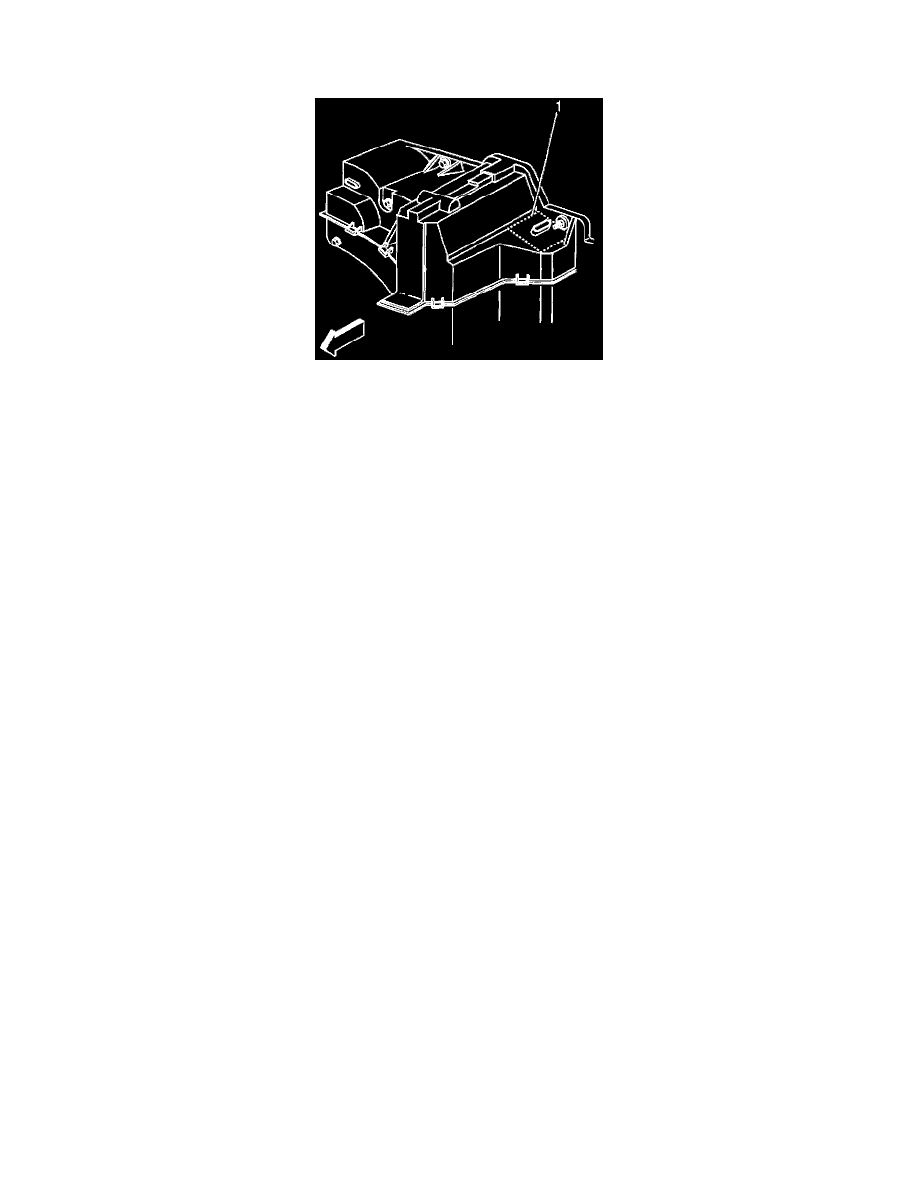
6. Utility only-Cut the access cover (1) from the case. Cut all four sides of the cover in order to remove the three attaching screws. Use a sharp utility
knife in order to cut the case. Make the cuts straight and clean because you must reinstall the access cover and the access cover must be visible to
the customer.
7. Remove the blower resistor.
Installation Procedure
1. Install the blower motor resistor.
2. Install the blower motor resistor mounting screw.
Tighten
Tighten the screw to 1.9 N.m (17 lb in).
3. Utility only- Apply a bead of black weather-strip adhesive over the cut-line areas (1).
4. Utility only- Allow the adhesive to set for 15 minutes, or until the adhesive skins over.
5. Install the stud to the dash panel, if necessary.
6. Install the resistor harness.
7. Install the A/C relay bracket into the body.
8. Connect the negative battery cable.