
Envoy 2WD V6-4.3L VIN W (1998)
Position the pressure control solenoid with the electrical tabs facing outboard.
8. Connect the component electrical connectors.
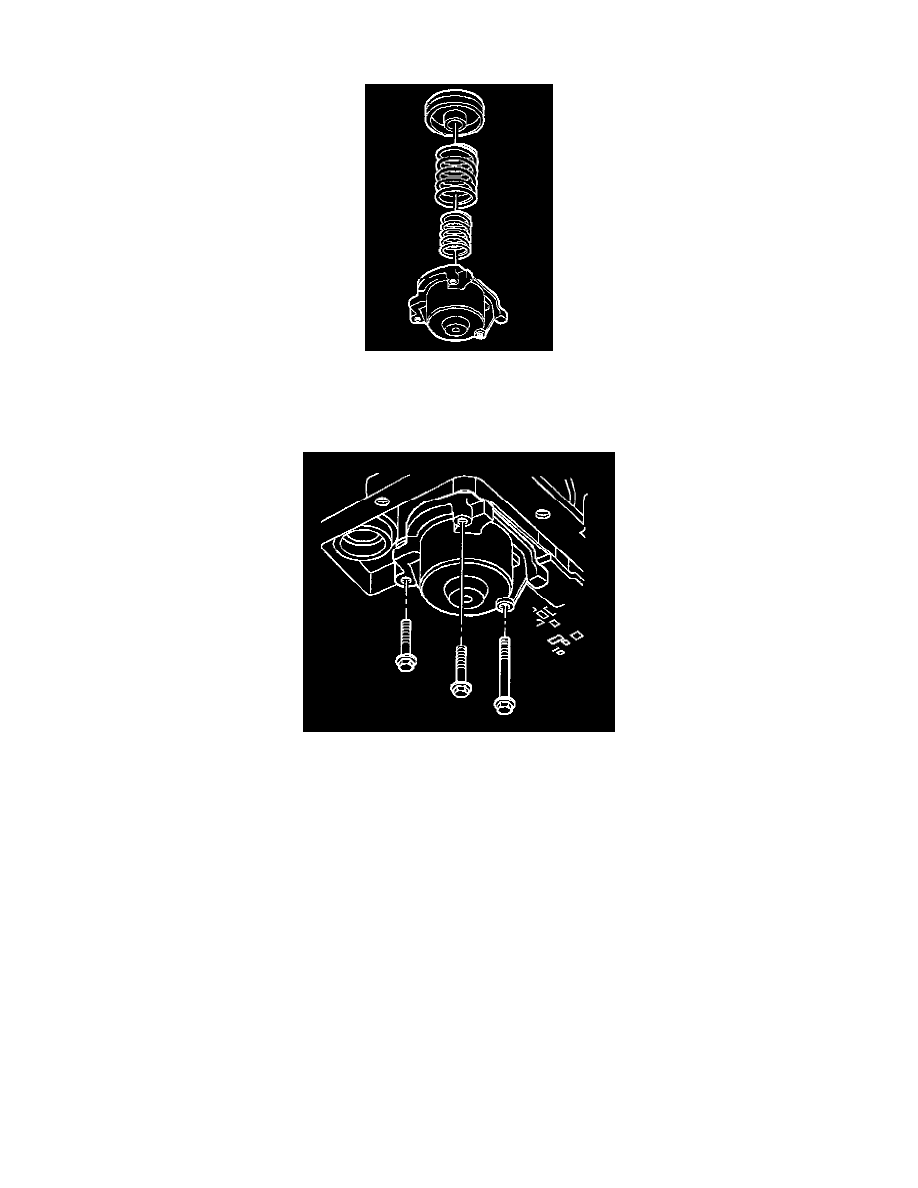
9. Install the 1-2 accumulator piston to the accumulator cover. Replace piston seal.
The piston legs must face toward the case when installed.
10. Install the 1-2 accumulator springs into the piston.
11. Install the 1-2 accumulator cover.
12. Install the 1-2 accumulator cover bolts.
^
Tighten the bolts to 11 Nm (97 inch lbs.).
NOTICE: Refer to Fastener Notice in Service Precautions.
13. Install the oil pan and the oil filter.