
Envoy 2WD V6-4.3L VIN W (1998)
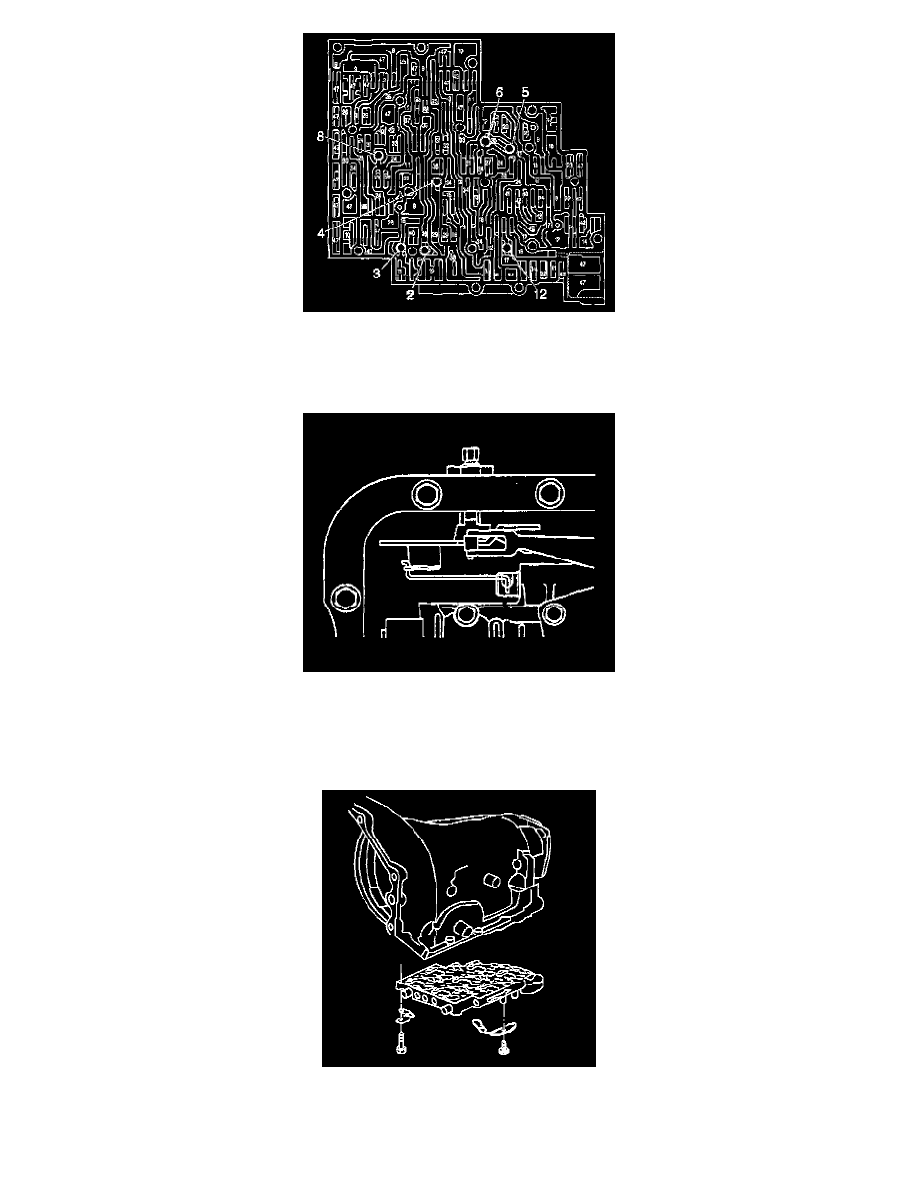
1. Install the check balls (2, 3, 4, 5, 6, 8, and 12) to the control valve.
NOTICE: Tighten the control valve assembly bolts in a spiral pattern starting from the center. If the bolts are tightened in a random pattern, the
valve bores may become distorted, which can inhibit valve operation.
2. Install the control valve and manual valve link to the transmission case.
IMPORTANT: Do not damage the solenoid filter screens when installing the control valve.
3. Install the control valve body bolts.
4. Install the manual detent spring and bolt. Do not tighten the bolt at this time.