
Envoy 2WD V6-4.3L VIN W (1998)
4.
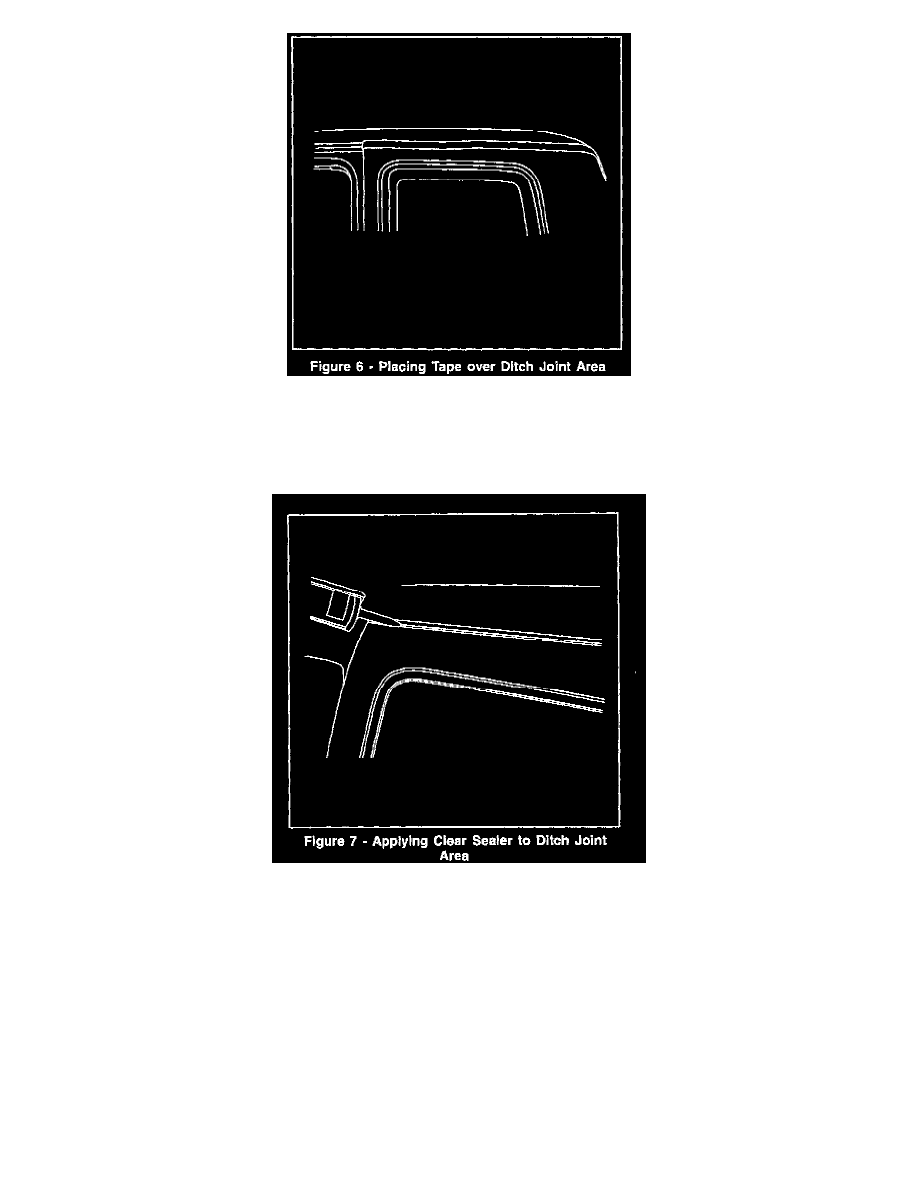
Dry the outside of the vehicle. Place tape over the ditch molding (Figure 6).
5.
Run water in the same manner as Step 2.
6.
Inspect for water in the same manner as Step 3. If no leak is found, then this is the source of the leak.
7.
In order to repair the leak, apply 3M Flexiclear(TM) clear body sealer, or equivalent, to the joint. Apply the sealer into cracks or voids as much as
possible beside and under the molding for at least 38 mm (1-1/2 in) rearward. Make sure that the front edge is completely sealed. This operation
can be done without removing the molding (Figure 7).
Important:
This sealer turns white when contacted with water or humidity prior to completely drying. If the sealer turns white, you may need to apply some
touch-up paint.
8.
Using naptha, clean any excess sealer from the body.
Warranty Information
For vehicles repaired under warranty, use:
Labor Operation
Description
Labor Time