
Envoy 2WD V8-5.3L (2007)
Power Door Lock Switch: Service and Repair
Door Lock and Side Window Switch Replacement - Driver Side
DOOR LOCK AND SIDE WINDOW SWITCH REPLACEMENT - DRIVER
REMOVAL PROCEDURE
1. Lift up on the front edge of the switch panel in order to release the front retaining clip.
2. Lift up on the rear edge of the switch panel in order to release the 2 rear retaining clips.
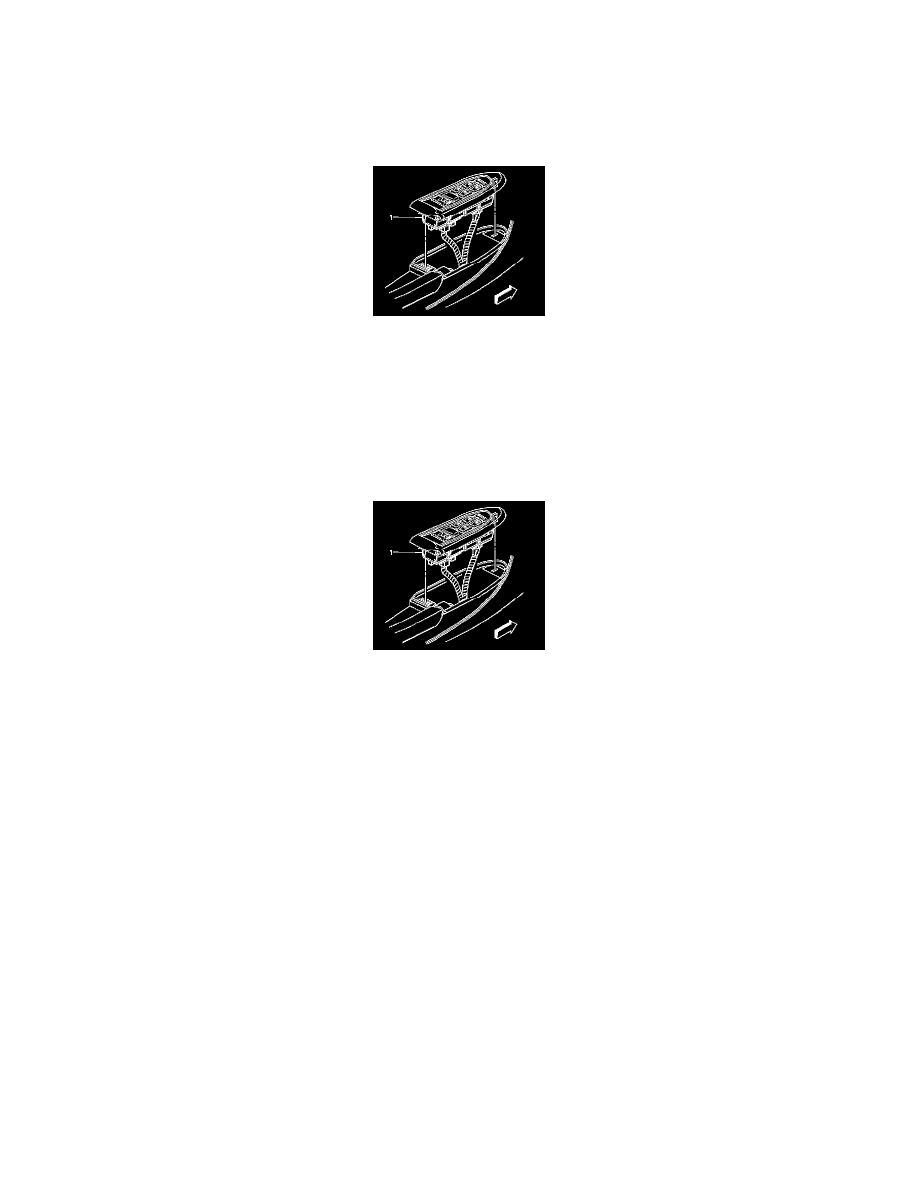
3. If equipped, disconnect the electrical connectors from the driver door module (1).
4. If replacing only the driver door module, remove the module from the door trim panel.
5. Disconnect the remaining electrical connectors from the switch panel.
6. If replacing only the switch panel, retain the driver door module for transfer.
7. Remove the switch panel assembly from the vehicle
INSTALLATION PROCEDURE
1. Install the driver door module (1) to the door trim panel.
2. Connect the electrical connector to the driver door module.
3. If replacing the switch panel, connect the remaining electrical connectors.
4. IMPORTANT: When replacing the driver door module, the set up procedure must be performed.
If replacing the driver door module, program the driver door module.
Refer to LINK and Personalization Description and Operation.
5. Install the switch panel to the door trim panel, ensuring the front and rear retaining clips are fully seated.