
Envoy 2WD V8-5.3L VIN P (2004)
8. Install the 2 screws (1) retaining the console to the roof panel.
Tighten the screws to 1.2 N.m (10 lb in).
9. Close the sunglasses compartment cover on the console or snap the beauty cover into place.
Console Replacement - Overhead (TrailBlazer, Envoy, Bravada)
Console Replacement - Overhead (TrailBlazer, Envoy, Bravada)
Removal Procedure
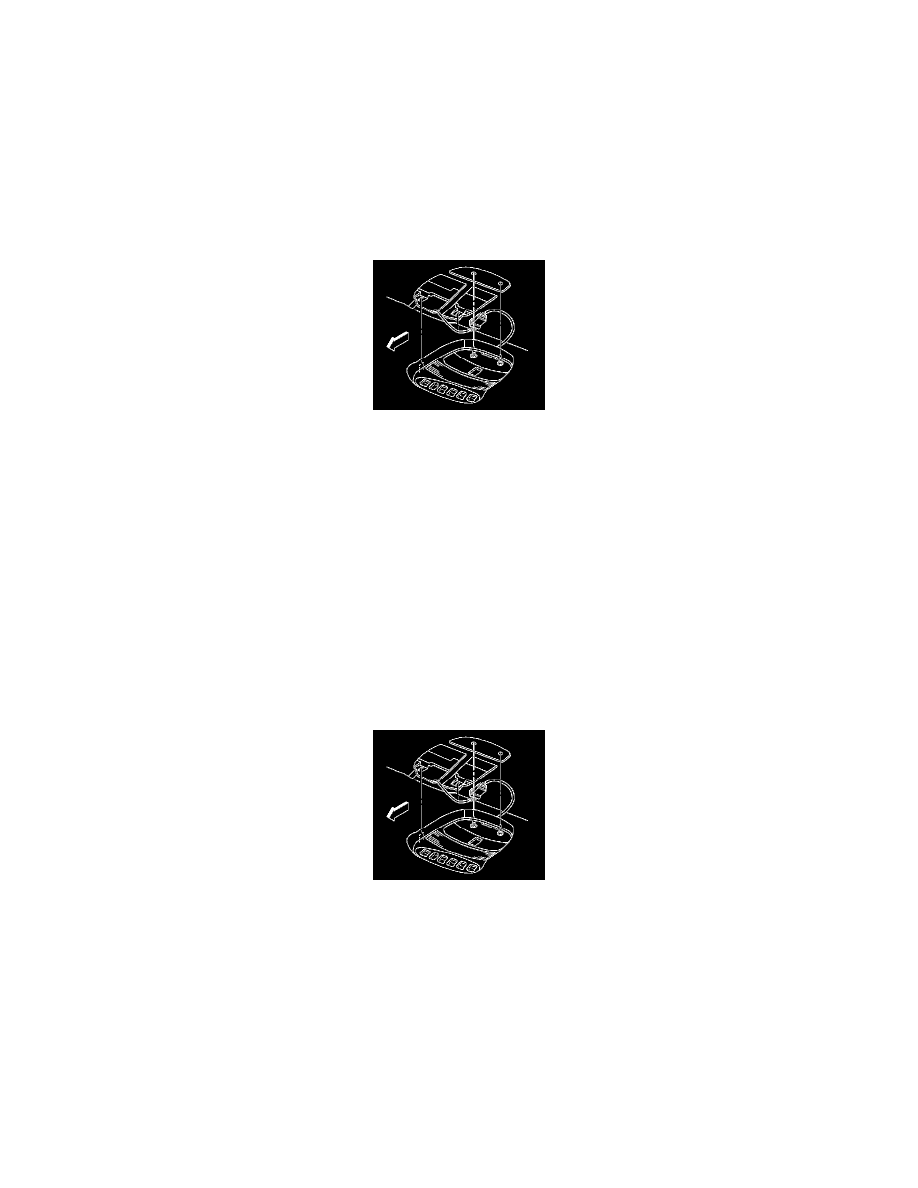
1. Remove the 2 screws that retain the console to the roof panel.
2. Release the front retaining tabs.
3. Lower the console and disconnect the electrical connectors as needed.
4. Remove the console from the vehicle
5. If replacing the console, remove the garage door opener if equipped.
6. If replacing the console, remove the OnStar (R) microphone if equipped.
7. If replacing the console, remove the personal message player/recorder if equipped.
8. If replacing the console, remove the power sunroof switch if equipped.
9. If replacing the console, remove the noise cancellation microphone if equipped.
Installation Procedure
1. If replacing the console, install the noise cancellation microphone if equipped.
2. If replacing the console, install the power sunroof switch if equipped.
3. If replacing the console, install the personal message player/recorder if equipped.
4. If replacing the console, install the OnStar (R) microphone if equipped.
5. If replacing the console, install the garage door opener if equipped.
6. Position the console to the roof panel.
7. Connect the electrical connectors as needed.
8. Seat the front retaining tabs.
Notice: Refer to Fastener Notice in Service Precautions.
9. Install the 2 screws retaining the console to the roof panel.
Tighten the screws to 1.2 N.m (10 lb in).
Console Storage Bin Replacement
Console Storage Bin Replacement
Removal Procedure