
Envoy 2WD V8-5.3L VIN P (2004)
Exhaust Manifold: Service and Repair
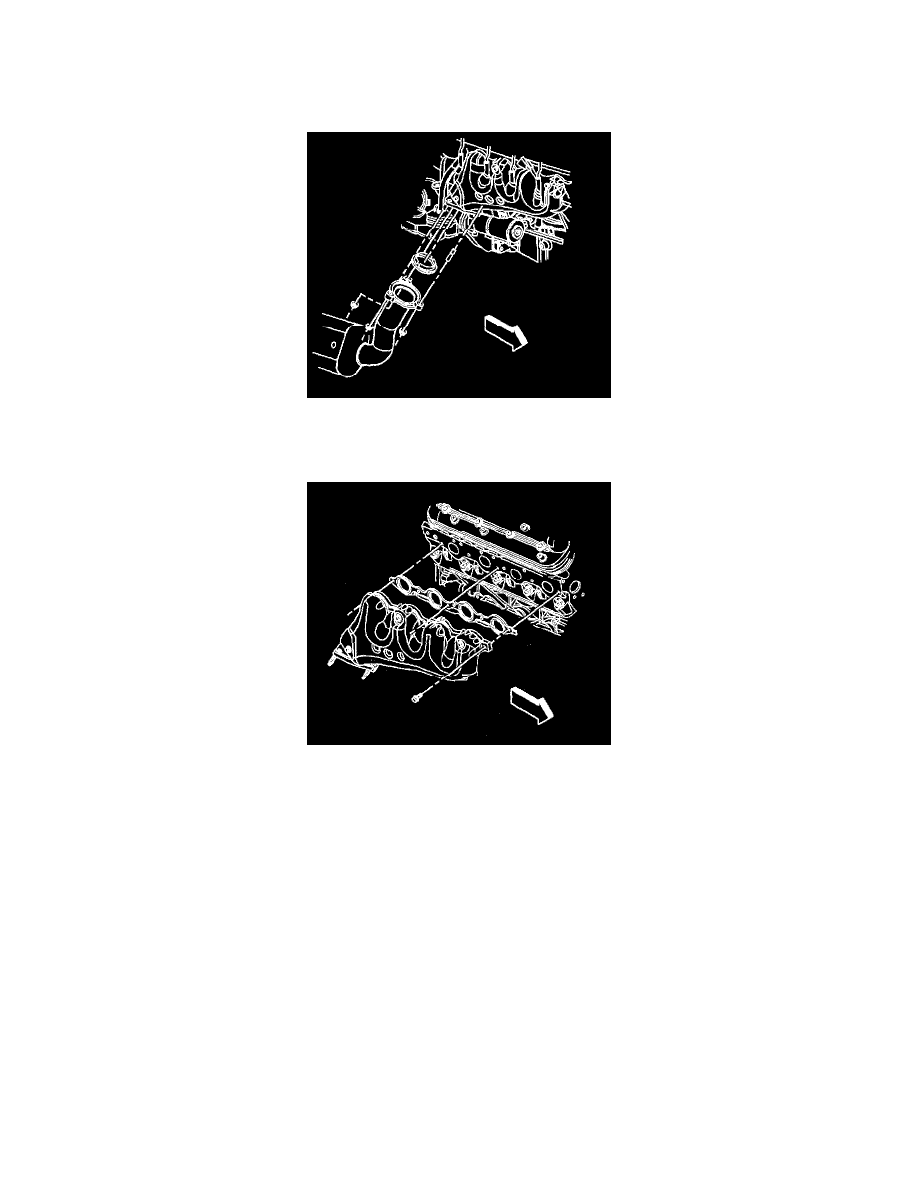
Exhaust Manifold Replacement - Right
Exhaust Manifold Replacement - Right (5.3L Engine)
1. Raise and suitably support the vehicle. Refer to Vehicle Lifting.
2. Remove the exhaust manifold pipe nuts.
3. Lower the vehicle.
4. Remove the spark plugs.
5. Remove the heat shield bolts, and shield from the exhaust manifold.
6. Remove the exhaust manifold bolts, manifold, and gasket.
7. Discard the gasket.
8. Clean and inspect the exhaust manifold.
Installation Procedure
Important: Tighten the exhaust manifold bolts as specified in the service procedure. Improperly installed and/or leaking exhaust manifold gaskets may
affect vehicle emissions and/or On-Board Diagnostics (OBD) II system performance.
The cylinder exhaust manifold bolt hole threads must be clean and free of debris or threadlocking material.
Important: Do not apply sealant to the first three threads of the bolt.
1. Apply a 5 mm (0.2 inch) wide band of threadlock GM P/N 12345493 (Canadian P/19 10953488), or equivalent to the threads of the exhaust
manifold bolts.