Envoy 2WD V8-5.3L VIN P (2004)

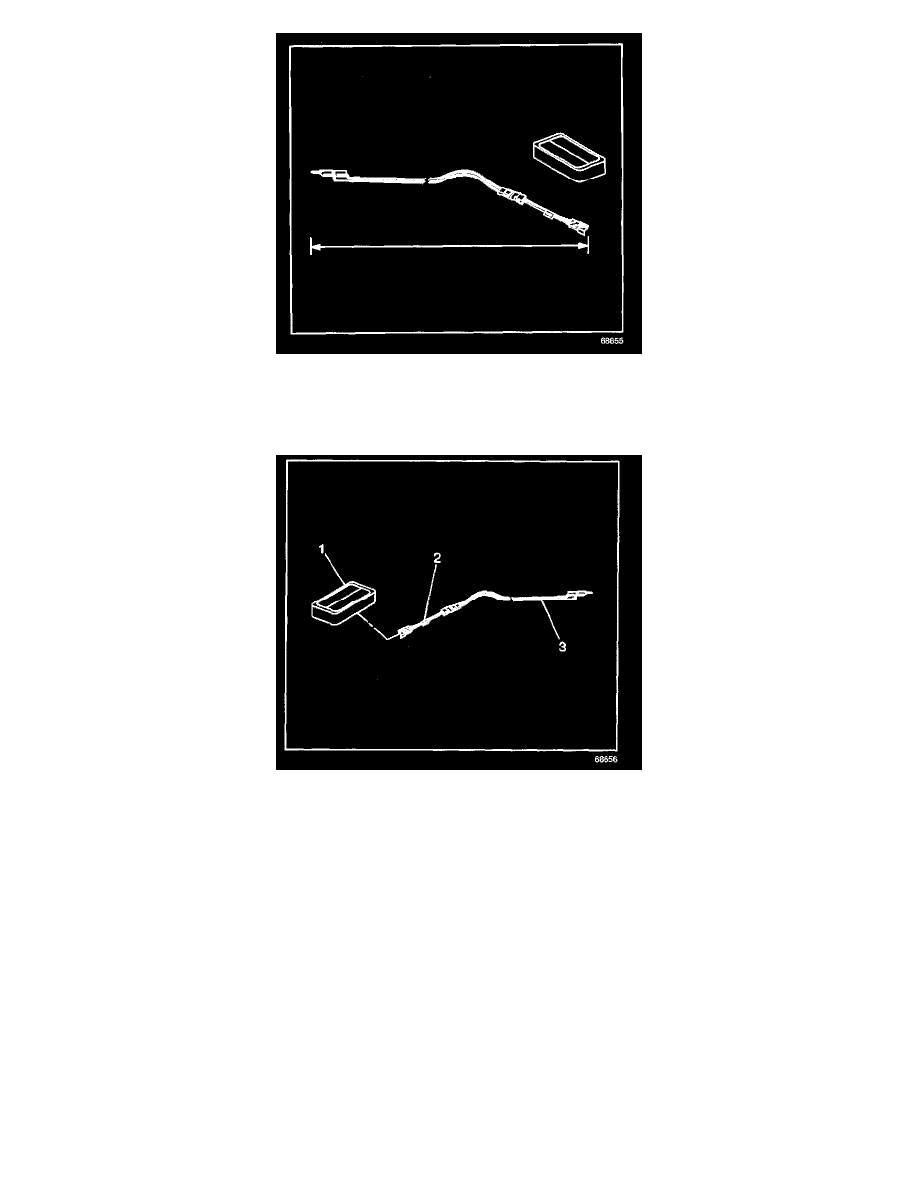
15. Extend the SIR deployment harness and adapter to full length from the deployment fixture.
IMPORTANT: On a dual stage inflator module, both connectors must be attached to the deployment harness adapter. This will ensure that both
stage 1 and stage 2 of the deployment loops are energized, regardless of the deployment state.
16. Connect the inflator module (1) to the adapter (2) on the SIR deployment harness (3).
IMPORTANT:
-
The rapid expansion of gas involved with deploying an inflator module is very loud. Notify all the people in the immediate area that you intend to
deploy the inflator module.
-
When the inflator module deploys, the deployment fixture may jump about 30 cm (1 ft) vertically. This is a normal reaction of the inflator module
due to the force of the rapid expansion of gas inside the inflator module.
17. Place a 12 V minimum or a 2 A minimum power source, i.e., vehicle battery, near the shorted end of the harness.
IMPORTANT: If you are deploying a dual stage inflator module with stage 1 already deployed, the fixture may not move and the noise may have
been reduced.
18. Clear the area of people.
