
Envoy 4WD V8-5.3L VIN M (2005)
2. Raise the rear portion of the floor console bracket and slide the carpet underneath the console bracket.
3. Position the rear carpet over the edge of the front carpet.
4. Align the holes in the carpet to the seat studs on the floor panel.
Notice: Refer to Fastener Notice in Service Precautions.
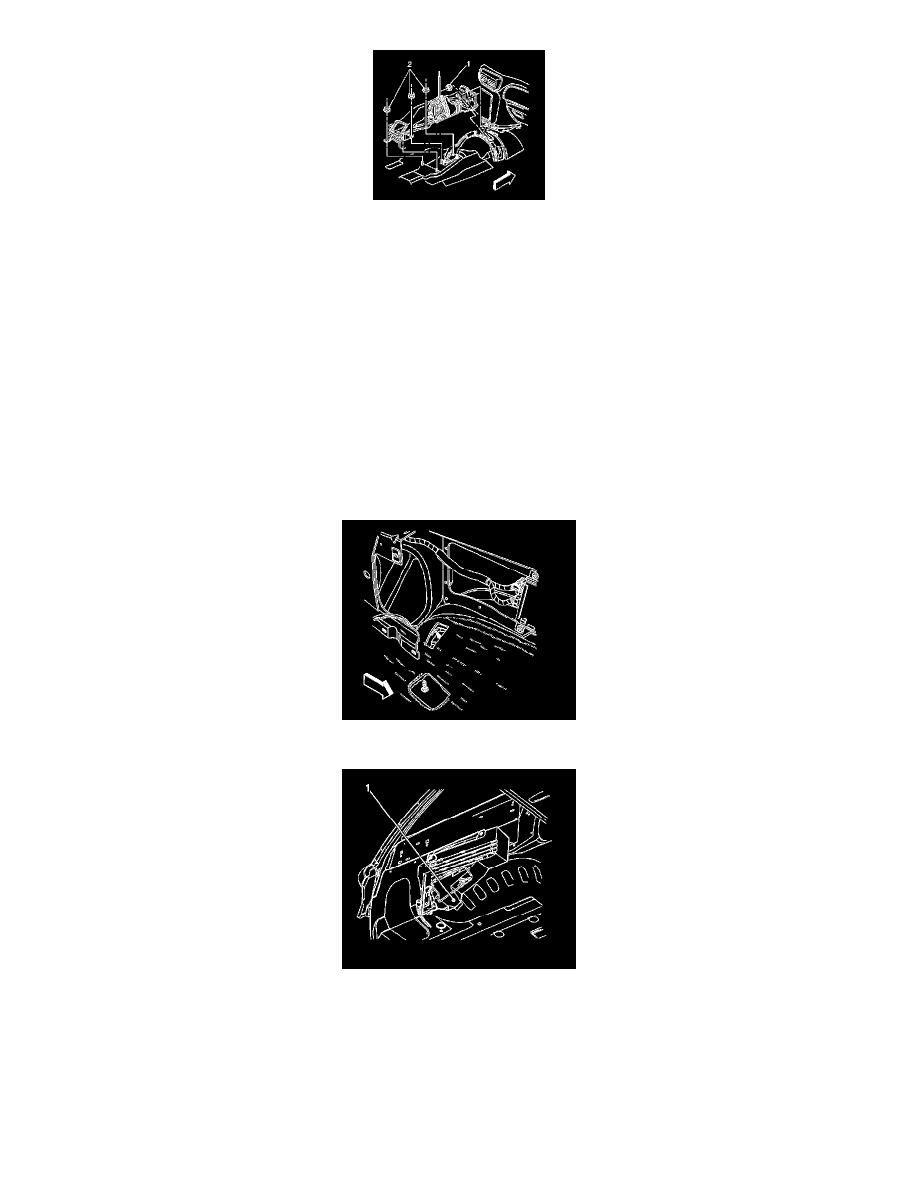
5. Install the four nuts (2) retaining the rear of the floor console bracket to the floor weld studs.
Tighten the nuts to 25 N.m (18 lb ft).
6. Feed the bussed electrical center base and the communication interface module electrical connectors through the pass through holes in the carpet.
7. Install the floor console.
8. Install the center pillar trim panels.
9. Install the front side door sill plates.
10. Pass the communication interface module electrical connectors through the small hole in the carpet.
11. Pass the body electrical block electrical connectors through the small hole in the carpet.
12. Install the body electrical block.
13. Install the carpet ensuring that the carpet hooks over the left wheelhouse panel stud.
14. Install the nut (1) securing the stowage jack carrier to the wheelhouse panel.
15. Install the right rear quarter lower trim panel.
16. Install the left rear quarter lower trim panel.
17. Install the left/right rear body side trim rear window garnish molding.
18. Install the left/right front body side window garnish molding.
19. Install the lift gate door sill plate.
20. Install the cargo tie-down loops and secure the loops with the tie-down bolts.
Tighten the bolts to 35 N.m (26 lb ft).