
Envoy 4WD V8-5.3L VIN M (2005)
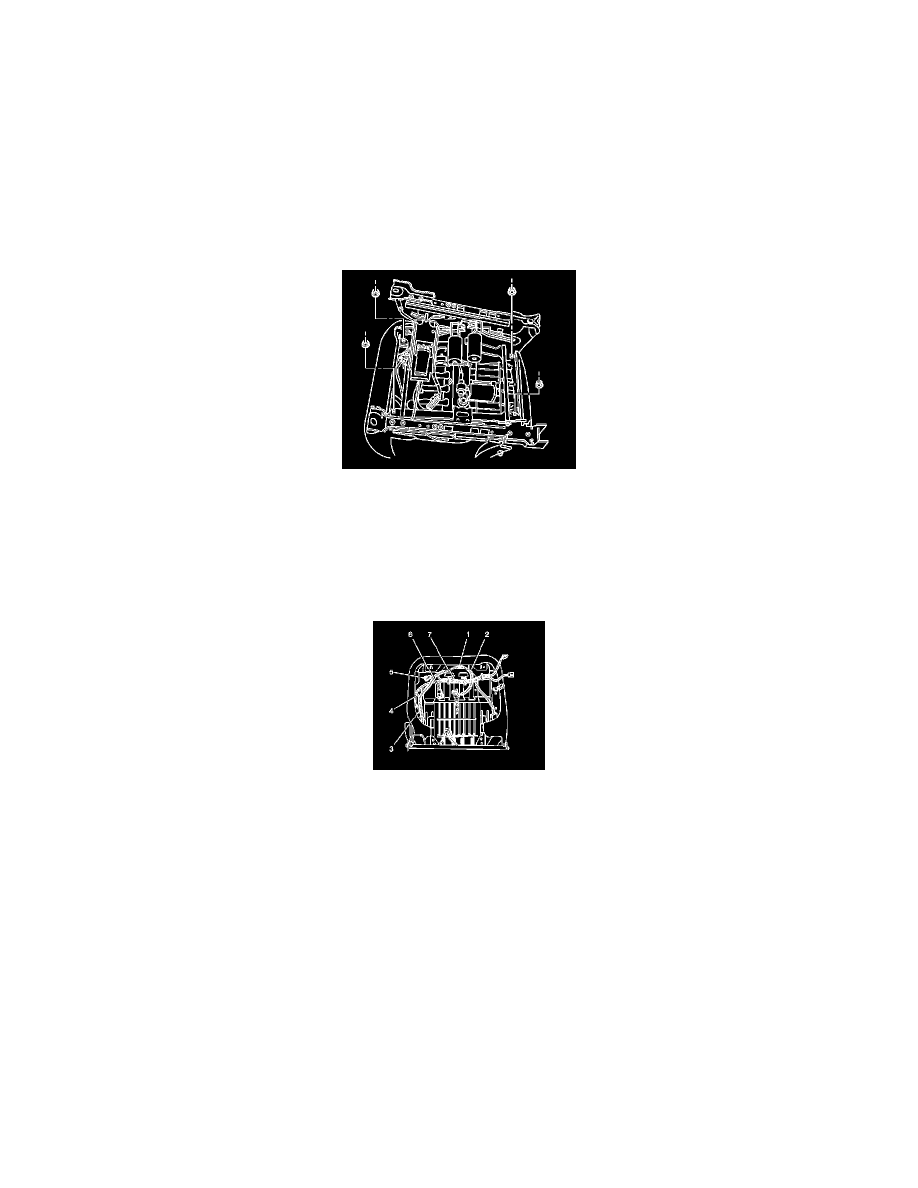
5. Disconnect the black electrical connector (3) from the seat belt buckle.
6. Disconnect the gray lumbar electrical connector (5), if equipped.
7. Remove the SIR harness (2) from the harness clips (1, 4), and remove the SIR harness from the seat.
8. Remove the seat harness from the seat pan.
9. Remove the seat memory module, if equipped.
10. Remove the seat cushion assembly.
11. Remove the seat cushion cover and pad from the seat frame.
12. Remove the wiring harness and connector clips, if you are replacing the frame.
Installation Procedure
1. Install the wiring harness and connector clips, if you replaced the frame.
2. Install the seat memory module, if equipped.
3. Install the seat cushion cover and pad to the seat frame.
Notice: Refer to Fastener Notice in Service Precautions.
4. Install the 4 nuts that secure the seat pan to the power seat adjuster frame.
Tighten the seat pan mounting nuts to 25 N.m (18 lb ft).
5. Install the seat harness to the seat pan.
6. Install the SIR harness (2) to the seat clips (1, 4).
7. Connect the gray lumbar electrical connector (5), if equipped.
8. Connect the black electrical connector (3) to the seat belt buckle.
9. Connect the black electrical connector (6) to the seat back harness.
10. Install the 3 seat switch bezel mounting screws.
Seat Cushion Latch Release Assembly Replacement - Rear No. 1
SEAT CUSHION LATCH RELEASE ASSEMBLY REPLACEMENT - REAR NO. 1
REMOVAL PROCEDURE
1. Remove the rear seat cushion assembly from the vehicle.
2. Remove the rear-seat cushion cover and the pad.