
Envoy 4WD V8-5.3L VIN M (2005)
Accumulator: Service and Repair
Accumulator Assembly, Spacer Plate, and Gaskets
Tools Required
^
J25025-B Pump and Valve Body Alignment Pin Set
^
J36850 Transjel Lubricant
Removal Procedure
1. Raise and support the vehicle. Refer to Vehicle Lifting.
2. Remove the transmission oil pan and filter.
3. Important: The 1-2 accumulator can be removed without removing the control valve assembly.
Remove the control valve body.
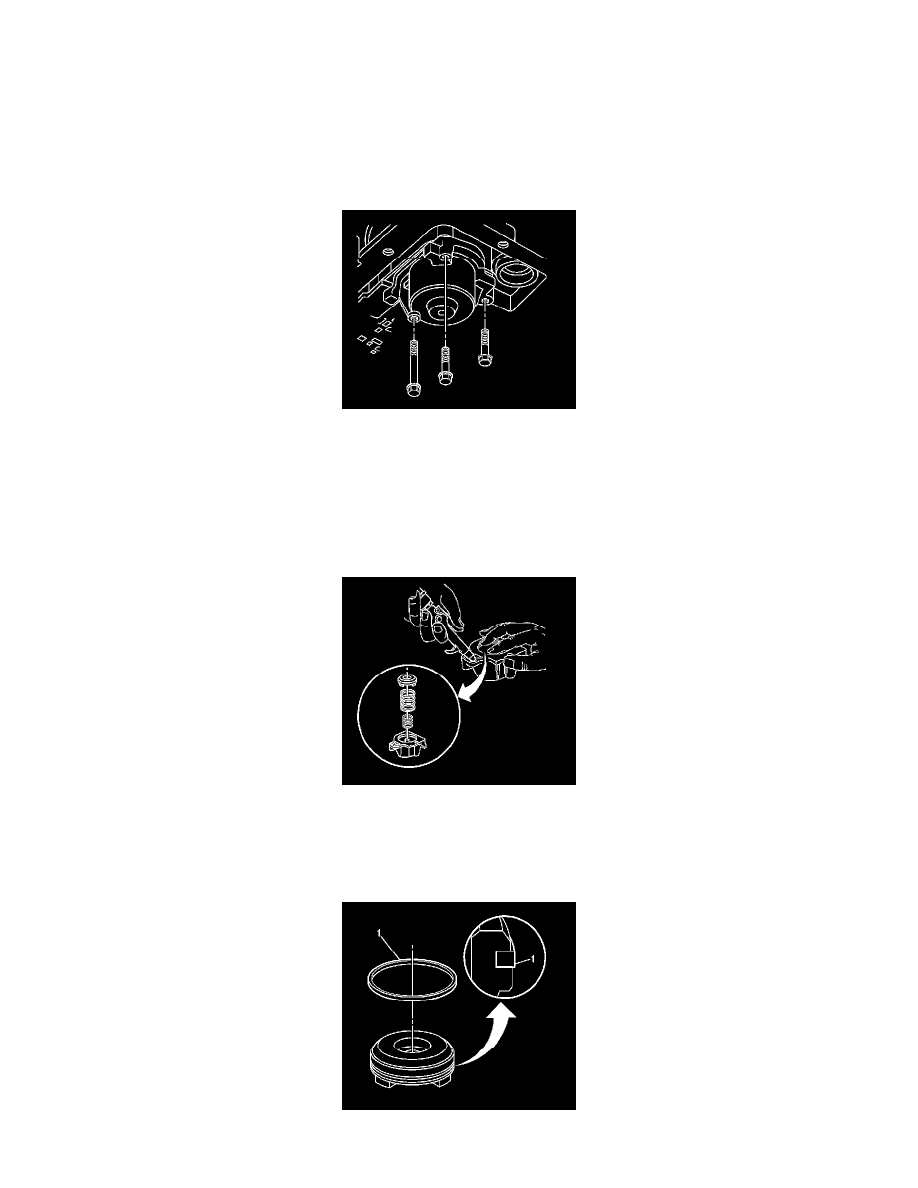
4. Remove the accumulator cover retaining bolts.
5. Remove the 1-2 accumulator cover assembly.
6. Disassemble the 1-2 accumulator.
1. Blow compressed air into the 1-2 accumulator cover, as shown, to remove the 1-2 accumulator piston.
2. Remove the 1-2 accumulator inner and outer springs.
7. Inspect the 1-2 accumulator inner and outer springs for cracks.
8. Remove the 1-2 accumulator piston seal (1) from the 1-2 accumulator piston.