
Envoy 4WD V8-5.3L VIN M (2005)
Caution: When working with any type of glass or sheet metal with exposed or rough edges, wear approved safety glasses and gloves in
order to reduce the chance of personal injury.
Important: Keep the cutting edge of the tool against the body side window frame. Do this from outside side the vehicle.
9. Separate the urethane adhesive from the body side hinged window frame.
*
Leave a base of urethane on the pinch-weld flange.
*
The only suitable lubrication is clear water.
*
Use the J 39032 or equivalent in order to remove the body side hinged window frame.
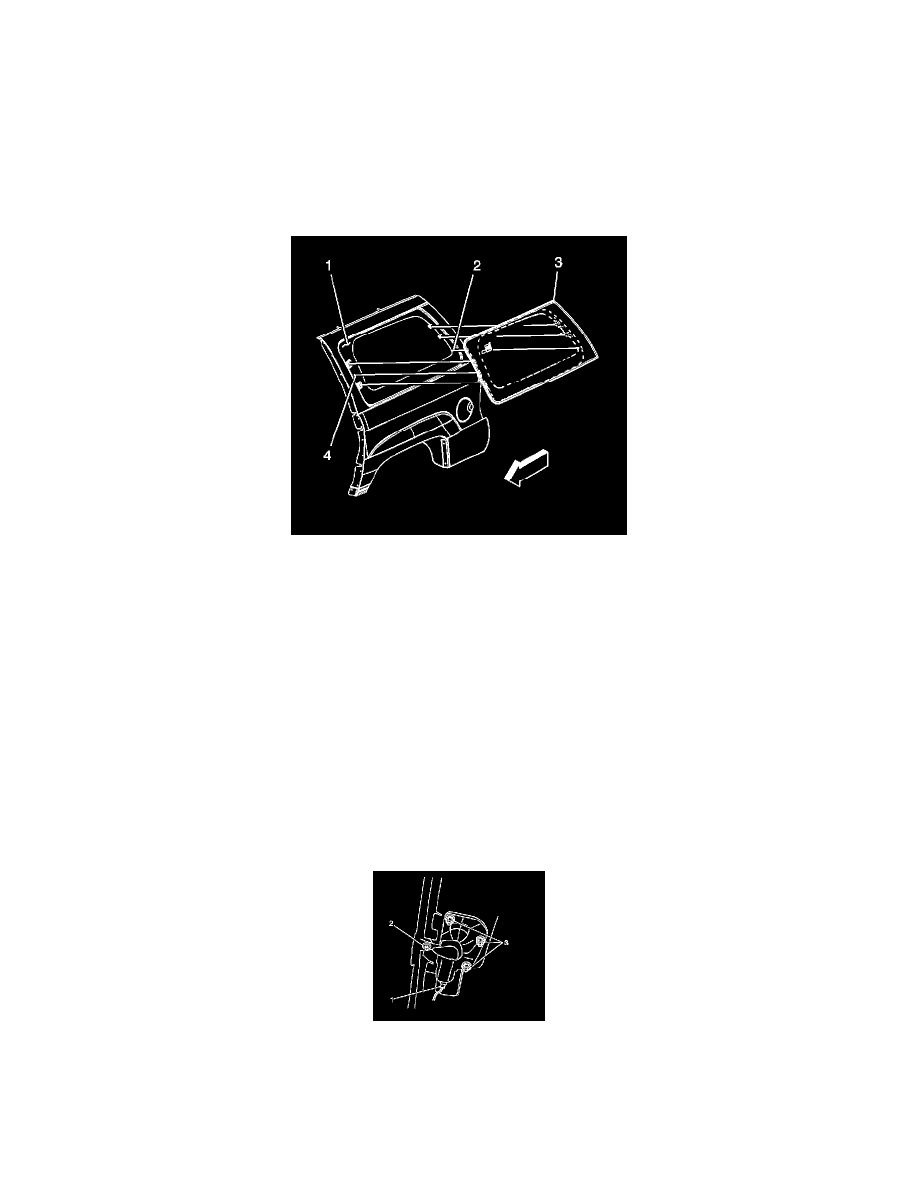
10. Remove the window frame (1) from the body side opening.
Installation Procedure
Caution: Insufficient curing of urethane adhesive may allow unrestrained occupants to be ejected from the vehicle resulting in personal
injury.
*
For the moisture-curing type of urethane adhesive, allow a minimum of 6 hours at 21°C (70°F) or greater and with at least 30 percent
relative humidity. Allow at least 24 hours for the complete curing of the urethane adhesive.
*
For the chemical-curing type of urethane adhesive, allow a minimum of 1 hour.
Do NOT physically disturb the repair area until after these minimum times have elapsed.
Important: The actuator screw must be tightened and the window frame pin must be removed for the window to function properly.
Install the body side window into the opening.
1. Remove the double layer of masking tape around the perimeter of the painted surfaces and inner trim of the window.
2. Insert the actuator screw into the slot on the window bracket.
Notice: Refer to Fastener Notice in Service Precautions.
3. Tighten the actuator screw.