
Envoy 4WD V8-5.3L VIN P (2004)
Headliner: Service and Repair
Headliner Replacement (Envoy XUV)
Headliner Replacement (Envoy XUV)
Caution: Do not attempt to repair or alter the head impact energy-absorbing material glued to the headliner or to the garnish trims. If the
material is damaged, replace the headliner and/or the garnish trim. Failure to do so could result in personal injury.
Removal Procedure
1. Position the rear seats in the cargo position.
2. Remove the rear seat/mid gate rest.
3. Remove the jack and tool stowage container bracket.
4. Remove the left rear seat.
5. Ensure the ignition switch is in the LOCK position.
6. Disconnect the negative battery cable.
7. Remove the right sound insulator panel.
8. Remove the left/right front door sill plates.
9. Remove the left/right rear door sill plates.
Notice: Remove the headliner and the headliner harness as an assembly. Do NOT cut or splice the headliner harness. Cutting or splicing the
harness may damage the coax cable, resulting in poor radio performance.
10. Remove the center pillar garnish moldings.
11. Remove the windshield garnish moldings.
12. Remove the overhead console.
13. Remove the sunshades from the headliner.
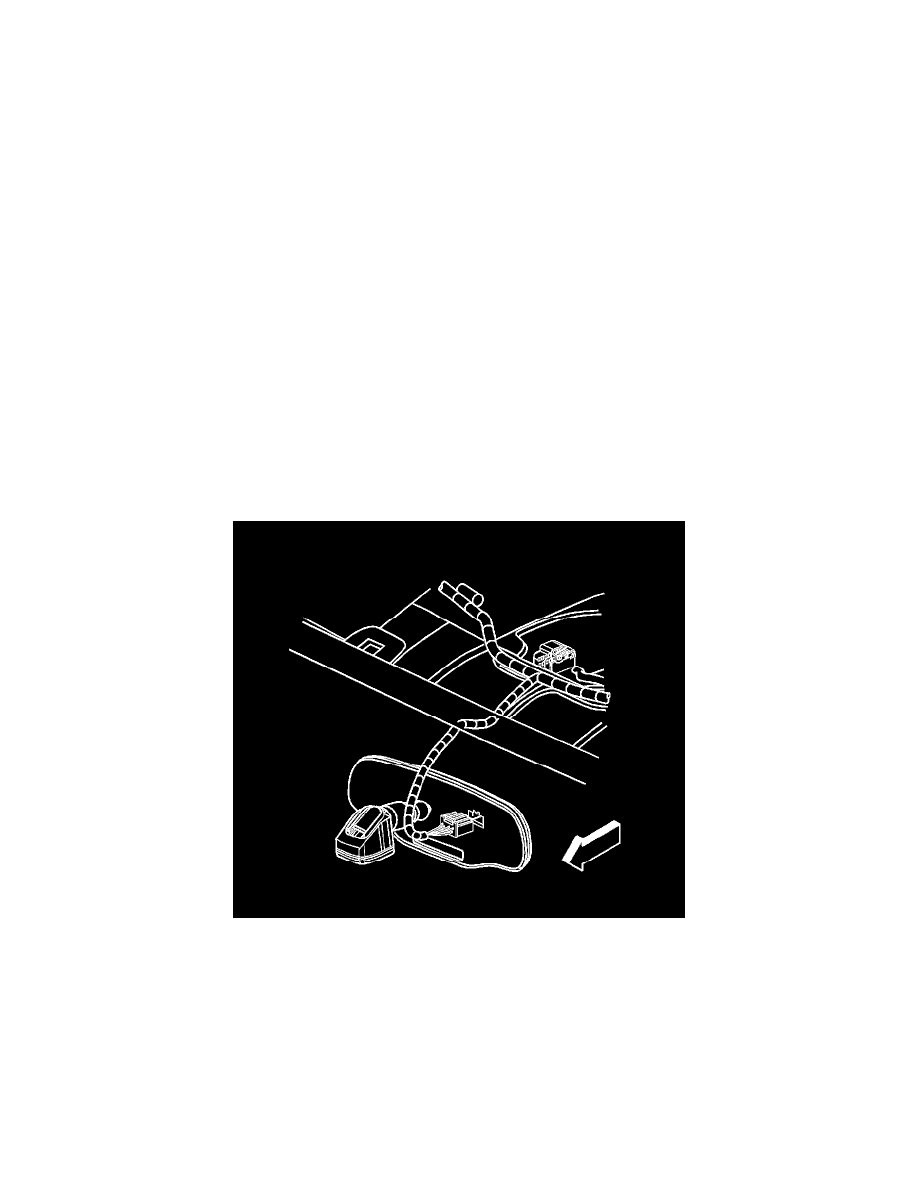
14. Disconnect the inside rear view mirror electrical connector.
15. Remove the rear floor trim panel assembly.
16. Remove the upper body lock pillar trim cover.
17. Remove the two push pins from the rear of the headliner.
18. Remove the left/right lower body lock pillar trim panels.
19. Remove the left/right upper body lock pillar trim panels.