
G 2500 3/4 Ton Van V6-262 4.3L VIN Z (1992)
7.
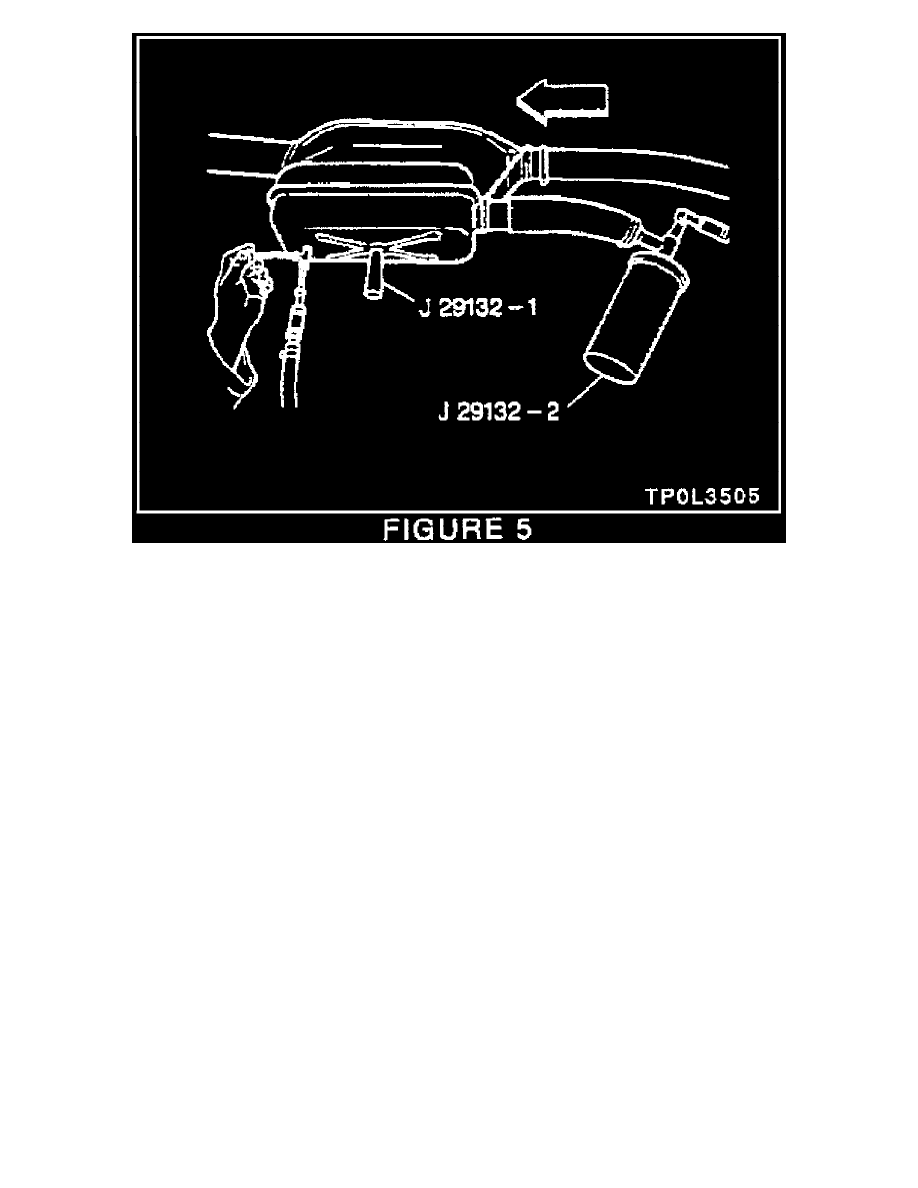
Connect a second air supply to the catalyst remover air jet fitting and slowly move the control handle back and forth within a 180 degree arc. The
air stream should be directed toward the rear of the converter and to both sides, see figure (5).
8.
Use an air chisel equipped with tool J-29132-4 held against side of converter under the pinch weld flange, and vibrate converter along the pinch
weld flange which will aide in the removal of the beads, see figure (4).
9.
Disconnect both air supply lines and remove the catalyst remover tool from the converter. Leave the converter beads in the catalyst remover tool.
Remove the shop exhaust hose from the tailpipe.
CAUTION:
The catalyst beads may be hot.
II. Bead Installation
1.
Install aspirator J-29132-2 to the tailpipe outlet, secure the support chain and connect a air supply to the aspirator, see Figure (1). This creates a
vacuum in the converter to pull the replacement beads into place.
NOTICE:
The aspirator filter MUST be clean prior to starting this procedure. Failure to clean the filter will degrade bead installation operation.