
G 2500 3/4 Ton Van V6-262 4.3L VIN Z (1992)
Axle Shaft Assembly: Service and Repair
Chevrolet Salisbury Type Semi-Floating
Axle Shaft, Replace
REAR AXLE SHAFT
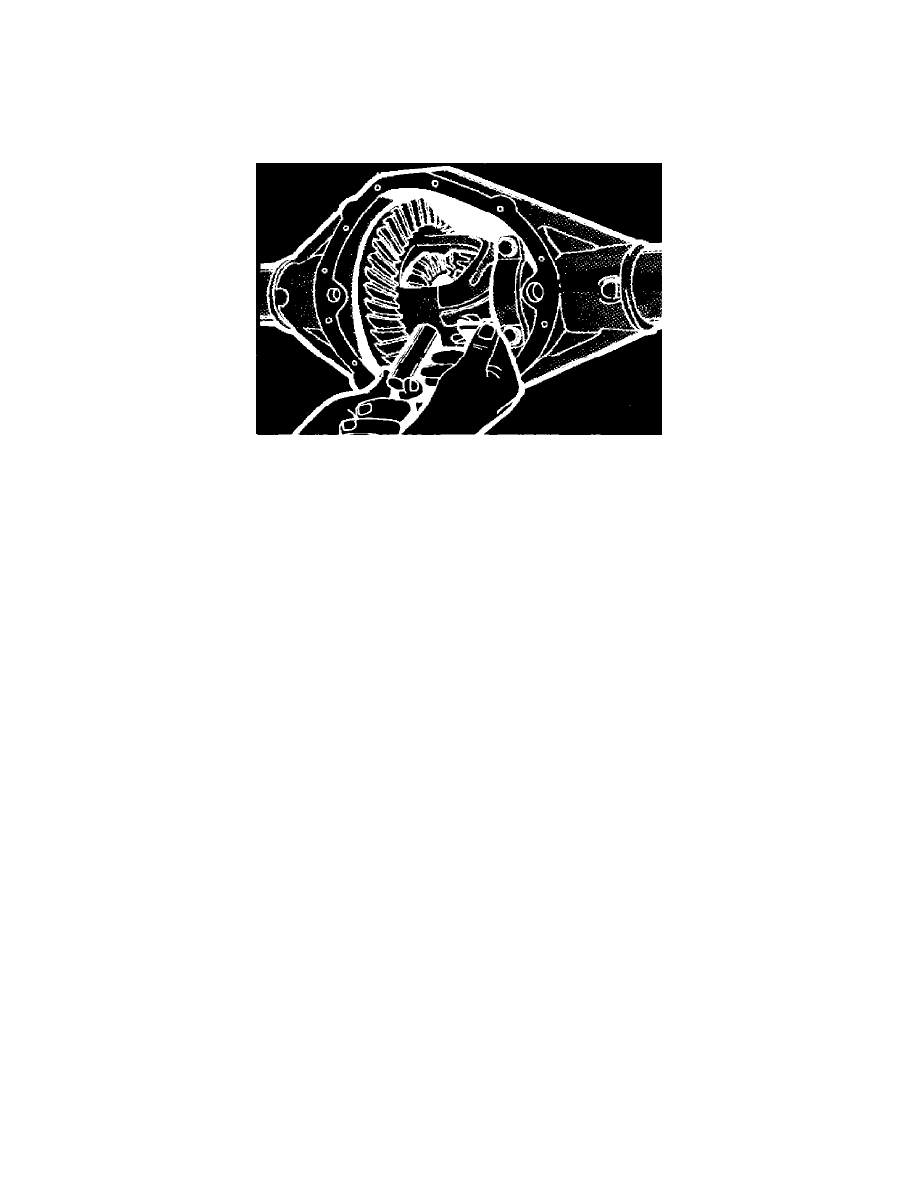
Fig. 3 Removing differential pinion shaft
1.
Raise vehicle and remove wheel and brake drum.
2.
Drain lube from carrier and remove cover.
3.
Remove differential pinion shaft lock screw and remove differential pinion shaft, Fig. 3.
4.
Pull flanged end of axle shaft toward center of vehicle and remove C-lock from button end of shaft.
5.
Remove axle shaft from housing, being careful not to damage seal.
6.
Reverse foregoing procedure to install the axle shaft.
Axle Assembly
REAR AXLE ASSEMBLY
1.
Raise and support vehicle. Using a jack, support rear axle assembly.
2.
Drain fluid from axle assembly.
3.
Mark driveshaft to flange, then disconnect driveshaft and tie driveshaft to side rail or crossmember.
4.
Tape bearing cups to prevent loss of the rollers.
5.
Remove wheel and brake drum or hub and drum assembly.
6.
Disconnect parking brake cable from lever and brake flange plate.
7.
Disconnect and cap hydraulic brake lines from connectors.
8.
Remove shock absorbers from axle brackets.
9.
Disconnect vent line from vent fitting.
10.
Remove height sensing and brake proportional valve brackets.
11.
Remove nuts and washers from U-bolts.
12.
Carefully remove U-bolts, spring plates and spacers from axle assembly.
13.
Lower axle assembly from vehicle.
14.
Reverse procedure to install.
Axle Housing
REAR AXLE HOUSING
Construction of the axle assembly is such that service operations may be performed with the housing installed in the vehicle or with the housing
removed and installed in a holding fixture. The following procedure is necessary only when the housing requires replacement.
1.
Raise vehicle and place jackstands under frame side rails. Support axle housing with a suitable jack.
2.
Drain lubricant from axle housing and remove propeller shaft.
3.
Remove wheel and brake drum.
4.
Disconnect parking brake cable from lever and at brake flange plate.
5.
Disconnect hydraulic brake lines from connector and lower shock mounting from axle brackets.
6.
Remove vent hose from axle vent fitting if equipped.
7.
Disconnect height-sensing and brake proportioning valve linkage if equipped.
8.
Support assembly with a hydraulic jack and remove rear stabilizer bar.
9.
Remove U-bolts, spring plates and spacers from axle assembly.