
G 2500 3/4 Ton Van V8-305 5.0L VIN M SFI (1996)
b. Tighten the bolts on the second sequence to 12 Nm (106 inch lbs.).
c. Tighten the bolts on the final sequence to 15 Nm (11 ft. lbs.).
5. Install the wiring harness connectors and brackets.
6. Install the upper radiator hose at the thermostat housing. Refer to Cooling System.
7. Install the heater hose at the lower intake manifold. Refer to Cooling System.
8. Install the coolant bypass hose. Refer to Heating and Air Conditioning.
9. Install the EGR valve. Refer to Powertrain Management.
10. Install the valve rocker arm cover.
11. Install the fuel supply and return lines at the rear of the lower intake manifold.
12. Install the wiring harness and brackets.
13. Install the cruise control cable (if equipped).
14. Install the throttle cable and bracket. Refer to Powertrain Management.
15. Install the transmission oil level indicator tube. Refer to Transmission and Drivetrain.
16. Install the EGR inlet tube, clamp, and bolt.
17. Install the PCV valve and vacuum hoses.
18. Install the power brake vacuum tube.
19. Install the generator and the bracket bolt, (if needed).
20. Install the air conditioning compressor and bracket. Refer to Heating and Air Conditioning.
21. Install the distributor. Note the relationship of the distributor housing and rotor made at disassembly.
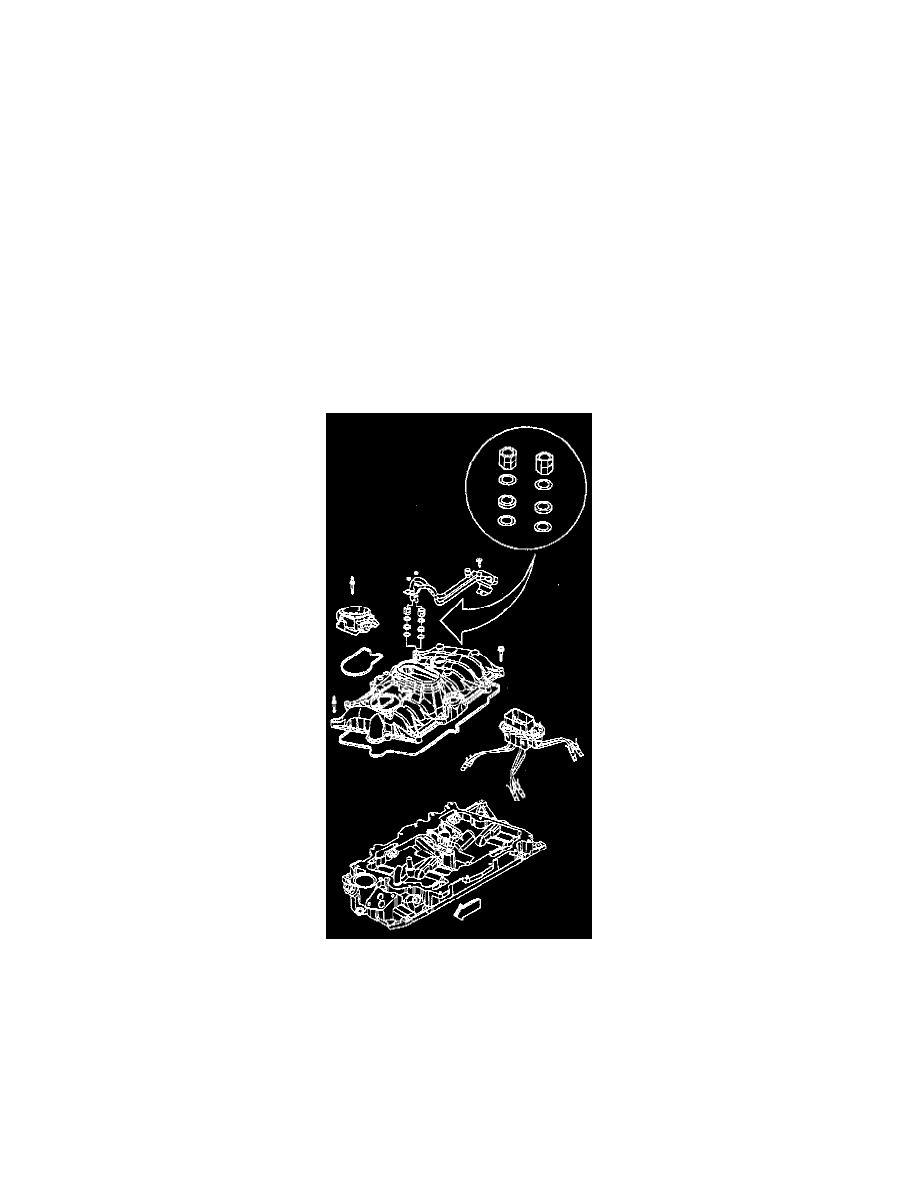
Upper
1. Install the upper intake manifold gasket.
2. Install the upper intake manifold. Use care not to pinch the injector lines between the upper and lower intake manifolds.
3. Install the upper intake manifold bolts. Note the marks made at disassembly for proper stud location.