
G 2500 3/4 Ton Van V8-350 5.7L VIN K TBI (1995)
1.
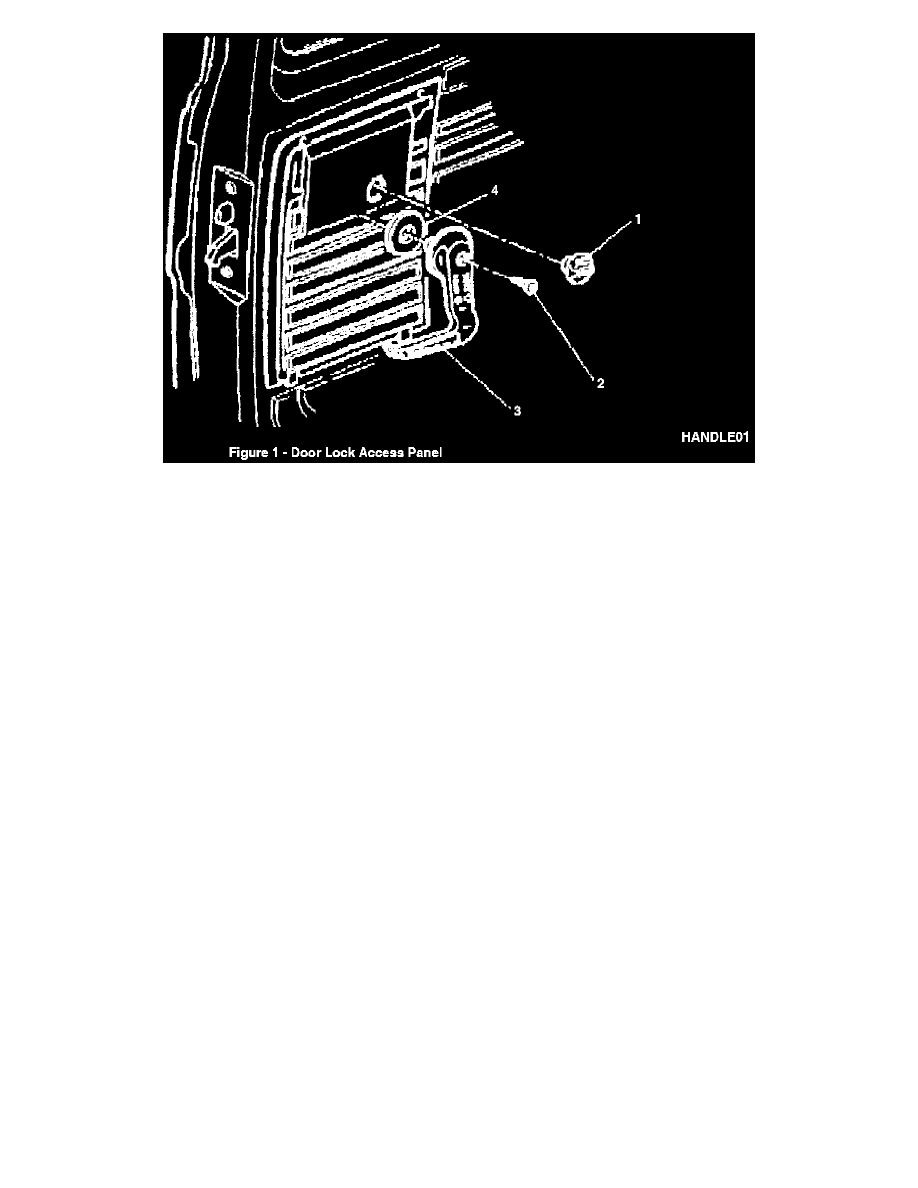
Remove the lock knob (Figure 1, Item 1), the door handle screw (Item 2), handle (Item 3), and door handle cover (Item 4).
2.
Remove trim panel screws.
3.
Remove trim panel from door.
Rear Door Latch
1.
Remove the upper and lower lock rod assemblies from the rear latch. To remove, pivot the retaining clip from the rod and pull the rod from the
latch.
2.
Remove the rear latch-to-door screws.
3.
Remove the latch from the door through the access hole.
Installation Procedures
Rear Door Latch
1.
Install new latch assembly through the access hole.
2.
Line up the latch assembly to door holes and install screws.
3.
Install upper and lower lock rods to the latch assembly. Push lock rods into the latch retaining holes. Pivot retaining clips onto lock rod assemblies.
Trim Panel
1.
Install trim panel to door.
2.
Install and tighten trim panel screws.
3.
Install the inside door handle cover (Figure 1, Item 4), inside door handle (Item 3), door handle screw (Item 2), and lock knob (Item 1).
4.
Install Campaign Identification Label.
Installation of Campaign ID Label
Clean surface of radiator upper mounting panel and apply a Campaign
Identification Label. Make sure the correct campaign number is inserted
on the label. This will indicate that the campaign has been completed.
Owner Letter
Dear General Motors Customer: