
G 2500 3/4 Ton Van V8-350 5.7L VIN K TBI (1995)
REMOVE OR DISCONNECT
1. Rotate transmission bottom pan surface up and lock in place.
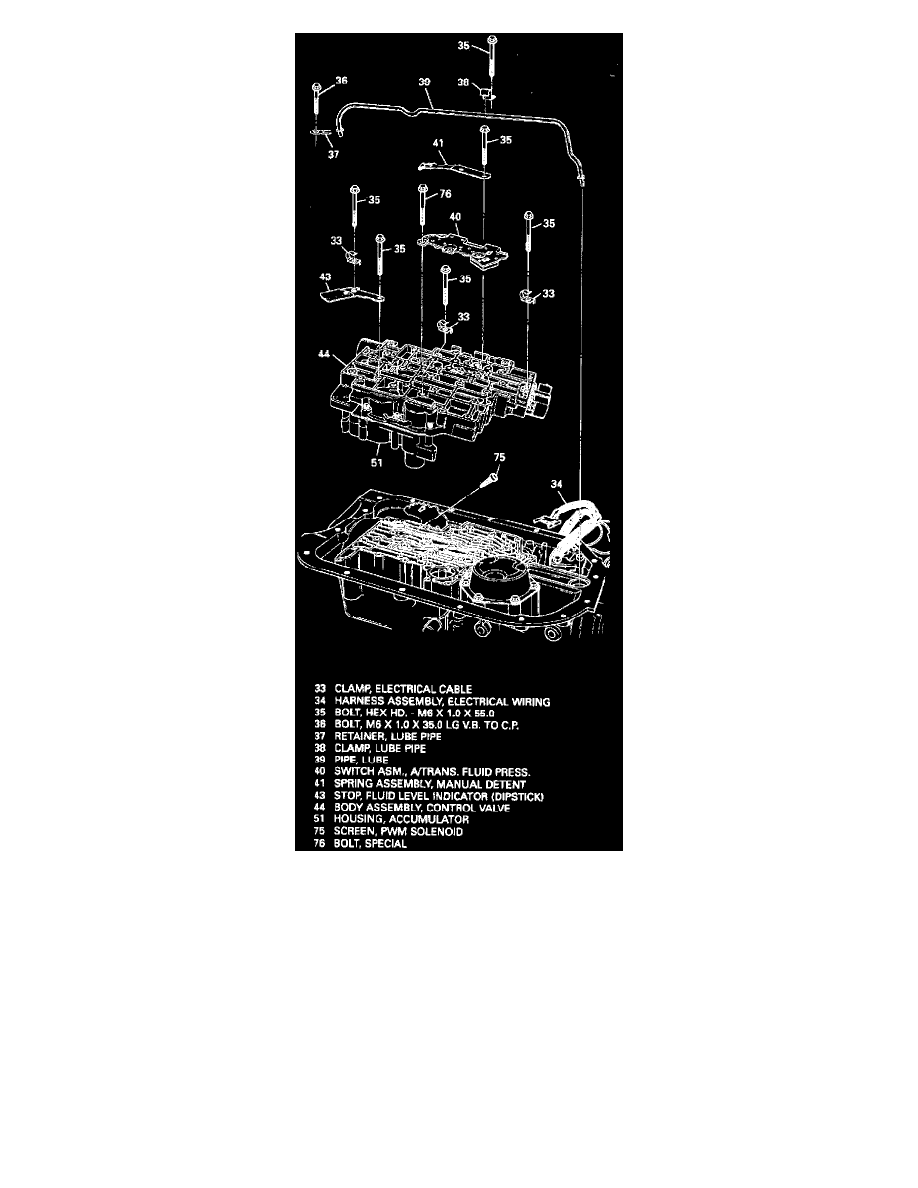
2. Wire harness assembly (34) connectors from components.
IMPORTANT
^
If the wire harness assembly does not need servicing, it is not necessary to remove it from the case.
^
Use a cap to cover electrical pin at case connection.
3. Six bolts (76) using 8 mm socket, and transmission fluid pressure switch assembly (40).
NOTICE: Be sure five 0-rings are attached to transmission fluid pressure switch assembly.
4. Twenty-one bolts (35) using 10 mm socket, from valve body assembly, manual detent spring and roller assembly (41).
5. Three wiring clamps (33), fluid level indicator stop (43), one bolt (36) using 10 mm socket, lube pipe (39), lube pipe retainer (37) and clamp (38).
6. Control valve assembly (44) including the accumulator housing assembly (51), valve body gaskets (45 and 48), spacer plate (46) and accumulator
gasket (47).