
G 2500 3/4 Ton Van V8-350 5.7L VIN K TBI (1995)
1.
Using a hammer and suitable drift, drive inner bearing, cup and seal from hub assembly.
2.
Remove outer bearing snap ring using suitable pliers.
3.
Using tools J-24426 and J-8092, Fig. 7, drive outer bearing and cup from hub assembly.
4.
Install new outer bearing into hub assembly.
5.
Install outer bearing cup using tools mentioned in Step 3. Drive cup beyond snap ring groove. Install outer bearing cup with tool J-8092
positioned upside down to prevent chamfer on tool from damaging cup.
6.
Install snap ring into groove using suitable pliers.
7.
Using tool J-24426, drive cup against snap ring.
8.
Install inner bearing cup using tools J-24427 and J-8092. Drive cup into position until it seats against shoulder of hub bore.
9.
Install new oil seal.
Hub & Drum
REAR WHEEL BEARINGS
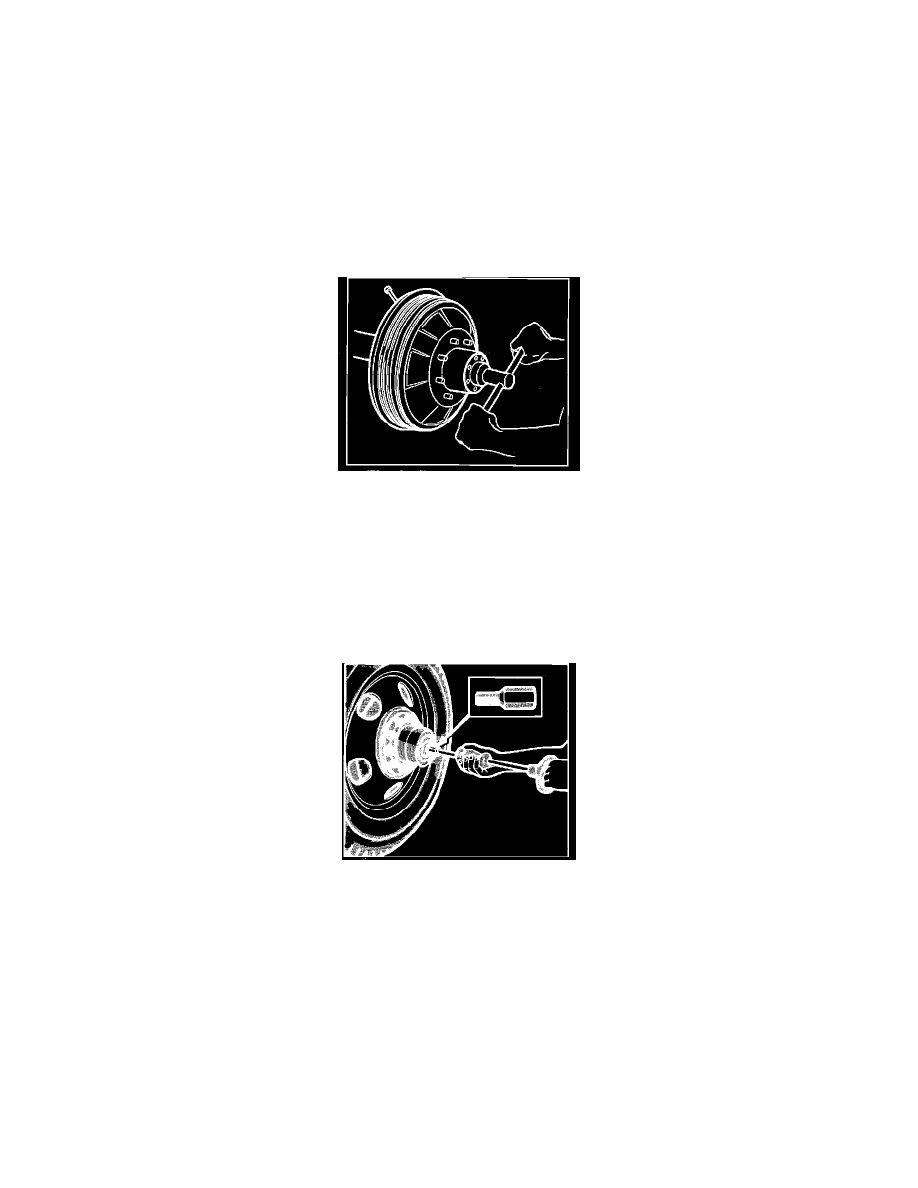
Fig. 6 Removing Or Installing Wheel Bearing Adjusting Nut
1.
Remove wheel and axle shaft.
2.
Disengage tang of locknut from slot or flat of locknut, then remove locknut from housing tube, using appropriate tool, Fig. 6.
3.
Disengage tang of locknut from slot or flat of adjusting nut and remove locknut from housing tube.
4.
Use appropriate tool, Fig. 6, to remove adjusting nut from housing tube. Remove thrust washer from housing tube.
5.
Pull hub and drum straight off axle housing.
Axle Shaft
REAR AXLE SHAFT
Removing axle shaft. GMC single speed axle
1.
Remove hub cap retaining cap screws and hub cap.
2.
Install a slide hammer adapter into tapped hole in axle flange.
3.
Attach slide hammer onto adapter and remove axle shaft from housing, Fig. 9.
4.
Reverse procedure to install. Lubricate small end of axle shaft and install into housing using a new gasket. Torque axle flange cap screws on 15 ft.
lbs.
Wheel Bearings
REAR WHEEL BEARINGS