
K 1500 Suburban 4WD V8-5.7L VIN R (1997)
Fuel Meter Body: Service and Repair
Fuel Meter Body Assembly Removal and Replacement
CLEANING AND INSPECTION PROCEDURE
NOTE: Cover the injector sockets in order to prevent dirt and other contaminants from entering the open fuel passages.
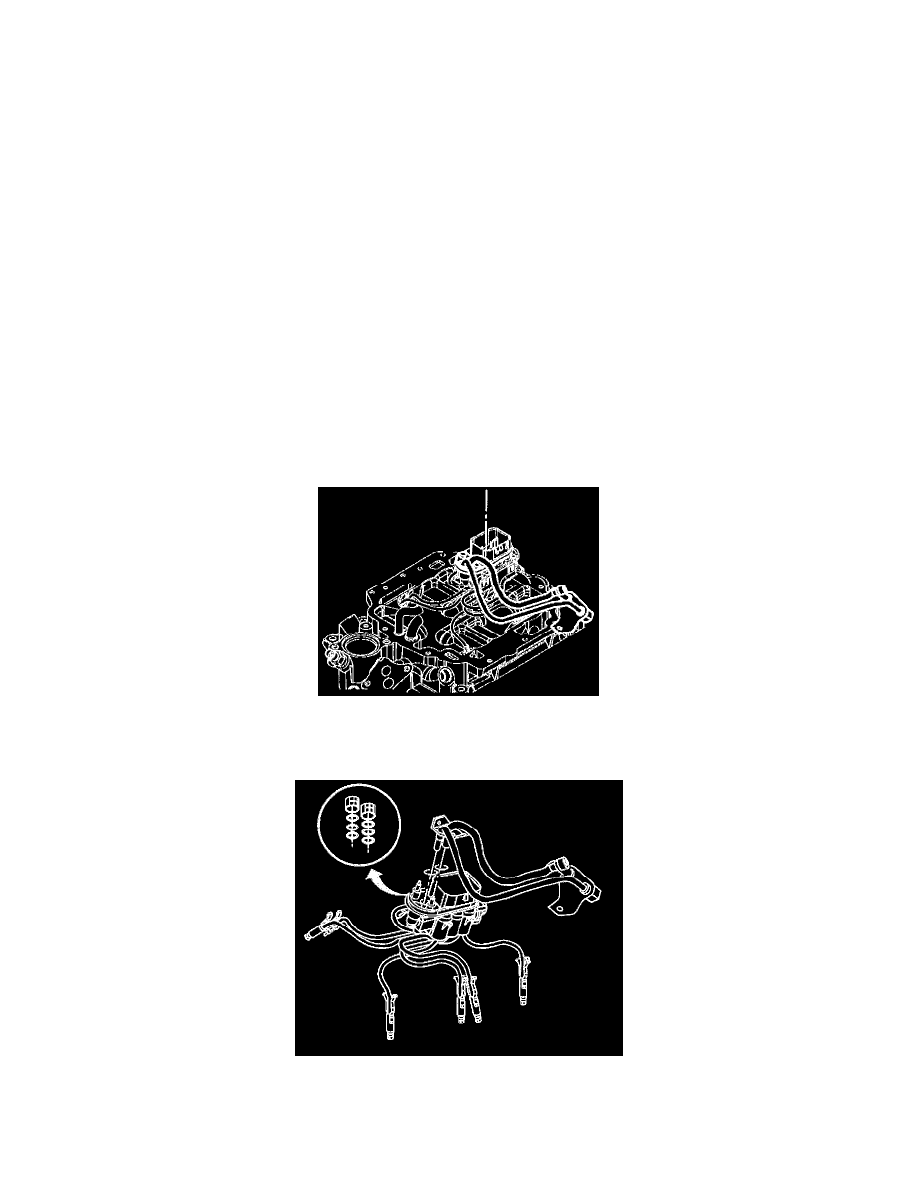
Removing the fuel meter body assembly from the engine requires removing the top portion of the intake manifold, called the upper manifold assembly
and throttle body.
An 8-digit part identification number is on a mylar label affixed to one of the fuel meter body assemblies. Refer to this number if servicing or part
replacement is required.
NOTE: Do not use a cleaner which contains methyl ethyl ketone. This extremely strong solvent may damage components and is not necessary for this
type of cleaning.
Use a carburetor cleaner in order to remove deposits.
Refer to the instructions provided with the cleaner.
-
Before removal, the fuel meter body assembly may be cleaned with a spray type engine cleaner, GM X-30A or the equivalent.
-
Follow the package instructions.
-
Do not soak fuel meter body assemblies in liquid cleaning solvent.
REMOVAL PROCEDURE
CAUTION: Refer to Battery Disconnect Caution in Cautions and Notices.
1. Disconnect the negative battery cable.
2. Relieve the fuel system pressure.
3. Remove the electrical connector to the fuel meter body.
4. Disconnect the fuel pipe feed and return fittings at the rear of the intake manifold.
5. Remove the engine fuel pipes that attach to the fuel meter body from the chassis pipes.
6. Remove the upper manifold assembly.