
K 1500 Suburban 4WD V8-5.7L VIN R (1997)
A. Align the swage ring and the swage ring clamp.
B. Insert the bolts and hand tighten until snug.
Important: Make sure that the seal, housing and swage ring all remain in alignment during this procedure.
16. Tighten each bolt 180° at a time. Tighten each bolt alternately until both sides touch the bottom half of the tool.
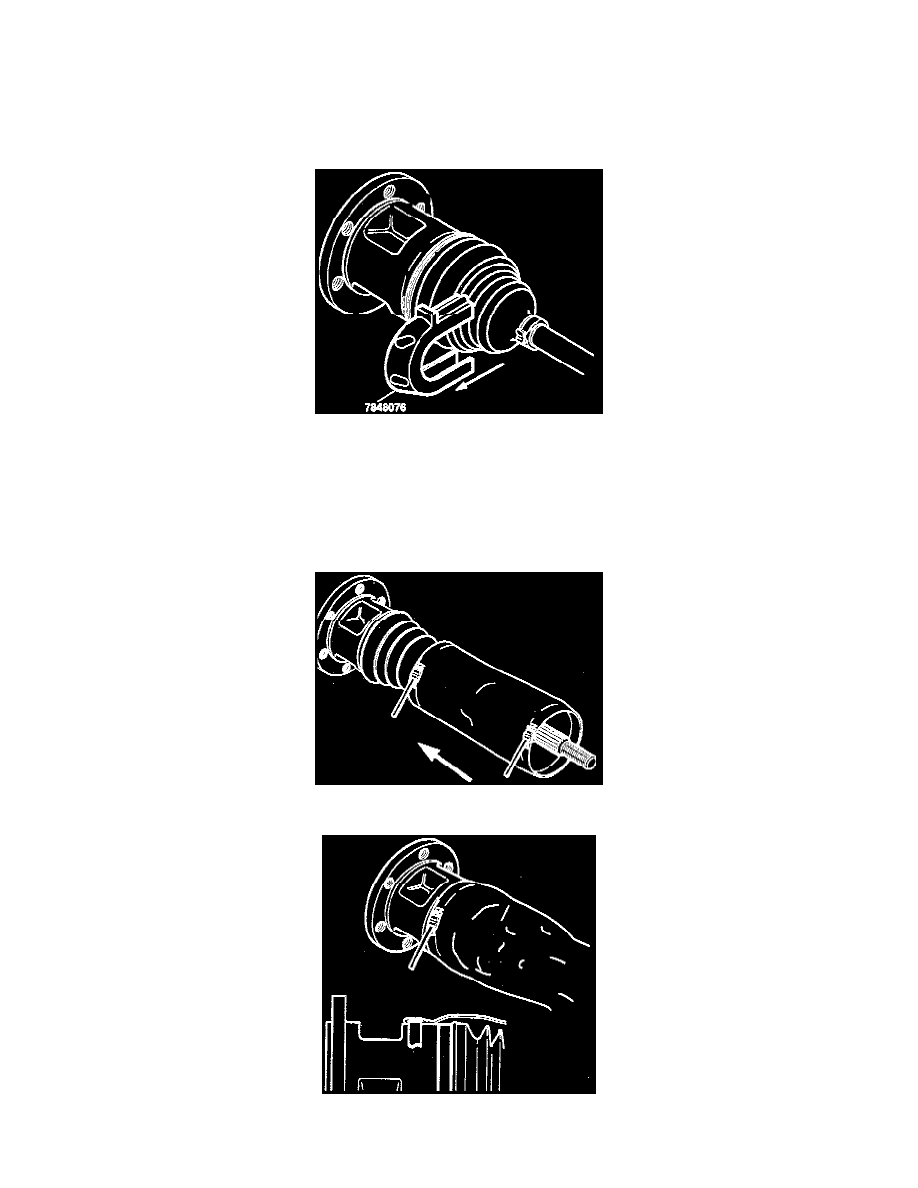
17. Loosen bolts and remove halfshaft assembly from the tool.
18. Remove the convolute retainer (tool 7848076) from the seals.
Install Drive Axle Seal Cover (Optional)
-
Tools Required:
-
J 41187 Band-it type tool
1. Insert new clamps into the original drive axle seal cover (if you are reusing the original drive axle seal cover).
2. Slide the drive axle seal cover onto the drive axle halfshaft assembly, starting at the outboard (CV joint) end.
3. Align the inboard damp on the inboard joint. Align the seal cover seam so the seam is straight.