
K 1500 Truck 4WD V8-4.8L VIN V (1999)
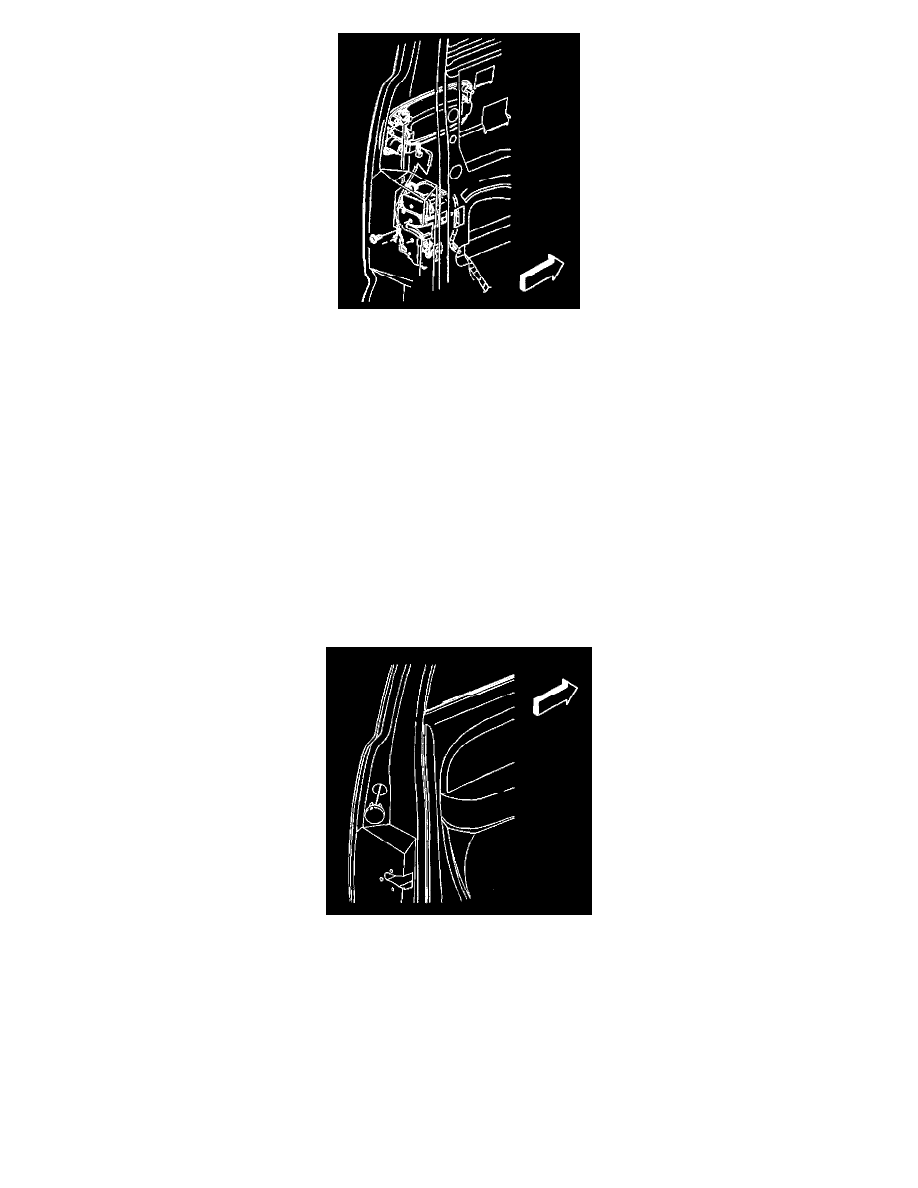
7. Disconnect the cylinder lock rod. Remove the bolts retaining the actuator to the door.
8. Remove the actuator and control rods as an assembly.
9. Disconnect the wiring connector.
10. Remove the control rods as necessary.
Installation Procedure
1. Install the control rods to the assembly.
2. Connect the electrical connectors to the actuator.
3. Install the actuator to the door.
4. Connect the outside door handle control rod.
5. Connect the cylinder lock rod. Install the bolts retaining the actuator to the door.
Tighten
Tighten the screws to 9 N.m (80 lb. in.).
6. Connect the manual door lock to the door retaining clips.
7. Connect the inside door handle control rod to the lock assembly.
8. Install the rubber plug.
9. Connect the inside door lock rod to the handle retainer clip.
10. Install the water deflector.
11. Install the door trim panel.
12. Inspect the operation of all the related components.