
K 1500 Truck 4WD V8-5.3L VIN T (2000)
Body Emblem: Removal and Replacement
Adhesive Retained Molding and Emblem Description
Adhesive Retained Molding and Emblem Description
Apply the following items in an environment free of dust and dirt. Dust and dirt could come in contact with the adhesive backing and prevent proper
adhesion:
1. Clean the area where you will mount the replacement item. Use a suitable solvent such as flash naphtha or a mixture of 50 percent isopropyl
alcohol and 50 percent water.
2. Dry the area thoroughly.
3. Maintain a temperature range of 27-41°C (80-105°F) in the body area. Heat the area if necessary.
4. Maintain a temperature range of 29-32°C (80-90°F) for the item that you are mounting. Carefully apply heat to the item if needed.
5. Remove the protective liner.
Appliques
1. Press the molding to the body along the entire length at a pressure of 13.3-44.5 N (3-10 lb).
2. Tape clear plastic, 0.12 mm (0.005 in) thick, over the item.
3. Apply high pressure along the entire area in order to wet out about 75 percent of the adhesive.
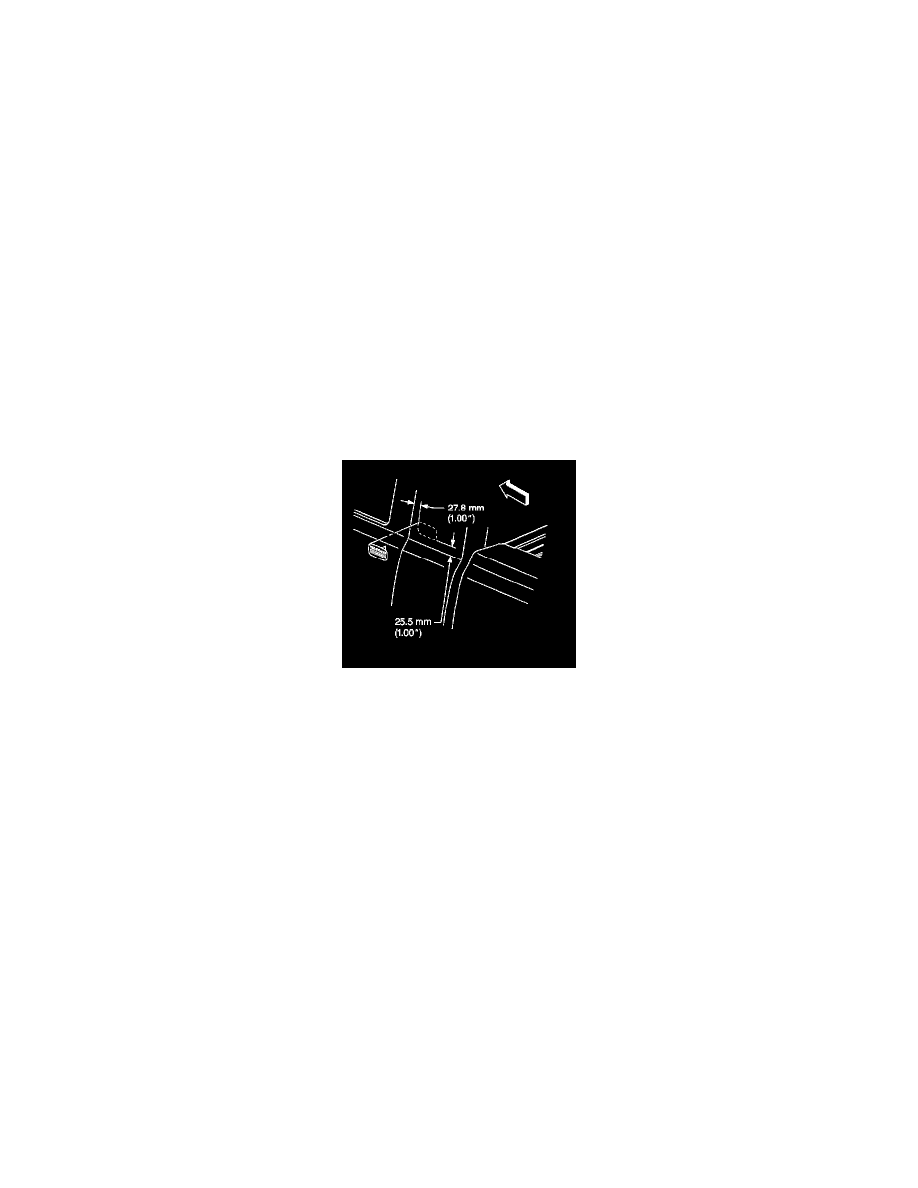
Emblems
Emblems are clamped to the body at the center of the emblem. Place the foam between the clamp and the emblem in order to protect the emblem.
Emblem/Nameplate Replacement
Emblem/Nameplate Replacement
Important: Apply the following items in an environment free of dust and dirt. Dust and dirt can come in contact with the adhesive backing.
Dust and dirt can prevent the proper adhesion.
1. Clean the area where you are mounting the replacement item. Use a suitable solvent such as flash naphtha or a mixture of 50 percent isopropyl
alcohol and 50 percent water.
2. Dry the area thoroughly.
3. Maintain a temperature range of 27-41°C (80-105°F) in the body area. Heat the area if necessary.
4. Maintain a temperature range of 29-32°C (80-90°F) for the item that is to be mounted. Carefully apply heat to the item if needed.
5. Remove the protective liner.
Appliques