
K 1500 Truck 4WD V8-5.3L VIN T (2000)
Idler Arm: Testing and Inspection
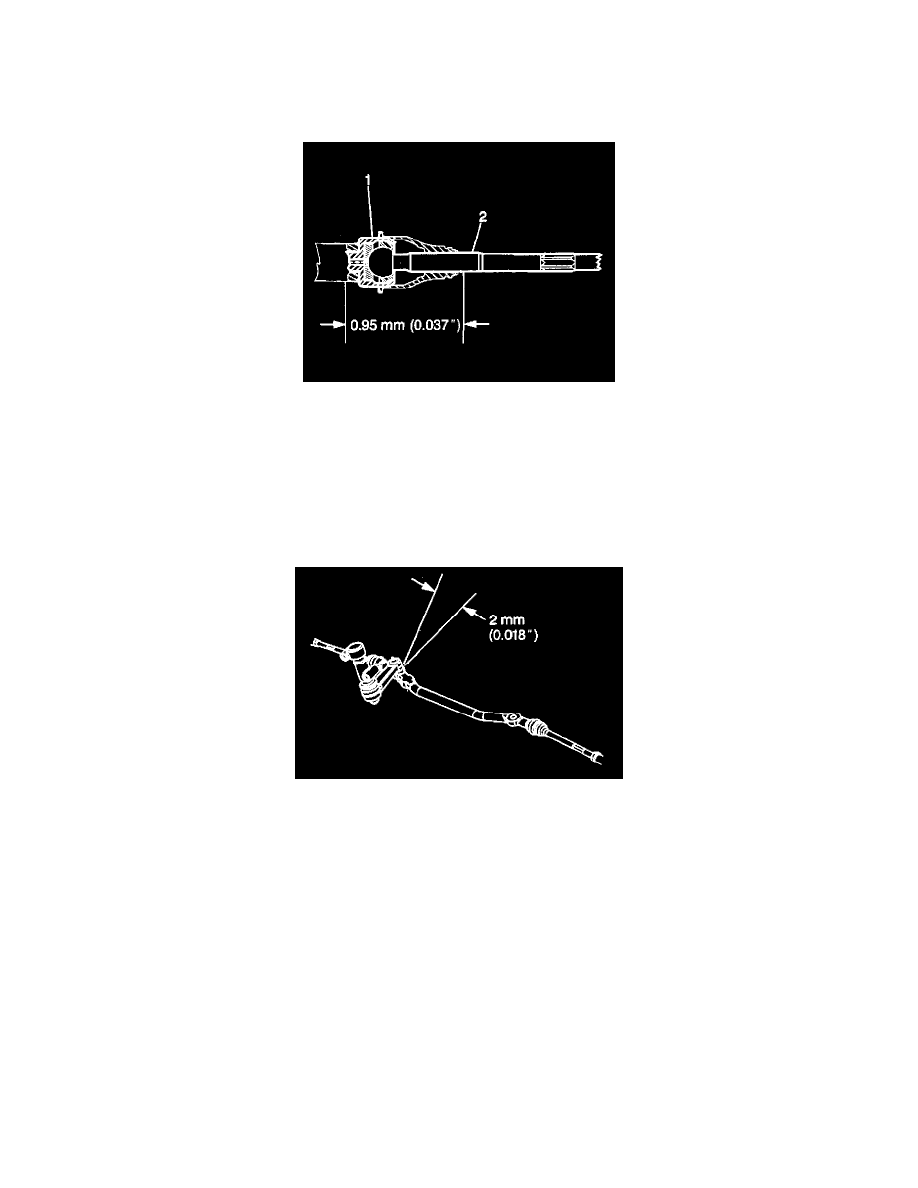
Tie Rods
Important: Replace any damaged steering linkage components. Do not repair linkage parts by welding.
1. Replace the tie rods under the following conditions:
-
Excessive up-and-down motion of 3 mm (0.118 inch) or more is present at the tie rod and the steering knuckle joint.
-
Excessive lateral end play of the tie rod shaft (2) to the relay rod (1).
2. Before performing any service, note the position of the tie rod jam nut.
Idler Arm
Important: Do not jerk the right wheel and tire assembly back and forth as a test procedure. There is no control on the amount of force being applied
to the idler arm.
1. Raise the vehicle on a hoist. Support the vehicle with jack stands. Refer to Vehicle Lifting.
2. Allow the front wheels to rotate freely.
3. Allow the steering mechanism to turn freely.
4. Position the wheels in a straight ahead position.
5. For vehicles with S4WD, remove the differential carrier shield. Refer to Shield Replacement.
6. Place a spring scale near the relay rod end of the idler arm.
7. Exert a 110 Nm (25 lb) force upward, then downward (the force is forward and rearward) while measuring the total distance the arm moves.
7.1.
Allow only 2 mm (0.078 inch) of movement.
7.2.
Replace the idler arm if the idler arm exceeds this test.
8. Carefully diagnose shimmy concerns when loose idler arms may be the cause.
9. Before inspecting the suspension or steering components, consider the following possibilities:
-
The dynamic imbalance of the wheel and the tire assemblies
-
The force variation of wheel and tire assemblies
-
The runout of the wheel and the tire assemblies
-
The road surface irregularities