
K 1500 Truck 4WD V8-5.3L VIN T (2000)
Important: Do not remove all traces of the adhesive. Remove all mounds or loose pieces of urethane adhesive.
11. Shake the pinchweld primer (black #3) for at least one minute.
12. Use a new dauber to apply the primer to the surface of the pinchweld flange.
13. Allow the glass primer to dry for approximately 10 minutes.
Caution: Failure to Prep Primer Caution in Service Precautions.
Important: Use care when applying prep (clear #1) on the windshield. This primer dries almost instantly, and may stain the viewing area
of the windshield if not applied evenly.
14. If installing a new non encapsulated window:
1. Use a new dauber, to apply the stationary window prep (clear #3) approximately 10 mm to 16 mm (3/8 in to 5/8 in). around the entire
perimeter of the window inner surface.
2. Apply stationary window prep (clear #1) to any exposed edges of the window.
3. Wipe the glass primed area immediately with a clean lint free cloth.
4. Shake the glass primer (black #2) for at least one minute.
5. If installing a new encapsulated window:
Use a new dauber, in order to apply the window prep (clear #2) to the area approximately 10 mm to 16 mm (3/8 in to 5/8 in). around the entire
perimeter of the glass inner surface of the primer/bonding areas). The primer is good up to 8 hours after applying it to the glass. The primed
surface of the glass must be kept clean.
6. Allow the glass primer to dry for approximately 10 minutes.
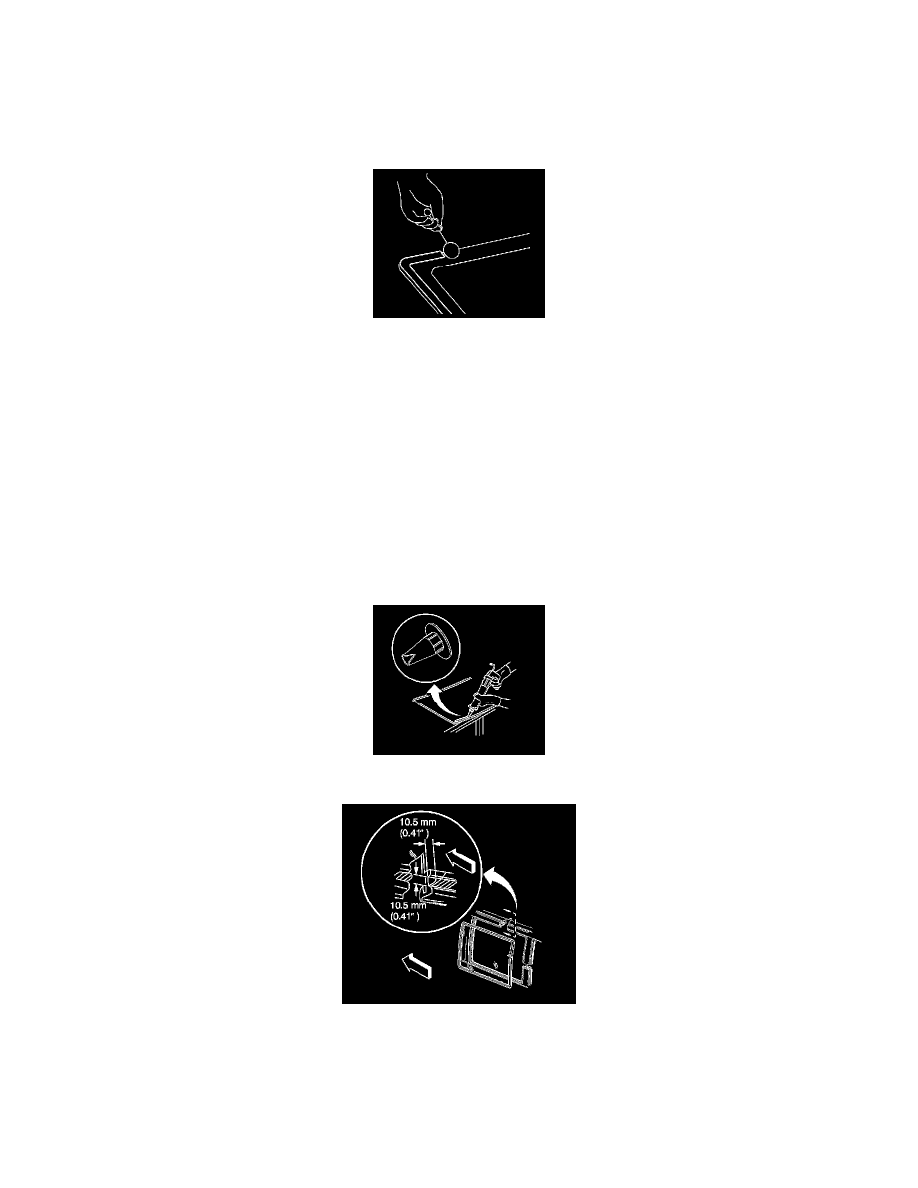
15. If using the short method, cut the tip of the applicator nozzle in order to provide a bead of 6.0 mm (1/4 in).
16. If using the extended method, cut the applicator nozzle in order to provide a bead 10.5 mm (0.14 in). wide and 10.5 mm (0.14 in). high.