
K 1500 Truck 4WD V8-5.7L VIN R (1997)
Engine Mount: Service and Repair
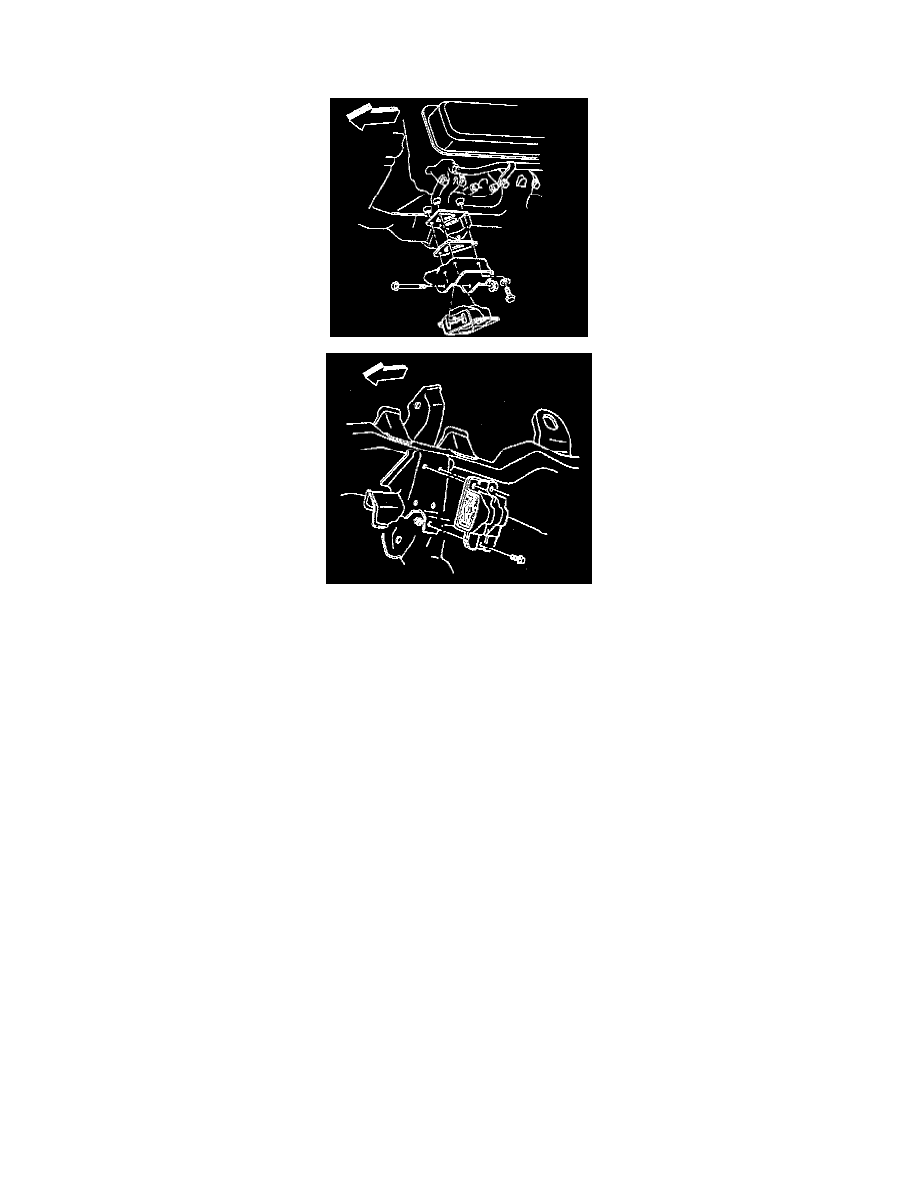
Front
REMOVAL
CAUTION: When supporting the engine to replace a mounting, raise the engine only to the height required to provide clearance for mounting removal.
It may be necessary to drain the cooling system and disconnect hoses to avoid damage when the engine is raised. Be careful that control linkage and
wiring are not damaged from raising the engine. When replacing a single front mounting, both mountings, should be detached before attempting to raise
the engine. Failure to do this will place excessive stress on the attached mounting when the engine is raised.
1. Support the engine with a suitable jack. Do not load the engine mounting.
CAUTION: Raise the engine to allow sufficient clearance. Distributor damage results from interference between the rear of the engine and the
dash panel.
2. Raise the engine only enough in order to permit removal of the engine mounting. Remove the engine mounting through-bolt and nut.
3. Remove the mounting assembly bolts, nuts, and washers.
4. Remove the mounting assembly.
INSTALLATION
1. Install the mounting assembly.
2. Install the mounting assembly bolts, nuts, and washers.
-
Tighten the bolts to 59 Nm (44 ft. lbs.).
-
Tighten the nuts to 45 Nm (33 ft. lbs.).
3. Install the engine mount through-bolt and nut.
a. Lower the engine until the bolt can be inserted.
b. Install the through-bolt nut.
-
Tighten the nut to 68 Nm (50 ft. lbs.).