
K 1500 Truck 4WD V8-5.7L VIN R (1997)
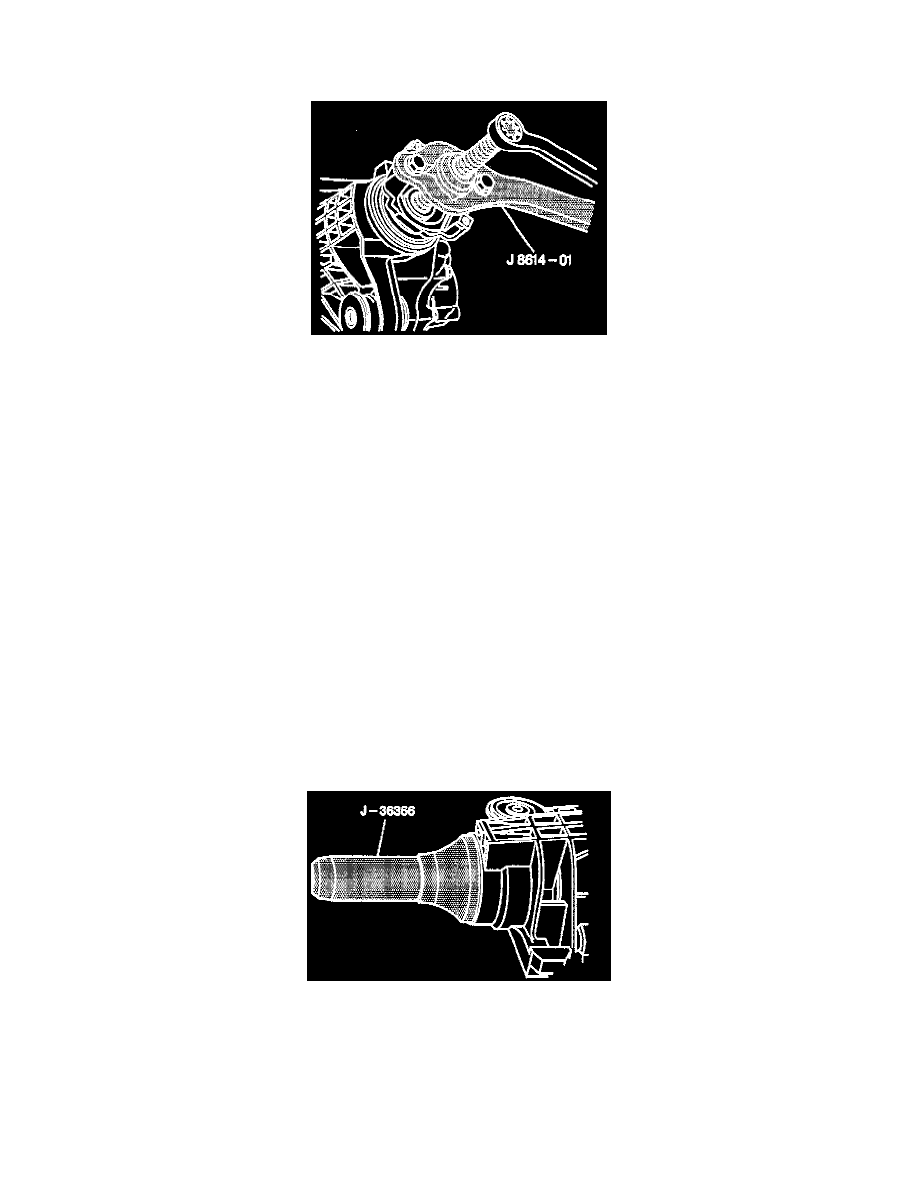
2. Nut using J 8614-01.
-
Position J 8614-01 on the flange so that the four notches on the tool face the flange.
3. Flange using J 8614-01.
-
Use the special nut and forcing screw to remove the flange.
4. Oil seal.
-
Carefully pry the seal from the bore. Do not distort or scratch the aluminum case.
Inspect
-
The pinion flange for a smooth oil seal surface.
-
The pinion flange for worn drive splines.
-
Replace if necessary.
5. Dust deflector.
-
Tap the deflector from the flange.
-
Clean up the stake points on the flange.
INSTALL OR CONNECT
NOTICE: Always use the correct fastener in the proper location. When you replace a fastener, use ONLY the exact part number for that application.
The manufacturer will call out those fasteners that require a replacement after removal. The manufacturer will also call out the fasteners that require
thread lockers or thread sealant. UNLESS OTHERWISE SPECIFIED, do not use supplemental coatings (paints, greases, or other corrosion inhibitors
on threaded fasteners or fastener joint interfaces. Generally, such coatings adversely affect the fastener torque and joint clamping force, and may
damage the fastener. When you Install fasteners, use the correct tightening sequence and specifications. Following these instructions can help you
avoid damage to parts and systems.
1. Dust deflector on the flange.
-
Stake the new deflector at three new equally spaced positions. Staking must be such that the seal operating surface is not damaged.
2. Oil seal using J 36366.
-
Position the oil seal in the bore, then place J 36366 over the oil seal. Strike J 36366 with a hammer until the seal flange is seated on the axle
housing surface. Drive the seal in straight, not at an angle, as this will damage the aluminum housing.
NOTICE: Do not hammer the pinion flange onto the pinion shaft or the pinion flange may be damaged.
3. Flange onto the pinion using J 8614-01.
-
Place the washer and a new nut on the pinion threads and tighten the nut to the original scribed position using the scribe marks and exposed
threads as a reference.