K 1500 Truck 4WD V8-6.5L DSL Turbo VIN S (1999)

Water Pump: Service and Repair
REMOVAL PROCEDURE
CAUTION: Refer to Battery Disconnect Caution in Service Precautions.
1. Disconnect the negative battery cables.
2. Drain the coolant from the radiator. Refer to Draining and Filling Cooling System.
3. Remove the fan shroud.
^
For the upper shroud, refer to Fan Shroud Replacement (Upper).
^
For the lower shroud, refer to Fan Shroud Replacement (Lower).
4. Remove the drive belt. Refer to Drive Belt Replacement (6.5L Drive Belt) in Engine.
5. Remove the fan and fan clutch, Refer to Fan Clutch Replacement (5.0L, 5.7L and 6.5L).
6. Raise the vehicle. Support the vehicle with safety stands. Refer to Vehicle Lifting.
7. Remove the following vacuum pump components. Refer to Vacuum Pump Replacement in Vacuum Pumps:
7.1.
The mounting bracket nuts
7.2.
The bolt securing the vacuum pump bracket and the generator
7.3.
The vacuum pump and the bracket
8. Remove the power steering pump. Lay the pump aside.
9. Lower the vehicle.
10. Disconnect the lower radiator hose from the coolant pump. Refer to Radiator Hose Replacement (6.5L Diesel).
11. Disconnect the bypass hose from the coolant pump.
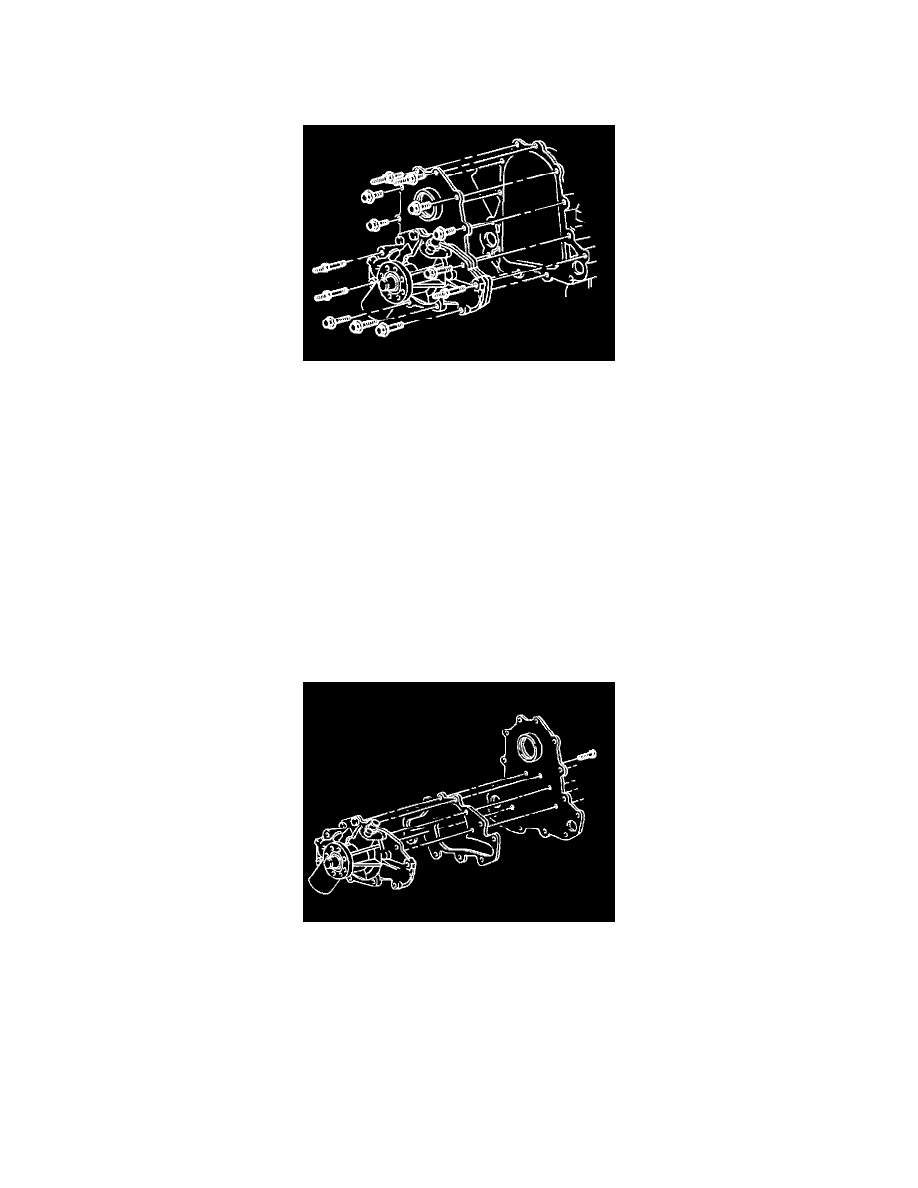
12. Remove the bolts, the studs, the coolant pump backing plate and the coolant pump.
13. Remove the bolt from the rear of the coolant pump backing plate.
14. Remove the coolant pump and the gasket from the backing plate.
IMPORTANT: All of the flanges must be free of oil.
15. Clean the following mating surfaces:
^
The coolant pump
^
The coolant pump backing plate (both sides)
^
The engine block
INSTALLATION PROCEDURE
