
K 1500 Truck 4WD V8-6.5L DSL Turbo VIN S (1999)
Ball Joint: Service and Repair
Lower Ball Joint
REMOVAL PROCEDURE
-
Tools Required
-
J 24319-B Steering Linkage Puller
-
J 39549 Ball Joint/Tie Rod End Separator
-
J 9519-E Ball Joint Remover/Installer Set
-
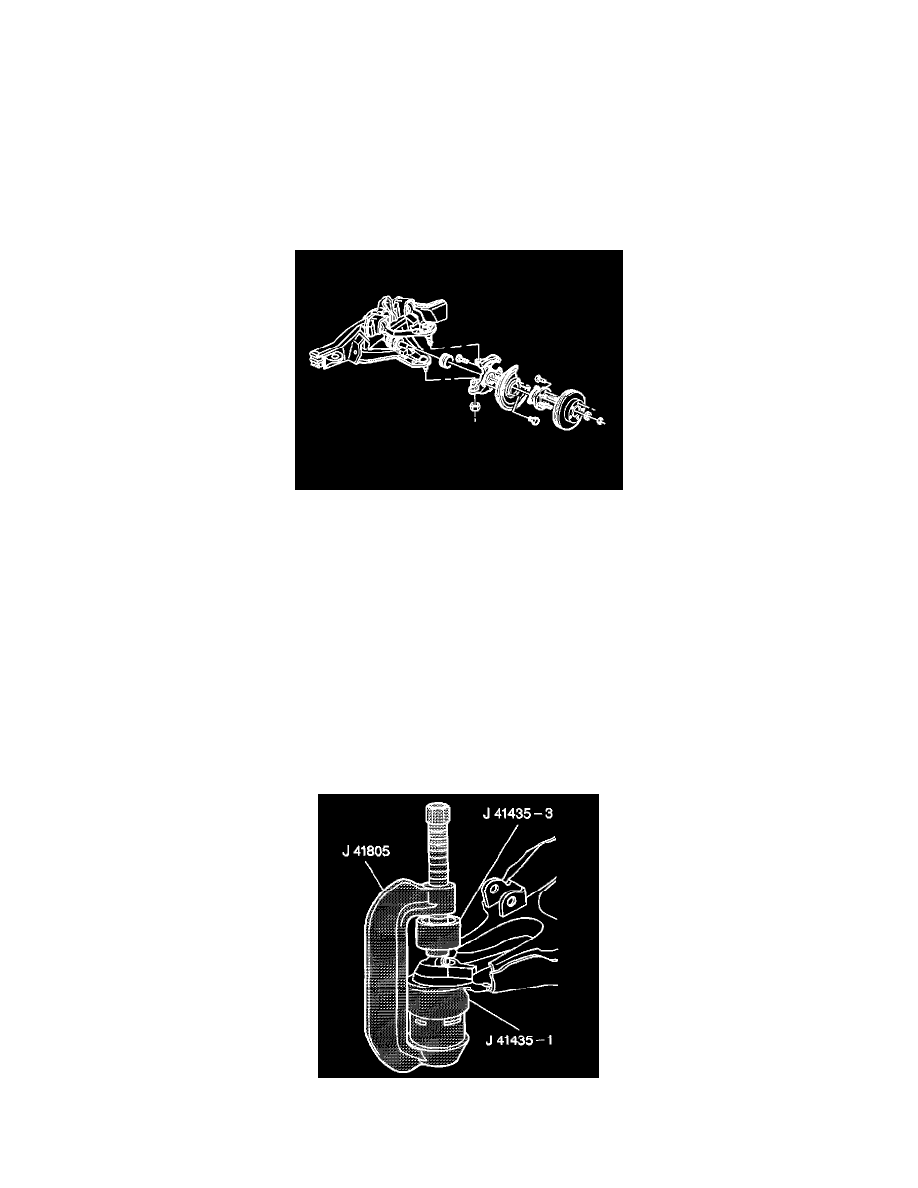
J 41435 Ball Joint Remover and Installer Kit, consisting of:
-
J 41435-1, 2, 3
-
J 29193 Steering Linkage Installer
1. Raise the vehicle. Support the vehicle with suitable safety stands.
2. Remove the tire and wheel assembly.
3. Place a floor jack under the control arm. Raise the jack until the jack supports the control arm.
Caution: Floor jack must remain under the lower control arm during removal and installation to retain the lower control arm in position. Failure
to do so could result in personal injury.
4. Remove the halfshaft.
5. Remove the brake caliper.
Notice: Support the caliper with a piece of wire to prevent damage to the brake line.
6. Remove the cotter pin and the nut from the lower control arm ball joint.
7. Using J 39549, break the ball joint loose from the knuckle.
8. Remove the lower control arm from the knuckle.
9. Remove the knuckle from the vehicle.
10. Remove the ball joint from the lower control arm. Use the tools as shown.
11. Inspect the tapered hole in the steering knuckle and remove any dirt. If this hole is out of round, deformed, or damaged, replace the knuckle.