K 1500 Yukon 4WD V8-5.3L VIN T (2000)

6. Lower the vehicle.
Brake Rotor Replacement-Rear
Removal Procedure
You can remove the brake rotor without separating the caliper from the mounting bracket.
1. Release the parking brake.
2. Remove 2/3 of the brake fluid from the master cylinder.
3. Raise and support the vehicle. Refer to Vehicle Lifting.
4. Remove the tire and wheel assembly. Refer to Tire and Wheel Removal and Installation in Wheels, Tires and Alignment.
5. Remove the caliper mounting bracket bolts.
6. Remove the caliper and mounting bracket as an assembly.
7. Hang the caliper and mounting bracket assembly from the suspension using heavy gauge wire.
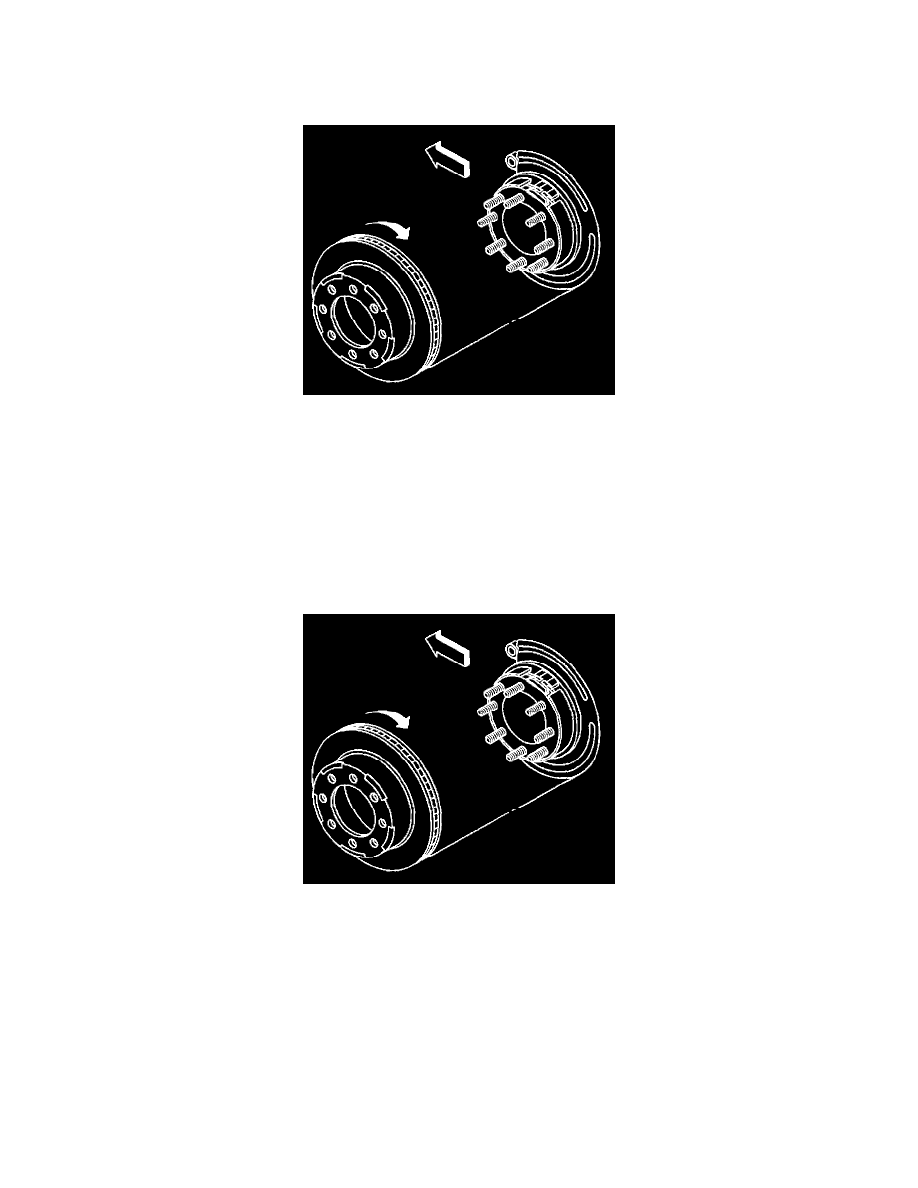
8. Remove the rotor by slowly turning the rotor while pulling the rotor away from the axle.
Installation Procedure
1. Clean all rust and contaminants from the both sides of the rotor and the hub flange.
2. Install the rotor by slowly turning the rotor while pushing the rotor towards the axle.
3. Install the caliper and the mounting bracket as an assembly to the steering knuckle.
4. Perform the following procedure before installing the caliper mounting bracket bolts.
^
Remove all traces of the original adhesive patch.
^
Clean the threads of the bolt with brake parts cleaner or the equivalent and allow to dry.
^
Apply Threadlocker GM P/N 12345493 or Red LOCTITE(TM) #272 to the threads of the bolt.
Notice: Refer to Fastener Notice in Service Precautions.
5. Install the caliper mounting bracket bolts to the steering knuckle.
^
For the 15 Series, tighten the brake caliper mounting bracket bolts to 175 N.m (129 lb ft)
^
For the 25 series, tighten the brake caliper mounting bracket bolts to 300 N.m (221 lb ft)
6. Install the tire and wheel assembly. Refer to Tire and Wheel Removal and Installation in Wheels, Tires and Alignment.
