
K 1500 Yukon Denali AWD V8-6.0L VIN U (2002)
1.
Clean the inside of the glass with an alcohol wipe.
2.
Dry the glass thoroughly using a lint free cloth.
Important:
The glass adhesion promoter described in the next step must be used to ensure a bonding of the coupling to the glass surface. Failure to use the
described adhesion promoter may result in the coupling coming off the glass.
3.
Apply Glass Adhesion Promoter, P/N 12378555 (in Canada, use P/N 88901239), to the glass in the area where you will install the antenna
coupling. Follow the Glass Adhesion Promoter instructions on the product label.
Important:
^
On rear backglass applications the RF connections for the inner antenna coupling should run parallel to the defogger gridline.
^
Align the inner and the outer antenna couplings.
^
Do not touch the adhesive backing on the antenna coupling.
4.
Remove the protective film from the adhesive backing on the inner antenna coupling.
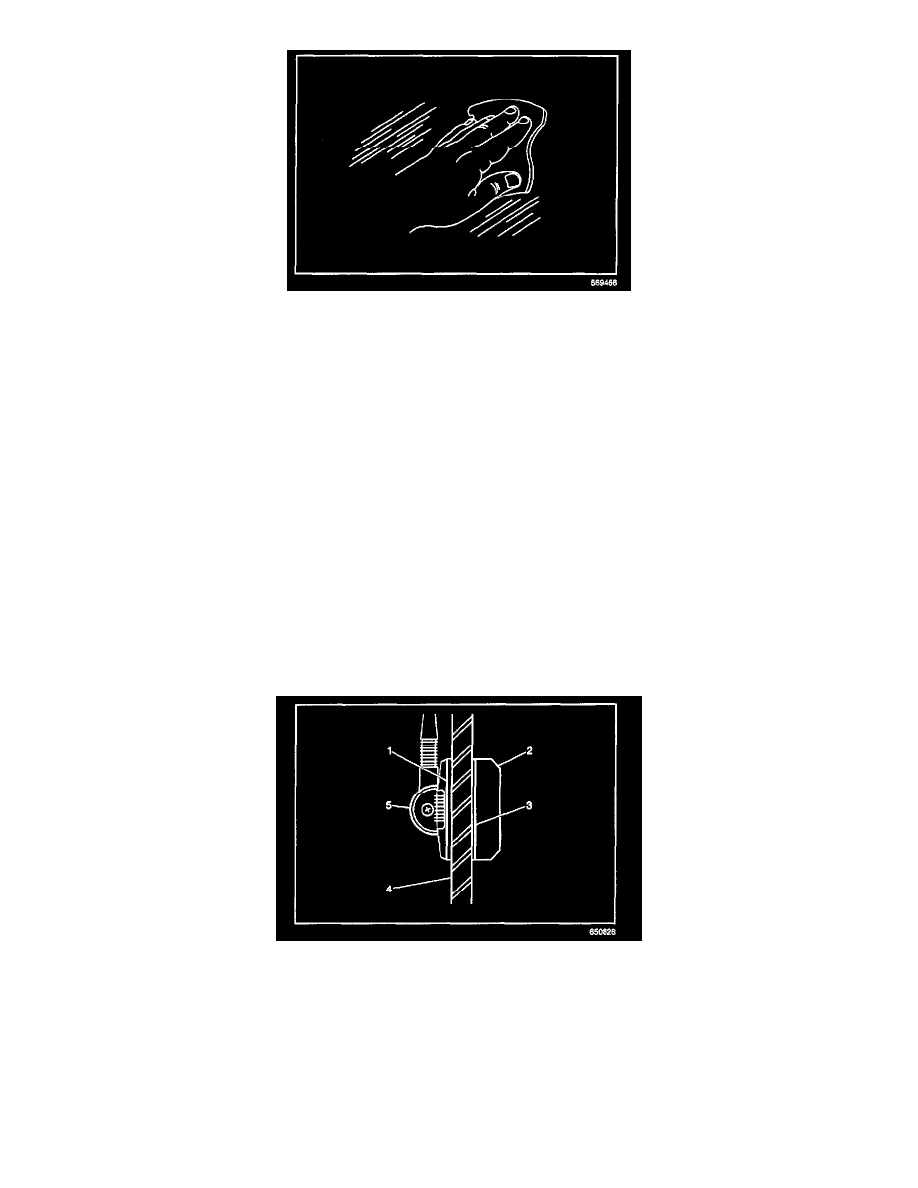
5.
Align the inner antenna coupling to the existing exterior coupling.
6.
Press firmly on all 4 corners and on the center of the antenna inner coupling (2) in order to ensure proper adhesion to the glass (4).
Hold pressure on the inner coupling (2) for 10 to 30 seconds.
7.
Ensure that no gaps occur between the couplings (5, 2) and the glass (4).
8.
Connect the coaxial cable to the inner coupling (2).
9.
Keep the vehicle dry. Allow 6 to 8 hours, at 15°C (60° F), for the adhesive to cure after installation.
Coupling Replacement - Antenna Outer