
K 1500 Yukon Denali AWD V8-6.0L VIN U (2002)
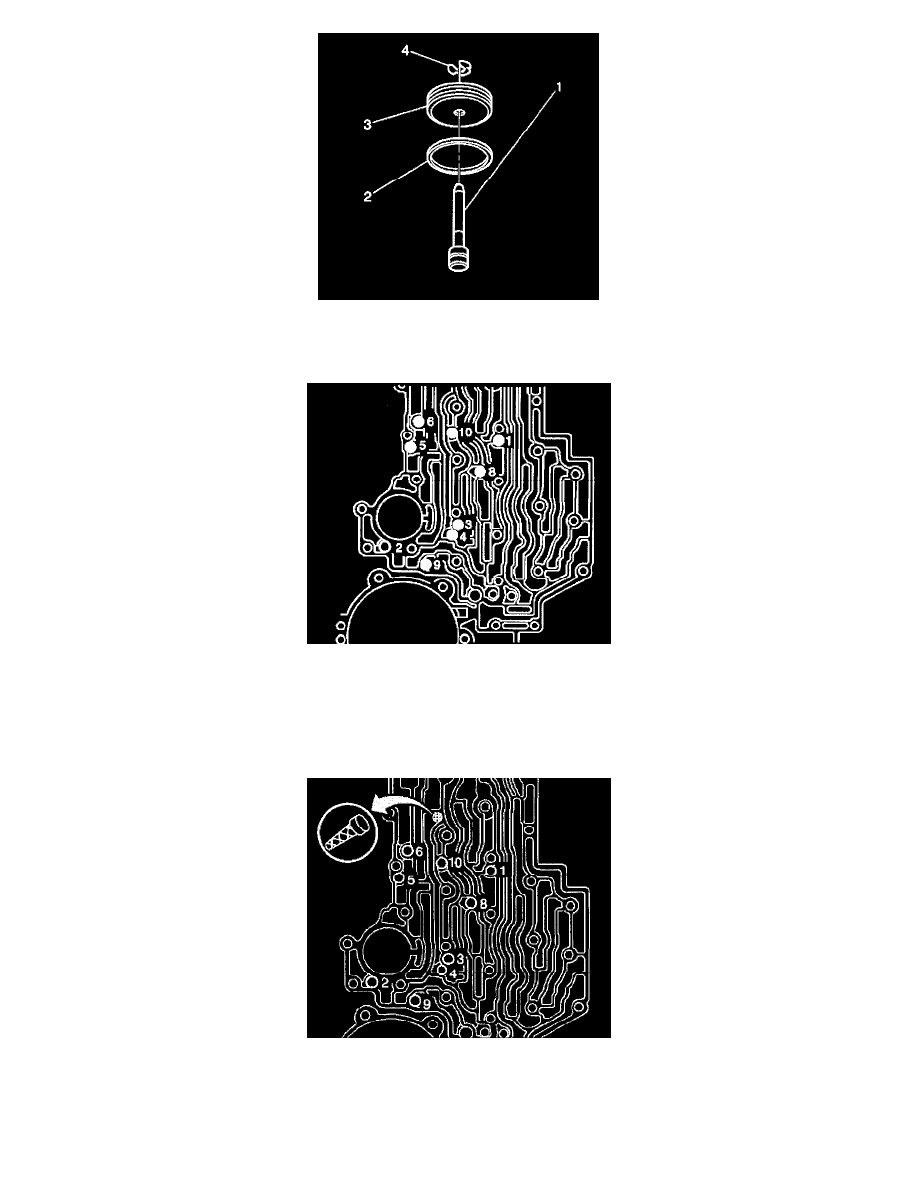
21. Remove the manual 2-1 band servo piston pin retainer ring (4).
22. Remove the manual 2-1 band servo piston pin (1).
23. Remove the manual 2-1 band servo piston seal (2).
Important: Do not use a magnet in order to remove the checkballs. Using a magnet to remove the checkballs may magnetize the checkballs, causing
metal particles to stick.
24. Remove the eight checkballs (nine checkballs for some models).
Installation Procedure
1. Install the 8 checkballs (9 checkballs for some models) into the control valve body.
^
The checkball marked as number 2, is used on RCP, RDP, ZJP and ALP models only
^
To hold the checkballs in place, use the J 36850.
2. Install the PWM screen into the control valve body.