
K 1500 Yukon Denali AWD V8-6.0L VIN U (2002)
Constant Velocity Joint: Service and Repair
Wheel Drive Shaft Outer Joint and Seal Replacement
Wheel Drive Shaft Outer Joint and Seal Replacement
^
Tools Required
-
J 8059 Snap Ring Pliers
-
J 35910 Seal Clamp Tool
-
J 36652 Split Plate Swage Clamp
Disassembly Procedure
Notice: With the removal of the wheel drive shaft for any reason, the transmission sealing surface (the tripot male/female shank of the joint) should
be inspected for corrosion. If corrosion is evident, the surface should be cleaned with 320 grit cloth or equivalent in a rotational motion only. Do not
clean with an oscillating motion. Transmission fluid may be used to clean off any remaining debris and the joint wiped dry before installation.
Corrosion on the joint sealing surface may damage the transmission seals and cause a fluid leak.
1. Place protective covers over the vise jaws. Place the halfshaft in the vise.
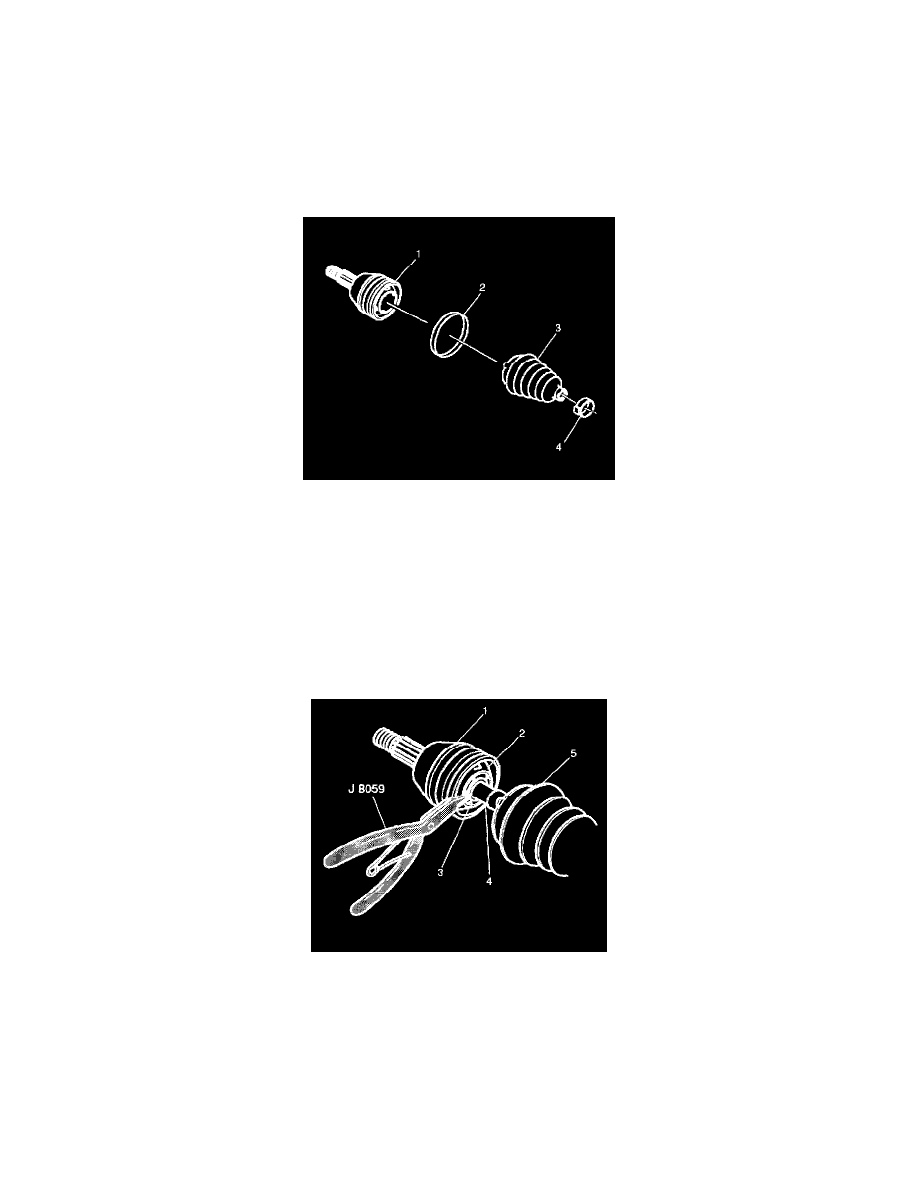
Important: Use caution when using the hand grinder by the CV joint outer race (1).
2. Use a hand grinder to cut through the swage ring (2).
3. Use side cutters to cut off the small seal clamp (4).
4. Slide the seal (5) down the halfshaft bar (4) and away from the CV joint outer race (1).
5. Wipe all grease away from the face of the CV joint.
6. Find the halfshaft bar retaining snap ring (3), which is located in the inner race (2).
7. Spread the snap ring ears apart using J 8059 (or equivalent).
8. Pull the CV joint (1) and the CV joint seal (5) from the halfshaft bar (4).
9. Discard the old CV joint seal (5).