
K 1500 Yukon Denali AWD V8-6.0L VIN U (2002)
5. Inspect the rear output shaft bushing for scoring or wear.
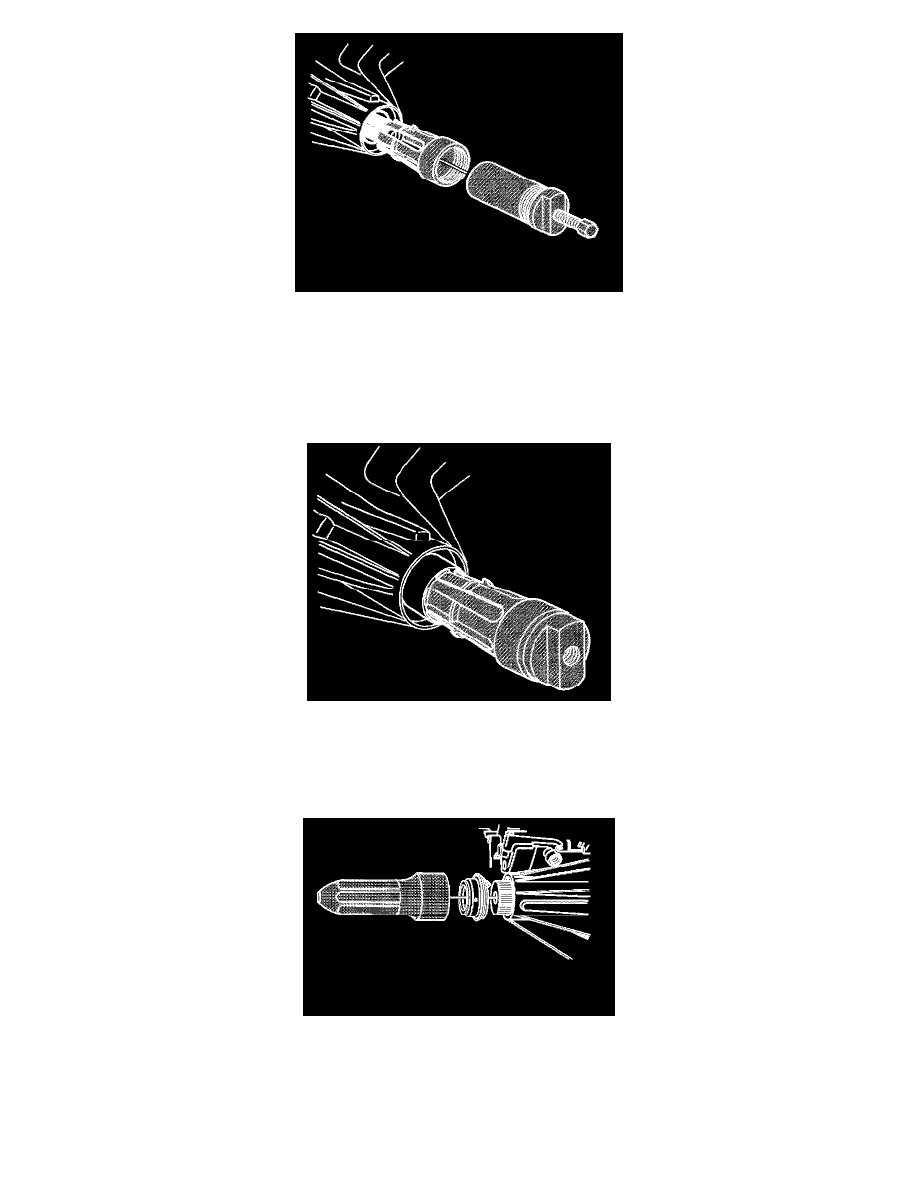
6. Remove the rear output shaft bushing if required, using the J 45380.
^
Install the finger section of the J 45380 in front of the bushing.
^
Install the tube and forcing screw to the finger section. Ensure the forcing screw is backed out.
^
Using a wrench on the forcing screw, remove the rear output shaft bushing.
Installation Procedure
1. Using the J 37668-A, install a NEW rear output shaft bushing.
^
Install the bushing or the finger section of the J 37668-A.
^
Install the finger section to the main body of the J 37668-A.
^
Position the bushing and tool to the case.
^
Using a hammer and J 37668-A, install the bushing.
Important: When installing the rear output shaft seal to the transfer case, ensure that the locator tab is facing up.
2. Position the rear output shaft seal in the transfer case.
3. Using the J 37668-A, install the rear output shaft to the transfer case.
4. Install the rear propeller shaft.
5. Inspect the transfer case fluid level.