
K 2500 Suburban 4WD V8-5.7L VIN R (1999)
Engine Accessory Bracket: Service and Repair
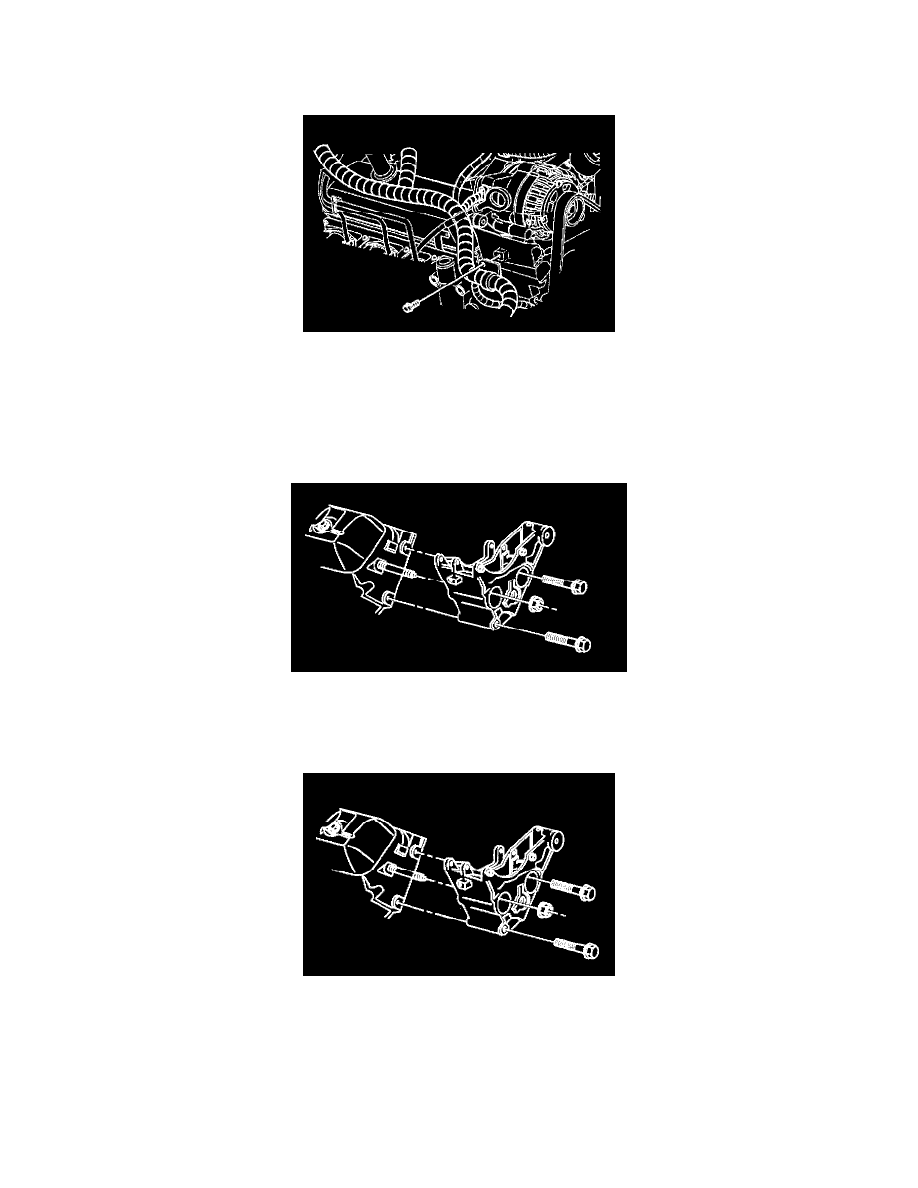
Accessory Mounting Brackets Replacement (Generator)
REMOVAL PROCEDURE
1. Disconnect the battery negative cable. Refer to Battery Cable in Powertrain Management.
2. Remove the engine cooling fan. Refer to Fan Clutch Replacement in Cooling System.
3. Remove the drive belt. Refer to Drive Belt Replacement.
4. Remove the generator. Refer to Generator Replacement (CS 144) in Starting and Charging.
5. Remove the wire harness bracket from the generator and drive belt tensioner bracket.
6. Remove the drive belt tensioner. Refer to Drive Belt Tensioner Replacement.
7. Remove the belt idler pulley. Refer to Drive Belt Idler Pulley Replacement.
8. Remove the three bolts and nut holding the generator and drive belt tensioner to the engine.
9. Slide the accessory mounting bracket off of the stud.
INSTALLATION PROCEDURE
1. Slide the accessory mounting bracket on the stud.
NOTICE: Refer to Fastener Notice in Service Precautions.
2. Install the three bolts and the nut.
-
Tighten the bolts and nut to 41 Nm (30 ft. lbs.).
3. Install the belt idler pulley. Refer to Drive Belt Idler Pulley Replacement.
4. Install the drive belt tensioner. Refer to Drive Belt Tensioner Replacement.