
K 2500 Suburban 4WD V8-5.7L VIN R (1999)
Intake Manifold: Service and Repair
Upper Intake Manifold Replacement
REMOVAL PROCEDURE
1. Disconnect the battery negative cable. Refer to Battery Cable in Powertrain Management.
2. Drain the engine coolant. Refer to Draining and Filling Cooling System in Cooling System.
3. Remove the air cleaner assembly. Refer to Air Cleaner Assembly Replacement in Powertrain Managements.
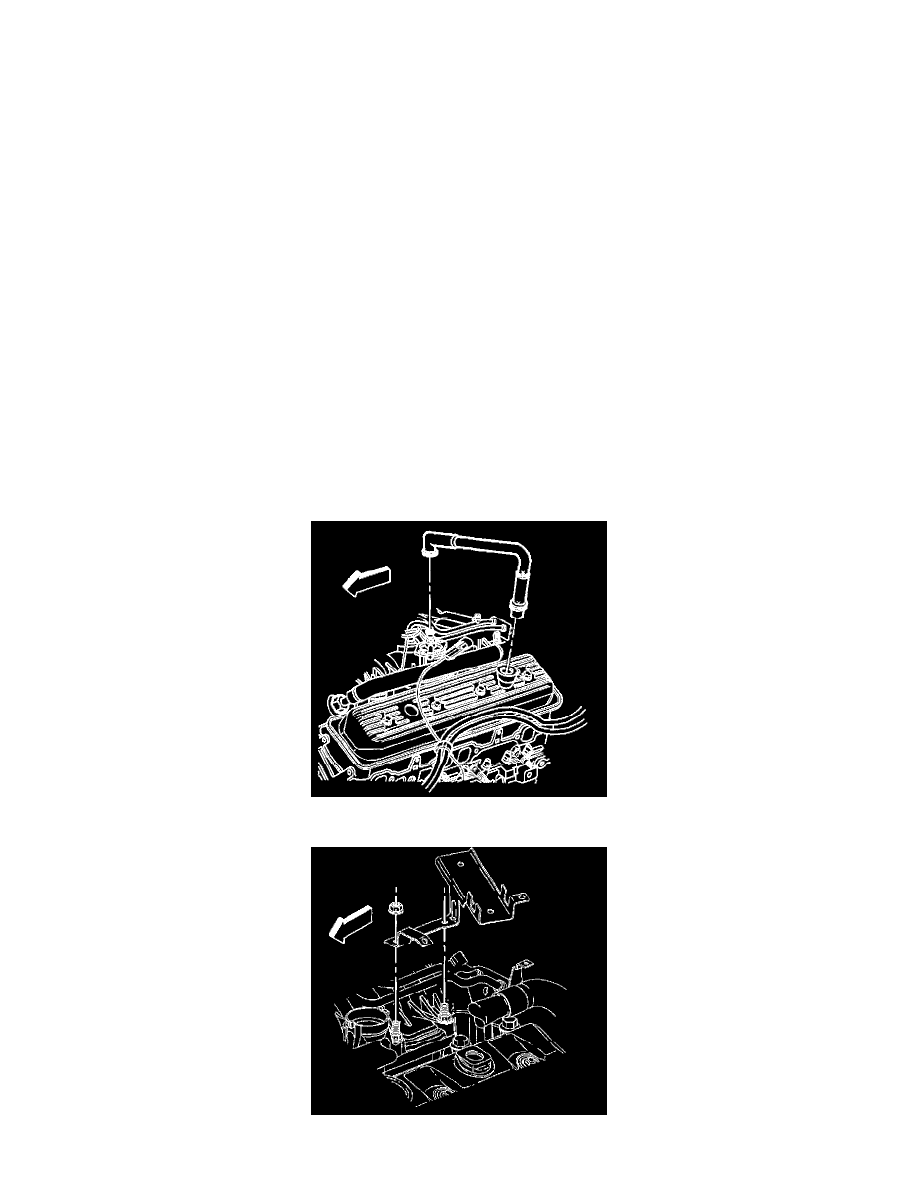
4. Remove the vacuum brake booster hose, if equipped.
5. Disconnect the accelerator control and cruise control cables (if equipped). Refer to Accelerator Controls Cable Replacement in Powertrain
Managements.
6. Remove the accelerator control cable bracket and set it aside.
7. Remove the following electrical connectors:
-
The SCPI injector harness connector
-
The EVAP canister purge solenoid valve
-
The ignition coil
-
The Ignition Control Module (ICM)
-
The generator
-
The Idle Air Control (IAC) motor
-
The Throttle Position (TP) sensor
-
The Oxygen (02) sensor
-
The Exhaust Gas Recirculation (EGR) valve
-
The Engine Coolant Temperature (ECT) sensor
-
The engine oil pressure sensor
-
Disconnect the fuel pipes from the fuel pipes. Refer to Fuel Hose/Pipes Assembly Replacement (Fuel Pipes Side Tank) in Powertrain
Managements.
-
Remove the AIR check valve (crossover) pipe, if equipped. Refer to Sec Air Injection Check Valve/Pipe Replacement in Powertrain
Managements.
-
Remove the distributor cap and reposition the distributor cap out of the way. Refer to Distributor Replacement in Powertrain Management.
8. Remove the PCV valve hose assembly.
9. Remove the engine wiring harness bracket from the manifold.