
K 2500 Suburban 4WD V8-5.7L VIN R (1999)
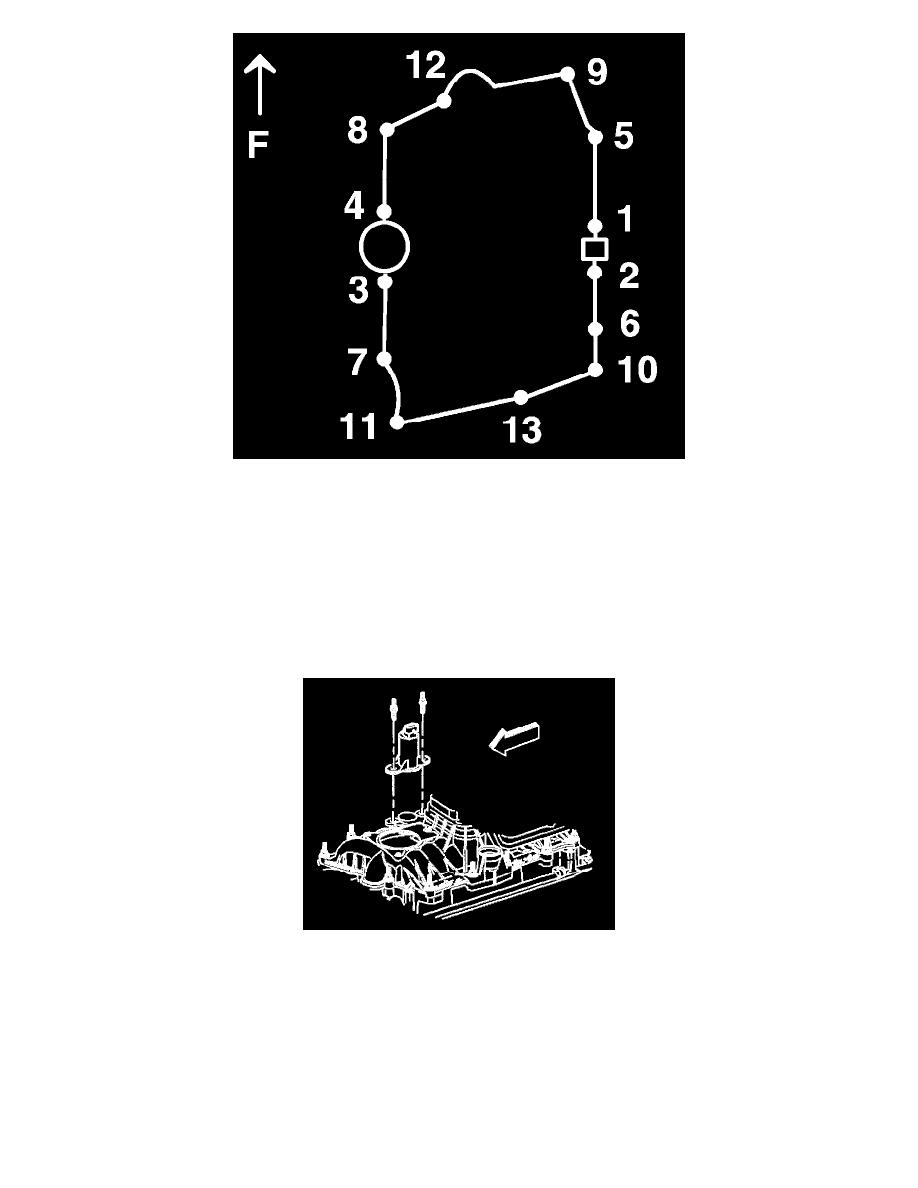
Sequence
1. Install the NEW upper intake manifold to lower intake manifold gasket (3) into the groove of the upper intake manifold (2), and install the upper
intake manifold (2) onto the lower intake manifold (6).
NOTICE: Refer to Fastener Notice in Service Precautions.
2. If reusing the fasteners, apply threadlock GM P/N 12345382 or equivalent to the threads of the upper intake manifold attaching studs.
3. Install the upper intake manifold studs (1).
3.1.
Tighten the upper intake manifold studs on the first pass to 5 Nm (44 inch lbs.).
3.2.
Tighten the upper intake manifold studs on the second pass to 10 Nm (89 inch lbs.).
4. If reusing the fasteners, apply threadlock GM P/N 12345382 or equivalent to the threads of the Evaporative Emission (EVAP) canister purge
solenoid valve studs.
5. Install the EVAP canister purge solenoid valve and studs.
-
Tighten the EVAP canister purge solenoid valve studs to 10 Nm (89 inch lbs.).
NOTICE: Refer to Fastener Notice in Service Precautions.
6. Install the engine wiring harness bracket to the upper intake manifold.
-
Tighten the nut to 12 Nm (106 inch lbs.).